


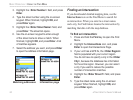


To save the entire track log:
1. Press Menu twice to open the Main Menu.
2. Select the Tracks icon, and press Enter to
open the Tracks Page.
3 Highlight the Save button and press Enter. A
message appears asking you if you want to
save the entire track.
4. Select Yes, and press Enter to save the track.
A “Saving Track” message appears followed
by the Saved Track Page.
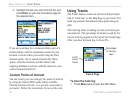
Use the Saved Track page to rename the track, view
the track distance and calculated area, and specify a
color for the track on the Map Page.
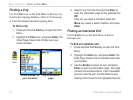
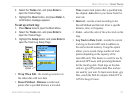
To save a portion of the track log:
1. Press Menu twice to open the Main Menu.
2. Select the Tracks icon, and press Enter to
open the Tracks Page.
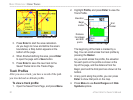
3. Highlight the Save button, and press Enter.
A message appears asking you if you want to
save the entire track.
4. Select No, and press Enter to save only a
portion of the track log. A map showing the
entire track appears.
5. Use the Rocker to move the pointer to the
point on the track line that you want to be the
beginning point, and press Enter.
6. Use the Rocker to move the arrow to the point
on the track line that you want to be the ending
point, and press Enter. A “Saving Track”
message appears followed by the Saved Track
Page.
7. With OK highlighted, press Enter.
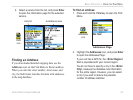
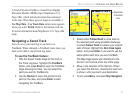
To log tracks to the microSD card:
1.
With the Track Log setup page displayed,
highlight the Data Card Setup button, and press
ENTER to display the Data Card setup page.
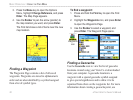
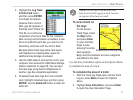
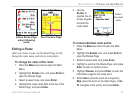
Track
name
Track
distance
Track
color
Calculated
area
Saved Track Page
28 eTrex Vista Cx Owner’s Manual
BASIC OPERATION > USING TRACKS