


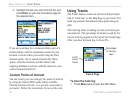

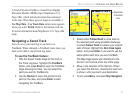
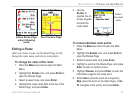


2. Highlight the Routes icon, and press Enter to
open the Routes Page.
3. Highlight a saved route, and press Enter to
open the Route Page.
4. Highlight the Navigate button, and press
Enter.
5. To stop navigating, press the Menu key, select
Stop Navigation, and press Enter.
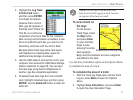
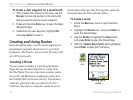
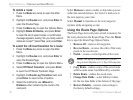
When navigating a route, a guidance message and
a graphic view of turns in the route appear as you
approach each one. Using the Follow Roads option
on the Routing Setup Page increases the number of
turns and shows an Active Route Page with a list of
turns. If you selected the Off Road option, you can
view only the list of points for a route from the Active
Route Page. See Routing Setup on page 69.
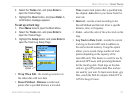
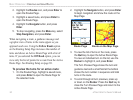
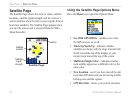
To preview the
turns for an active route:
1. On the Routes Page, highlight a saved route,
and press Enter to open the Route Page for
the selected route.
2. Highlight the Navigate button, and press Enter
to begin navigation and show the route on the
Map Page.
3. To view the list of turns on the route, press
the Quit key to open the Active Route Page.
To view an individual turn on the list, use the
Rocker to highlight it, and press Enter.
The Turn Preview Page shows the turn and
guidance text and a small field at the bottom
shows the turn number in sequence and total
turns in the route.
4. To scroll through all turn previews, press up
or down on the Rocker. Press the Quit key to
close the Turn Preview Page and return to the
Active Route Page.
34 eTrex Vista Cx Owner’s Manual
BASIC OPERATION > CREATING AND USING ROUTES
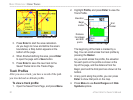
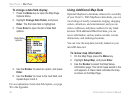
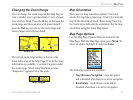
Route on the Map Page
Route Page