


MAN 650067:F
2
Thank you for purchasing the Vacuum Fluorescent Digital Dashboard from DAKOTA
DIGITAL, the leader in custom automotive electronics. Representing the latest electronic
dashboard technology for the street rodder, car, and truck enthusiast alike, the digital
instrumentation uses state of the art vacuum fluorescent display technology to give the driver
up-to-date and accurate information on the operation of his or her vehicle. As used in several
production automobiles, vacuum fluorescent displays give superior performance and visual
appeal over LCD or LED display systems. Emitting a blue/green light that can be filtered to a
wide variety of colors, the VFD system boasts excellent daytime visibility and while under
computer control, automatically dims for nighttime driving. Using microprocessor technology,
the digital dashboard gives the driver additional features and benefits not typically found on any
other brand or type of instrumentation. Digital accuracy and solid state reliability will give you,
the driver, quality service for miles down the road.
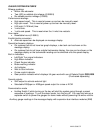
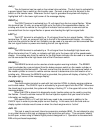
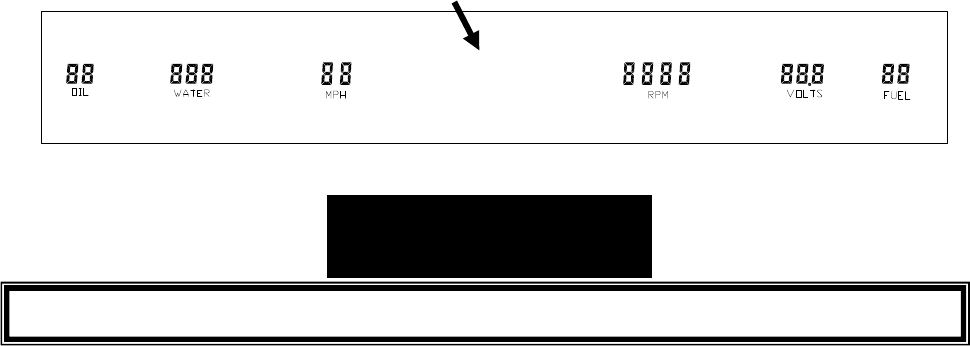
TYPICAL DISPLAY LAYOUT
000000 A 000.0
P R N D 2 1
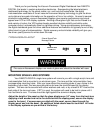
WARNIN WARNING
The vacuum fluorescent displays are made of glass and should be handled with care.
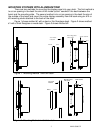
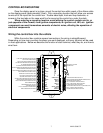
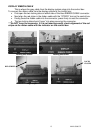
MOUNTING SINGLE LENS SYSTEMS
Your DAKOTA DIGITAL single lens system will come to you with a single acrylic lens and
instrumentation that is mounted in an aluminum case. The lens and the instrumentation have
corresponding mounting holes. After you have affixed the mounting studs of your choice to the
backside of your dash, the lens piece should be slid over the studs followed by the display
system. The lens can be secured with either washers and nuts, or by a bead of RTV around the
back side of the lens and case. If RTV is used, the system will need to be held in place until it
has had time to cure. The lens should be tight against the aluminum display case.
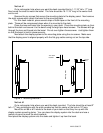
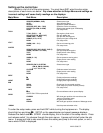
Adjust the height of the panel so that the glass displays are 1/8" away from the front lens.
Applying a lock washer and nut to the studs behind the display panel, secure the display
panel to the bezel. If screws were provided with the panel, secure them through the
display panel and into the bezel. No additional holes should need to be drilled. All holes
in the display systems are pre-drilled at the factory.
Shared Speed/Tach
Message Center