36
MIDI
The Chord 1 and Chord 2 channels
split point into the Upper (above the split point) and Lower
(below the split point) parts.
The notes that arrive to a Global channel are used for the
chord recognition of the automatic accompaniment. If the
KEYBOARD MODE is SPLIT, only the notes below the split
point will be used. These notes will be combined with the
ones of the special Chord 1 and Chord 2 channels.
THE CHORD 1 AND CHORD 2 CHANNELS
You can set two special Chord channels (see page 128) to
send to the Pa50SD notes for the chord recognition. The
notes will be combined with the notes that go through the
channel set as Global (Global notes are recognized only
under the split point, if the SPLIT LED is lit up).
The Chord channels are not affected by the split point and
the KEYBOARD MODE section of the control panel. All the
notes – both above and below the split point – will be sent to
the chord recognition.
The buttons of the CHORD SCANNING section have a par-
ticular effect on the Chord channels:
• if you have selected LOWER, the chord recognition
mode will be set by the “Chord Recognition Mode”
parameter in the Style Play mode (see page 50);
• if you have selected UPPER or FULL, the chord recogni-
tion mode will always be Fingered 2 (you need to play at
least three notes in order for the chord to be detected).
These two channels are especially useful for accordion players
to assign a different Chord channel to the chords and the bass
played with the left hand. In this way, chords and bass will
participate to the creation of chords for the chord recogni-
tion of the automatic accompaniment.
THE CONTROL CHANNEL
You can set a MIDI IN channel as the Control channel (see
page 127), to select Styles and Performance from an external
device. See the Appendix for a list of messages corresponding
to Pa50SD internal data.
MIDI SETUP
You can play Pa50SD with an external controller, and use it
simply as a gorgeous sound generator. To help you configure
the MIDI channels, we have provided a set of MIDI Setups.
Go to Global mode to select the one that fits your MIDI
needs. (See “Page 4 - MIDI Setup” on page 126 for more
information).
We recommend you to consider each MIDI Setup as a start-
ing point you can freely tweak. Once you have selected the
most appropriate MIDI Setup for the connection to be made,
you can modify the parameters as necessary and save the Glo-
bal in the memory with the Write function (see “The Write
window” on page 125).
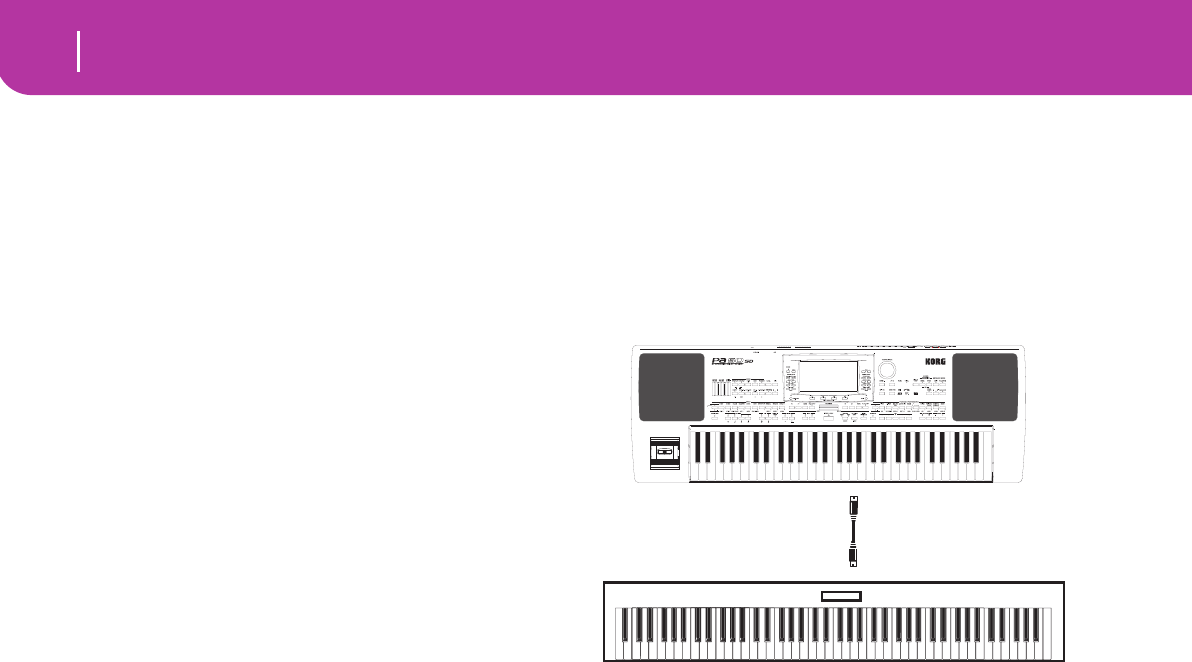
CONNECTING PA50SD TO A MASTER
KEYBOARD
You can control the Pa50SD with a master keyboard or any
other MIDI keyboard. You only need to connect the MIDI
OUT connector of the master keyboard to the MIDI IN con-
nector of the Pa50SD. The master keyboard will become the
integrated keyboard of the Pa50SD if it transmits over the
same channel programmed as Global in the Pa50SD.
If the master keyboard transmits over the Global channel of
the Pa50SD, the split point and the status of the KEYBOARD
MODE section in the control panel will affect the notes
received from the master keyboard.
Connections and settings
To connect the master keyboard to the Pa50SD follow this
procedure:
1. Connect the MIDI OUT connector of the master key-
board to the MIDI IN connector of the Pa50SD.
2. Program the master keyboard to transmit over the Glo-
bal channel of the Pa50SD (see “Page 6 - MIDI IN
Channels” on page 127).
For information on the master keyboard programming,
see the user’s manual of the master keyboard.
3. Press GLOBAL to enter the Global mode, then go to
“Page 4 - MIDI Setup” (see page 126).
4. Select the Master Keyboard Setup.
Note: The settings can change when new data is loaded
from a card. To protect the settings from loading, use the
Global Protect function (see “Global Protect” on
page 141).
5. Press WRITE, select Global, and press ENTER to save
the Global. The “Are you sure?” message will appear.
Press ENTER to confirm, or EXIT to abort.
6. Press one of the buttons in the MODE section to go to
the desired operative mode.
MIDI IN
MIDI OUT
