


14 ST60 Rudder Angle Indicator Instrument Owner’s Handbook
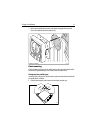
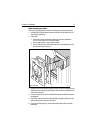
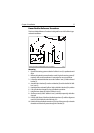
7. Mount the assembled instrument, studs, bezel and gasket into the panel.
8. Locate the flush mount bracket (6) onto the fixing studs and secure the assem-
bly to the panel with the thumb-nuts (5).
Bracket mounting
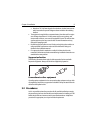
A Control Unit Mounting Bracket (Part No. E25009) enables you to mount your
ST60 instrument in locations where other forms of mounting are impractical.
Although bracket mounting provides a useful alternative method for securing
your instrument, it is only suitable for use in positions where the instrument will
not be exposed to water.
To bracket mount your ST60 instrument, do so in accordance with the Control Unit
Mounting Bracket Instruction Sheet.
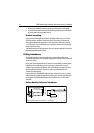
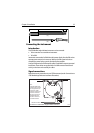
Fitting transducers
The Rudder Reference Transducer duplicates movement of the tiller arm to
provide the instrument or the autopilot as appropriate, with the exact position of
the vessel’s rudder.
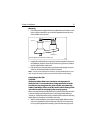
Rotary and Linear Rudder Reference Transducers are available. The Rotary type is
suitable for most installations, but the Linear type is designed for use with
‘bullhorn’ type outboard installations. Refer to the fitting instructions for either
the
Rotary Rudder Reference Transducer
or the
Linear Rudder Reference
Transducer
, as appropriate.
If you are fitting an ST60 Rudder Angle Indicator instrument as part of a system
which includes a SeaTalk autopilot, the transducer must be connected directly to
the autopilot. The ST60 Rudder Angle Indicator will then act as a slave to the
autopilot.
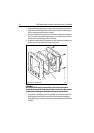
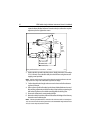
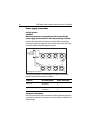
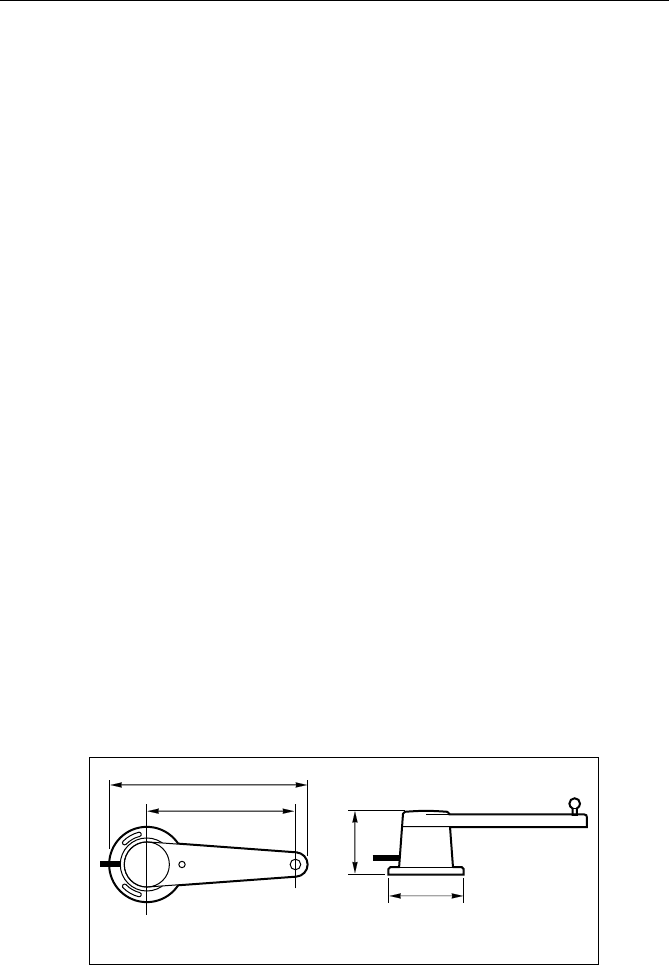
Rotary Rudder Reference Transducer
139.7mm (5.5in)
152mm (6in)
69.5mm (2.7in)
61mm (2.4in)
D4426-1
Rotary Rudder Reference Transducer - dimensions