


Please Give Part No., Description and Unit Serial No.
HIGHWAY EQUIPMENT COMPANY
8
97373-A
Page Rev. A
SAFETY DECALS
MAINTENANCE INSTRUCTIONS
1. Keep safety decals and signs clean and legible at all times.
2. Replace safety decals and signs that are missing or have become illegible.
3. Replaced parts that displayed a safety sign should also display the current sign.
4. Safety decals or signs are available from your dealer's Parts Department or our Cedar Rapids factory.
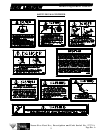
INSTALLATION INSTRUCTIONS
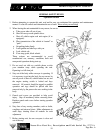
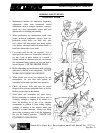
1. Clean Surface
Wash the installation surface with a synthetic, free-rinsing detergent. Avoid washing the surface with a
soap containing creams or lotion. Allow to dry.
2. Position Safety Decal
Decide on the exact position before application. Application marks may be made on the top or side edge
of the substrate with a lead pencil, marking pen, or small pieces of masking tape. NOTE: Do not use
chalk line, china marker, or grease pencil. Safety decals will not adhere to these.
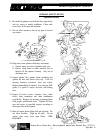
3. Remove the Liner
A small bend at the corner or edge will cause the liner to separate from the decal. Pull the liner away in a
continuous motion at a 180-degree angle. If the liner is scored, bend at score and remove.
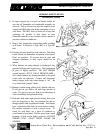
4. Apply Safety Decal
a. Tack decal in place with thumb pressure in upper corners.
b. Using firm initial squeegee pressure, begin at the center of the decal and work outward in all directions
with overlapping strokes. NOTE: Keep squeegee blade even—nicked edges will leave application
bubbles.
c. Pull up tack points before squeegeeing over them to avoid wrinkles.
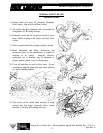
5. Remove Pre-mask
If safety decal has a pre-mask cover remove it at this time by pulling it away from the decal at a 180
degree angle. NOTE: It is important that the pre-mask covering is removed before the decal is exposed
to sunlight to avoid the pre-mask from permanently adhering to the decal.
6. Remove Air Pockets
Inspect the decal in the flat areas for bubbles. To eliminate the bubbles, puncture the decal at one end of
the bubble with a pin (never a razor blade) and press out entrapped air with thumb moving toward the
puncture.
7. Re-Squeegee All Edges.