


RoadMate 6230-LM User Manual Page 8
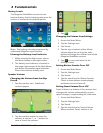
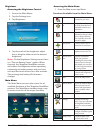
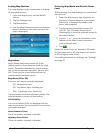
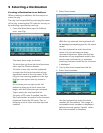
Setting Map Options
The map display can be customized in Settings
to your preferences.
1. From the Map screen, tap the MENU
button.
2. Tap the Settings Icon.
3. Tap Map button.
4. Use the Map Options screen to customize
what is shown on the map and how the
map is displayed.
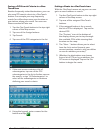
Night Mode
Night Mode determines when (or if) the
display switches from daytime mode to nignt
mode. The button displays the active setting -
tap to see the options and select the one you
like. There may be a brief delay before the
selected mode becomes active.
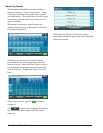
Map Mode (2D or 3D)
Sets how the map is normally displayed:
3D - Perspective view
2D - Top down view, Heading Up
2DN - Top down view, North Up
Tap the button to switch between modes. The
selected mode is shown on the button.
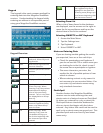
POI Visibility
You can set which POIs are displayed on the
map as you drive. Set checkmarks for each item
you want displayed.
Auto Zoom on Turns
Check to enable, uncheck to disable.
Highway Lane Assist
Check to enable, uncheck to disable.
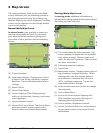
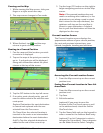
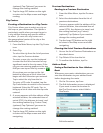
Selecting Map Mode and Default Zoom
Level
When driving, the map displays at a zoom level
you set here.
1. From the Map screen, tap anywhere on
the map. A button appears in the lower
left corner; it displays the mode it will
select when tapped.
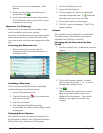
2. Tap the button to switch between 2D
and 3D. The 2D mode (North Up or
Heading Up) is from the settings screen as
described above.
3. Tap the ‘+’ or ‘-’ zoom level buttons at the
bottom of the Map screen to zoom to
your preferred level,
4. Tap .
Note that zoom levels are limited in 3D mode.
As you zoom out in 3D, the display will switch
to 2D at higher zoom levels.
For additional details on Settings, see “Settings”
on page 27