G
G - 17
PLUMBING
MOEN FAUCET CARTRIDGE REPLACEMENT
CAUTION: Always turn water OFF before remov-
ing existing faucet or disassembling the valve.
Open faucet handle to relieve water pressure and
ensure that complete water shut-off has been ac-
complished.
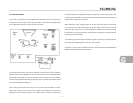
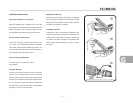
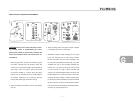
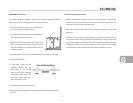
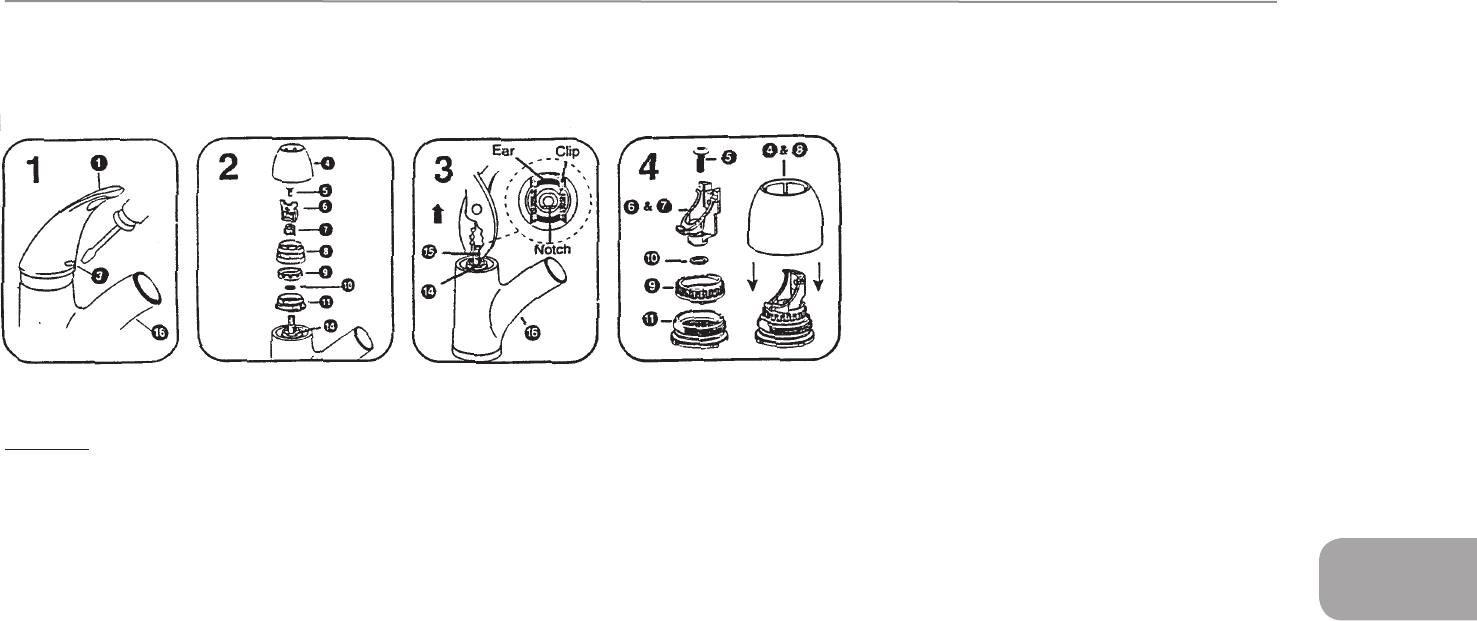
1. Remove plug button (3) from the handle by prying
the button upwards from the bottom center. Be
careful not to scratch the handle. Lift the handle up
and using a 7/64” hex wrench, remove set screw
(2). Remove handle (1), unscrew dome and pivot
retainer (4 & 8), cartridge screw (5), handle adapter
& connector assembly (6 & 7), and pivot stop (9).
Remove DD washer (IO) and retainer nut (II).
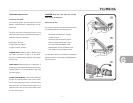
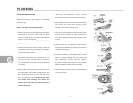
2. Using a flathead screwdriver, remove the retainer
clip (14).
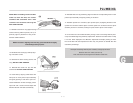
3. Grasp cartridge stem with pliers and pull cartridge
(15) straight up and out of valve body.
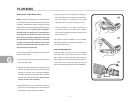
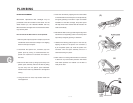
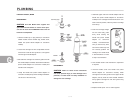
4. Reinstall as follows: Install cartridge (15) into valve
body with notched flat on stem facing forward.
Be sure to position the ears of the cartridge in the
front and back. Reinstall the retainer clip (14), which
straddles the ears on the cartridge. Reinstall the
retainer nut (11) and pivot stop (9) with the stop
in front as shown in Step 4 above. Reinstall DD
washer (10) and reassemble handle connector and
handle adapter (6 & 7). Note orientation of this sub-
assembly as shown in Step 4. Install cartridge screw
(5). Be sure to install completely to prevent unwanted
closure of faucet. Thread on dome and pivot retainer
(4 & 8) clockwise until hand tight. Reinstall handle (1),
set screw (2), and plug button (3).


