


G
PLUMBING
G - 4
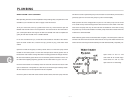
WATER SYSTEM - SELF-CONTAINED
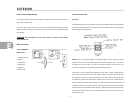
Most plumbing functions are accomplished in the plumbing utility compartment on the
roadside of your motorhome as seen on page G-9 of this manual.
To fill your water tank, hook up a garden hose to the city water inlet then open the
labeled water tank fill valve in the compartment. The water level can be monitored on
your control panel above the range or the tank can be filled until water is expelled out
gravity fill vent tube located on the curdside sidewall.
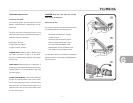
If it is more convenient for you, a water fill is also located on the side of the vehicle.
Open the small access door, unscrew the cap, pull the air plug, insert water hose
and fill.
Open the hot side of the galley or lavatory faucet and turn on the water pump switch
located on the monitor panel. For some time the open faucet will only sputter. This is
because the water heater is being filled and air is being pushed out through the lines.
Be sure water heater by-pass valves are in normal flow position and water is in the wa-
ter heater before lighting beginning operation of the water heater on gas or 110-volt.
Once the water heater is full a steady stream of water will come from the faucet. Now
open a cold faucet. It will sputter for a short time, but will soon expel a steady stream.
All other faucets can now be opened until all air is expelled.
Once the system is filled with water and the faucets closed, the water pump will shut
off. When a faucet is opened the pump will come back on automatically. If the faucet is
just barely open it is normal for the pump to cycle on and off rapidly.
Water pressure at some campgrounds may be low. The water pump can be turned
on to assist the city water hookup pressure. Be sure there is some water in the fresh
water tank. The pump will only use the water that is needed out of the tank to bring
the pressure up to the usual standard. The water pump should be turned off when the
motorhome is left unattended.
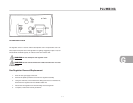
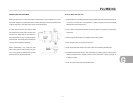
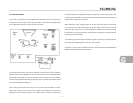
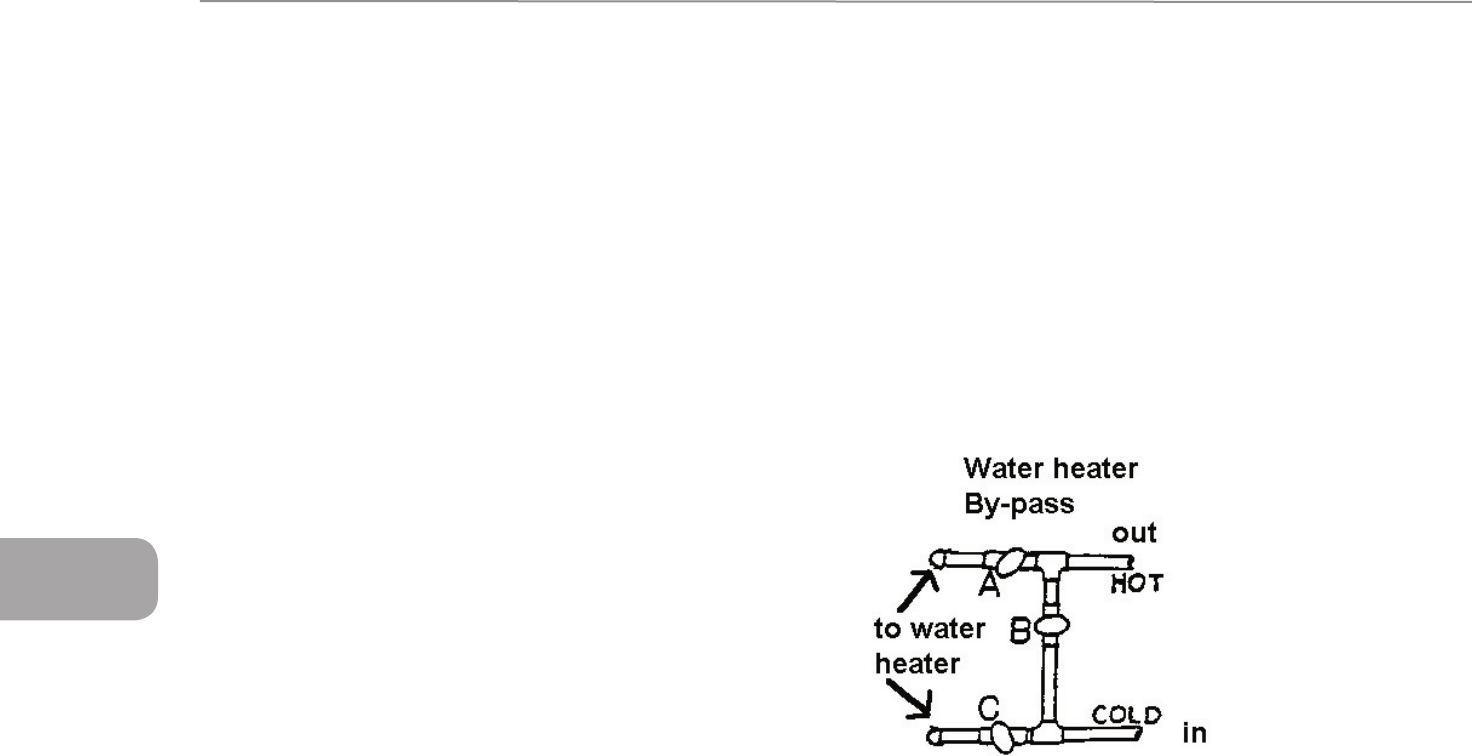
Water heater by-pass valves are located under the galley. The shelf system under the
sink has to be removed to access the valves that are on top of the heater. Remove the
several screws anchoring the shelf assembly and take shelf assembly completely out.
Open valves “A” and “C” and
close valve “B” for normal usage.
Close Valves “A” and “C”, then
open valve “B” for winterizing.