– 81 –
DRIV
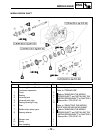
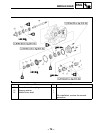
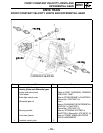
FRONT CONSTANT VELOCITY JOINTS AND
DIFFERENTIAL GEAR
MEASURING AND ADJUSTING THE
DIFFERENTIAL GEAR LASH
Measuring the differential gear lash
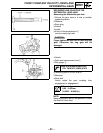
1.Secure the gear case in a vise or another
supporting device.
2.Remove:
●
Drain plug
●
Gasket
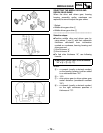
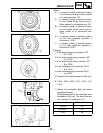
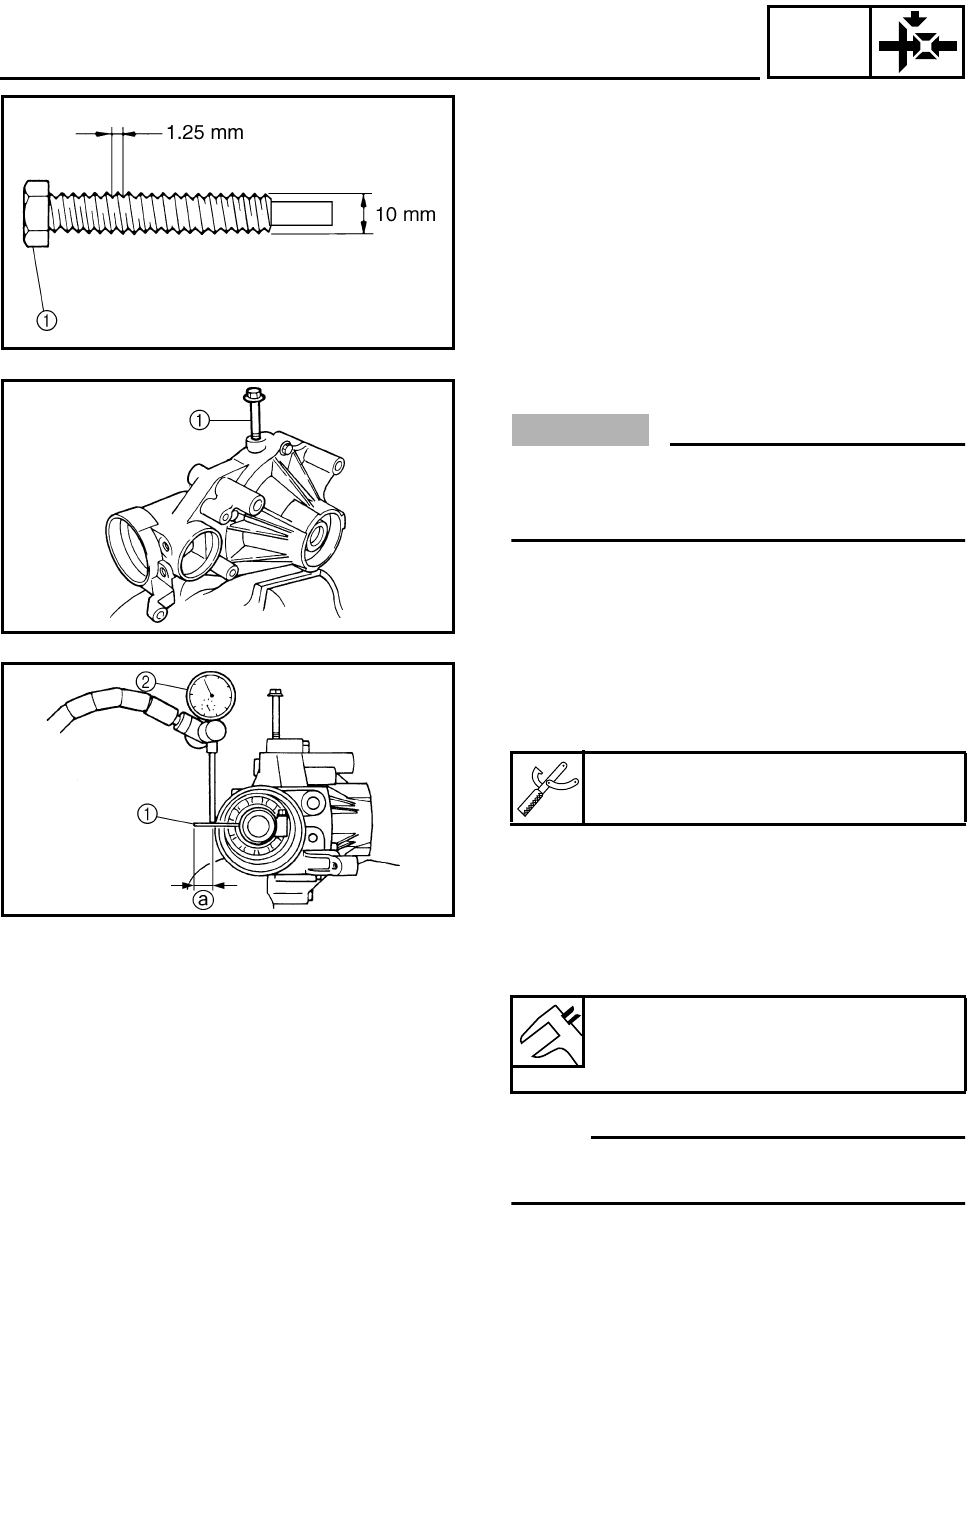
3.Install:
●
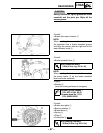
A bolt of the specified size 1
(into the drain plug hole)
CAUTION:
Finger tighten the bolt until it holds the ring
gear. Otherwise, the ring gear will be
damaged.
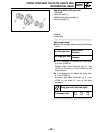
4.Attach:
●
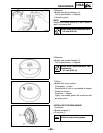
Gear lash measurement tool 1
●
Dial gauge 2
a
Measuring point is 25 mm (0.98 in)
5.Measure:
●
Gear lash
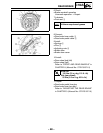
Gently rotate the gear coupling from
engagement to engagement
.
N
OTE:
Measure the gear lash at four positions. Rotate
the shaft 90° each time.
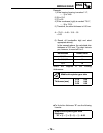
Gear lash measurement tool:
P/N. YM-01475, 90890-01475
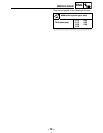
Differential gear lash:
0.05 ~ 0.25 mm
(0.0020 ~ 0.0098 in)


