ME(H4DOTC)-51
MECHANICAL
Engine Assembly
Tightening torque:
50 N·m (5.1 kgf-m, 36.9 ft-lb)
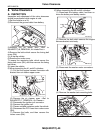
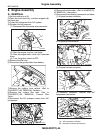
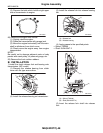
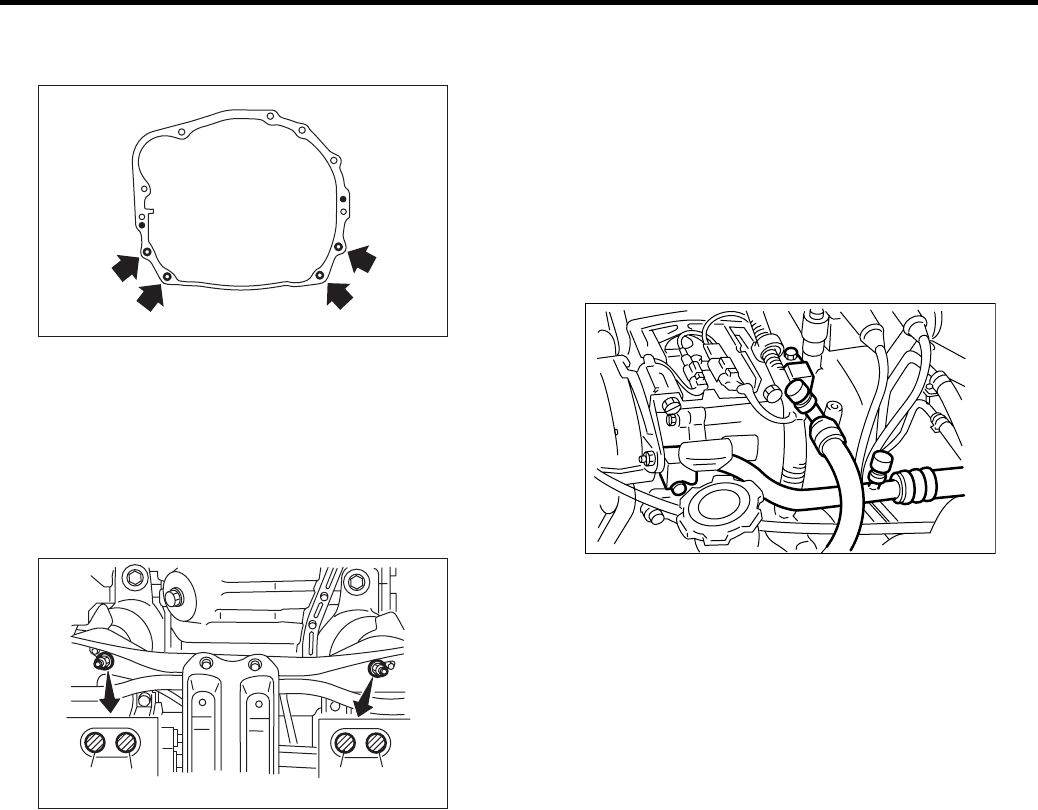
15) Tighten the nuts which install the front cushion
rubber onto crossmember.
Tightening torque:
85 N·m (8.7 kgf-m, 62.7 ft-lb)
NOTE:
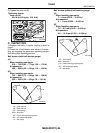
Make sure the front cushion rubber mounting bolts
(A) and locator (B) are securely installed.
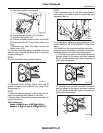
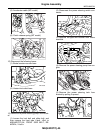
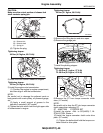
16) Install the ATF cooler pipe to frame. (AT model)
17) Install the center exhaust pipe.
<Ref. to EX(H4DOTC)-10, INSTALLATION, Center
Exhaust Pipe.>
18) Lower the vehicle.
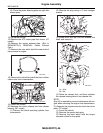
19) Connect the following hoses:
(1) Fuel delivery hose, return hose and evapo-
ration hose
(2) Heater inlet and outlet hoses
(3) Brake booster vacuum hose
20) Connect the following connectors and termi-
nals:
(1) Engine ground terminal
(2) Engine harness connectors
(3) Generator connector and terminal
(4) A/C compressor connectors
21) Connect the following cables:
(1) Accelerator cable
(2) Clutch release spring
22) After connecting each cable, adjust them.
23) Install the air intake system.
(1) Install the intercooler. <Ref. to
IN(H4DOTC)-10, INSTALLATION, Intercooler.>
(2) Install the air cleaner element and air clean-
er upper cover.
(3) Install the engine harness connector brack-
et.
(4) Install the filler hose to air cleaner case.
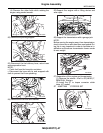
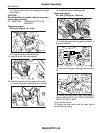
24) Install the A/C pressure hoses.
NOTE:
Use new O-rings.
Tightening torque:
25 N·m (2.5 kgf-m, 18.1 ft-lb)
25) Install the radiator. <Ref. to CO(H4DOTC)-24,
INSTALLATION, Radiator.>
26) Install the coolant filler tank. <Ref. to
CO(H4DOTC)-33, INSTALLATION, Coolant Filler
Tank.>
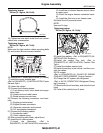
27) Install the window washer tank.
28) Install the battery in the vehicle, and then con-
nect the cables.
29) Fill coolant.
<Ref. to CO(H4DOTC)-18, FILLING OF ENGINE
COOLANT, REPLACEMENT, Engine Coolant.>
30) Charge the A/C system with refrigerant.
<Ref. to AC-22, OPERATION, Refrigerant Charg-
ing Procedure.>
31) Remove the front hood stay, and close the front
hood.
32) Take off the vehicle from lift arms.
ME-00040
ME-00056
(A)
(A)
(B)
(B)
ME-00707


