26 ► MAXFORCE BREAKER User Manual
CHARGING THE MAIN ACCUMULATOR
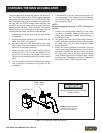
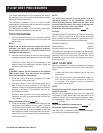
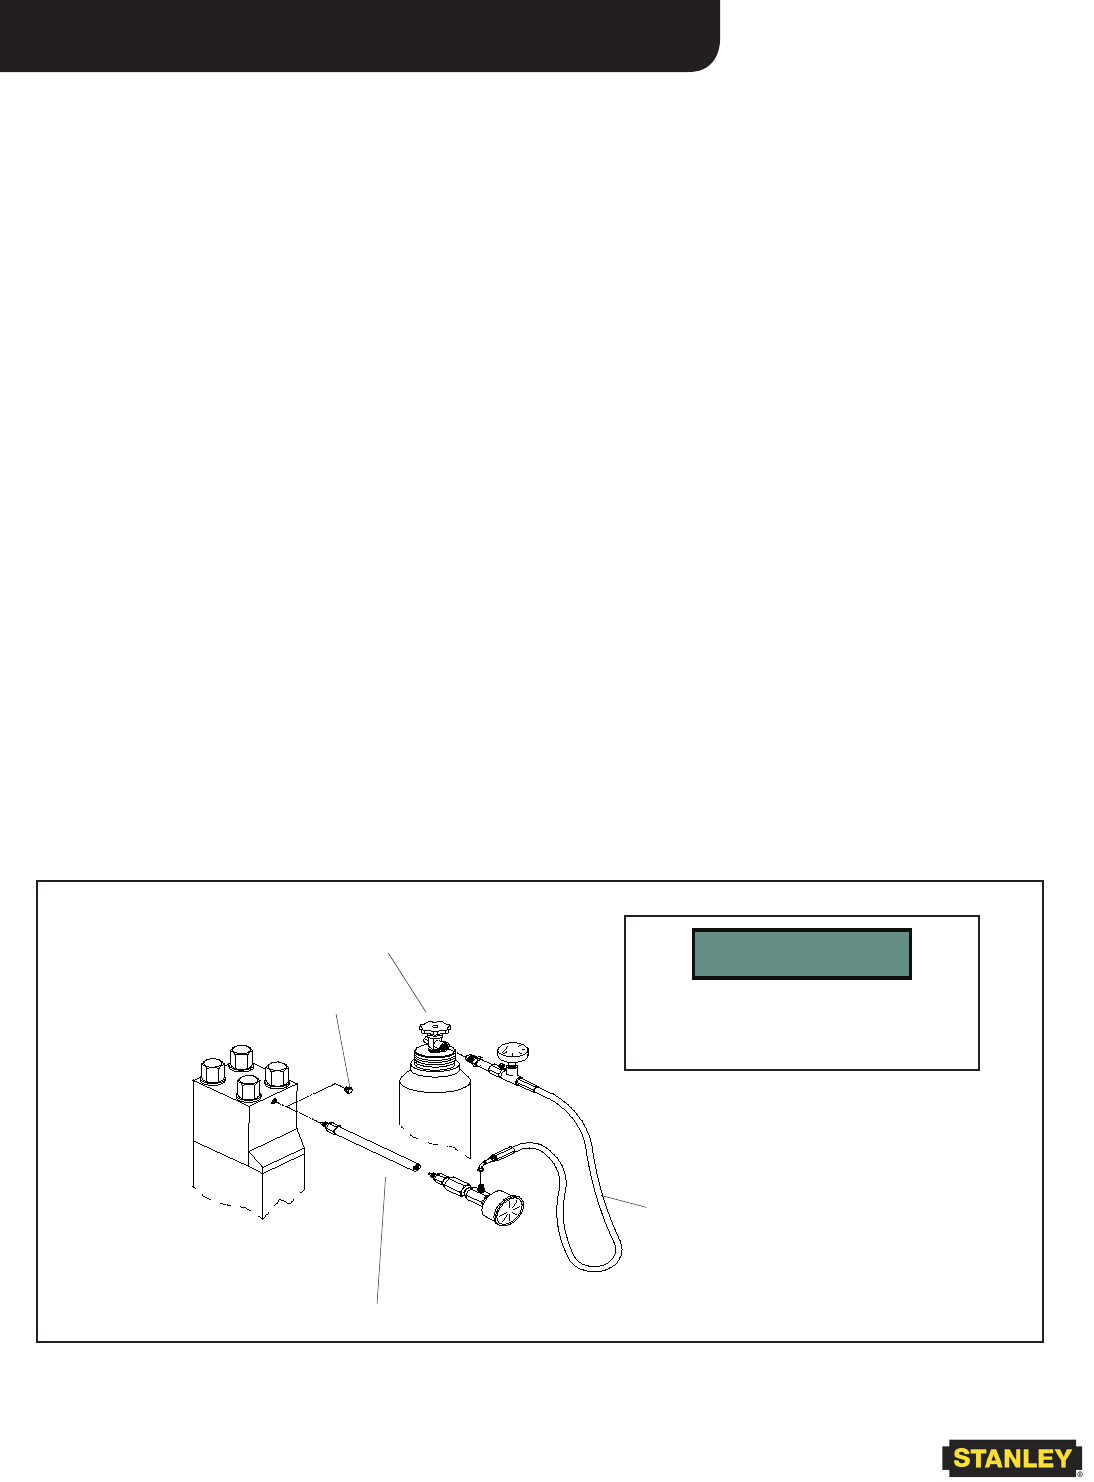
Thetoolsrequiredtochargethebreakerareshownbe-
low.The33464adapterand 33300adapterassembly
canbeobtainedindividuallyorinakit(P/N33465).Note
thattheadapterandadapterassemblyaredesignedto
be used with the 505232 charge hose assembly and
the 28257 accumulator tester which are used with other
Stanley model breakers. When charging the breaker,
makesurethetoolsandchargevalveareclean.Dirtcan
contaminatethechargevalveandcauseleakage.
1. Remove theprotective plugfrom theaccumulator
chargevalve.
2. Screwtheadapterassembly(P/N33300)ontothe
tester(P/N28257)andtightenit.
3. Holdthechuckendofthetesterandturnthegauge
fullycounterclockwisetoensuretheplungerinside
thechuckiscompletelyretracted.
4. Screwthetesterintothebreaker chargevalveby
turningthe chuck.Donotuse thegaugeforturn-
ing asthiswill advancethe plungerin thechuck.
Tightenthechucklightlyagainstthebreakercharge
valve.
5. Turn thegaugeclockwise toadvancethe plunger
untilapressureisindicatedonthegauge.Donot
overtighten.
6. Ifthepressureiscorrect,unscrewthegaugetore-
tracttheplunger.Then,loosenandremovethetes-
terfromthechargevalve.Ifthepressureisnotcor-
rect,proceedtoStep7.
NOTE:
When disengaging the tester a "POP" of nitrogen is
normal.
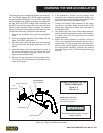
7. Connect the charge hoseassembly to the charg-
ingvalveonthetester.Makesurethevalveonthe
chargehoseassemblyisclosed.Openthevalveon
thenitrogenbottle.
8. Veryslowlyopenthevalveonthechargehoseas-
semblyandslowlymeterthenitrogenintothebreak-
er charge valve until the tester reads the correct
chargepressure.
9. When the correct pressure is obtained, close the
valveonthechargehoseassemblyandonthenitro-
genbottle.Unscrewthegaugetoretracttheplung-
er.Loosenandremovethetesterfromthecharge
valve.Beforereplacingtheprotectiveplug,inspect
theplugo-ring.Ifdamagedordeformed,replacethe
plug.ApplyLoctite™242toplugandcap.
Nitrogen Bottle
(locallyobtained)
505232 Charge Hose Assy
(Includesgauge,valve,hose
andchargevalveadapter)
ChargeValvePlug
IMPORTANT
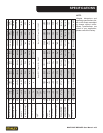
SeeSpecicationspageforcorrect
chargepressure
Figure 22. Charging the Main Accumulator


