21
3.2.1 Locale
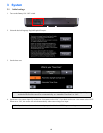
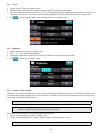
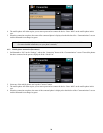
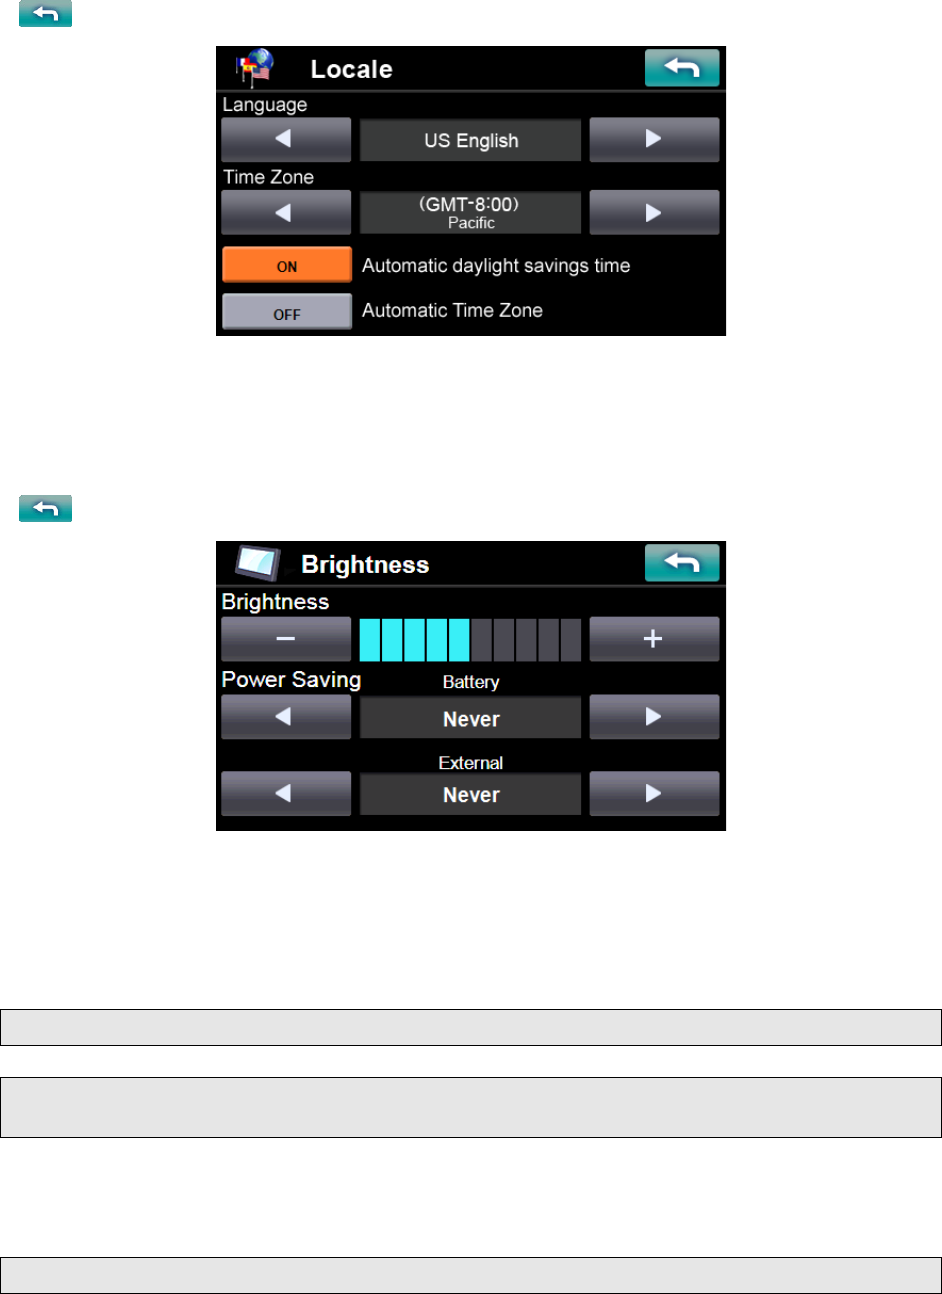
1. Tap the “Locale” icon in the “Settings” menu.
2. Tap the forward or backward arrow until the language and the Time Zone you want appears.
3. If you set “Automatic daylight savings time” to “ON”, your unit adjusts clock for daylight saving automatically. And if you set
“Automatic Time Zone” to “ON”, the navigation software automatically sets the system Time Zone after receiving GPS.
4. Tap to set the language and the Time Zone and return to the “Settings” menu.
3.2.2 Brightness
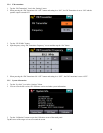
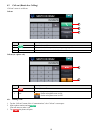
1. Tap the “Brightness” icon in the “Settings” menu.
2. Tap “+” or “-” to set the Backlight brightness.
3. Tap the left or right arrow to set the LCD power-save of battery and external power drive modes.
4. Tap to return to the “Settings” menu.
3.2.3 Camera / Camera settings
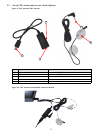
This device can be used as a monitor for rear view cameras such as those manufactured by Sanyo CCA-BC200. If you use the rear
view camera connect the “mini-Jack to RCA conversion cable” provided to the video output terminal of the rear view camera and
insert it into the CAMERA-IN of the device.
The procedure to display the rear view camera image is the following:
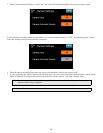
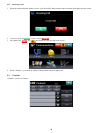
1. Tap the “Camera Settings” icon in the “Settings” menu.
2. Tap the “Camera Input ON/OFF” button in “Camera Settings” and set the button to “ON”.
NOTE: See Rear View Camera Instruction Manual for details about how to fix the rear view camera to the car.
NOTE: The unit is not equipped with an image reverse function, to obtain a mirror image similar to that of the back
mirror use a camera equipped with an image reverse function.
NOTE: If you don’t use the rear view camera input you should select “OFF” for power saving.


