


RadarHAWK™ SBIII - Page 17
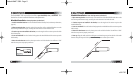
Setting up the compass
To set the compass readings you will need to drive your vehicle slowly in a full circle. Be sure you are in an area where
you can safely perform this maneuver.
1. Install the radar detector in your vehicle at your preferred location - windshield, dashboard, or visor.
2. Press and hold the BACKLIGHT and MUTE buttons simultaneously for 2 seconds.
3. The screen will display “DRIVE IN A FULL CIRCLE PRESS ANY BUTTON WHEN DONE.“
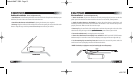
4. Drive your vehicle in a full circle. The direction and size of circle do not matter. You have one minute to complete
the maneuver.
5. Press any button to complete the compass set-up.
Understanding alert messages
1. When a radar signal is detected, the screen displays the name of the band - “X“, “K“, or “KA“ - and a number
indicating the strength of the signal (1 to 8).
2. When a laser signal is detected, the screen displays “LASER“.
3. The higher the number, the stronger the signal.
4. Stronger signals usually mean the police radar/laser device is relatively close; weaker signals usually mean it's
farther away.
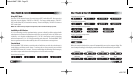
Adjusting the Alert Filter
If you receive too many false alert signals, or are driving in specic environments, press the ALERT FILTER button to
switch between lter modes:
1. FILTER-NORMAL - Optimized ltering for typical city or highway driving
2. FILTER-HIGH - Increased ltering to reduce most false alerts, good for high-density commercial areas
3. FILTER-OFF - No ltering of alert signals, ideal for open space areas
Using POP™ Mode (Power Cord operation only)
Press the "FILTER" button for two (2) seconds to turn POP™ mode ON or OFF. Once you select this mode, the unit displays
"POP ON" or "POP OFF". The factory default mode is "POP OFF". POP™ mode (ON or OFF) is stored in the memory. The unit
will display "KA POP" if it detects a POP™ radar signal.
Battery Information
The RadarHAWK™ SBIII operates on two AA alkaline batteries. To ensure optimum performance
and battery life, we recommend you not use other types of batteries. We also do NOT recommend
using AA rechargeable batteries as the resulting battery life will be shorter due to characteristics of
rechargeable batteries.
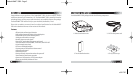
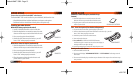
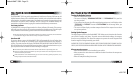
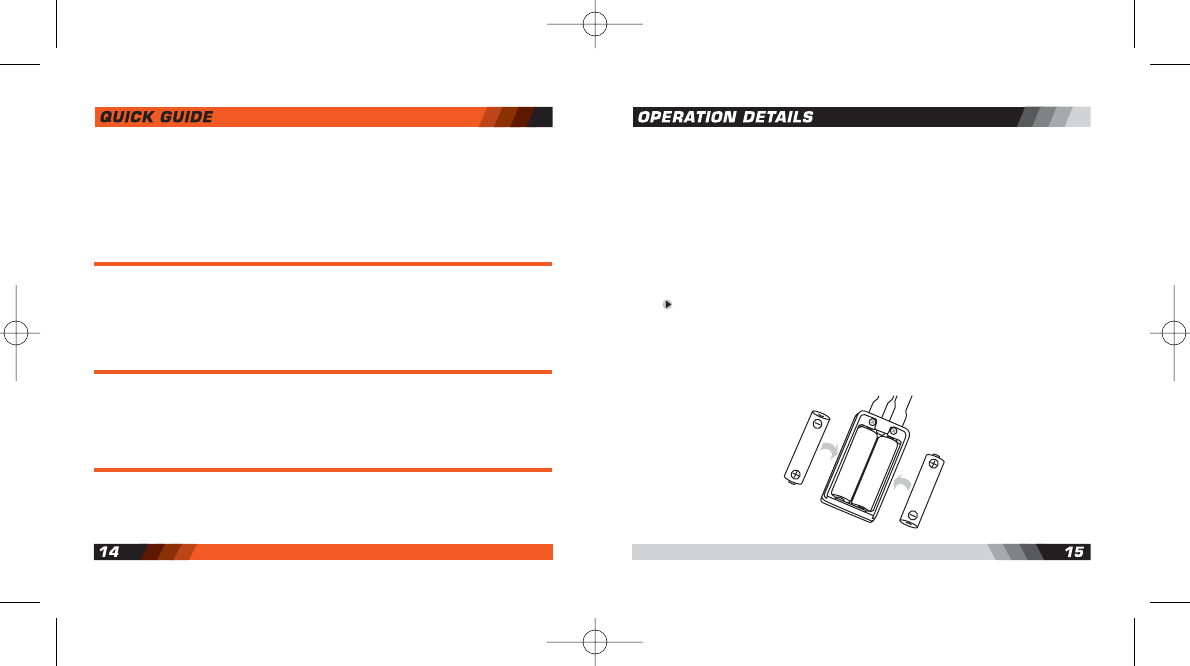
Battery Installation
1. BE SURE the radar detector is turned o; disconnect the battery box from the radar detector.
2. Remove the battery door on the battery box.
3. If replacing batteries, remove the old batteries by pulling on the battery removal ribbon.
For maximum battery life, do not mix old and new batteries.
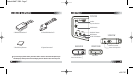
4. Insert two fresh AA alkaline batteries into the battery box, observing the polarity indication
inside the battery box.
5. Replace the battery box door and reconnect the battery box to the radar detector.
6. The radar detector is ready for use.
v.051707