


RadarHAWK™ SBIII - Page 13
v.051707
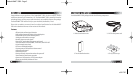
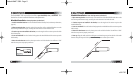
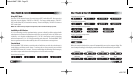
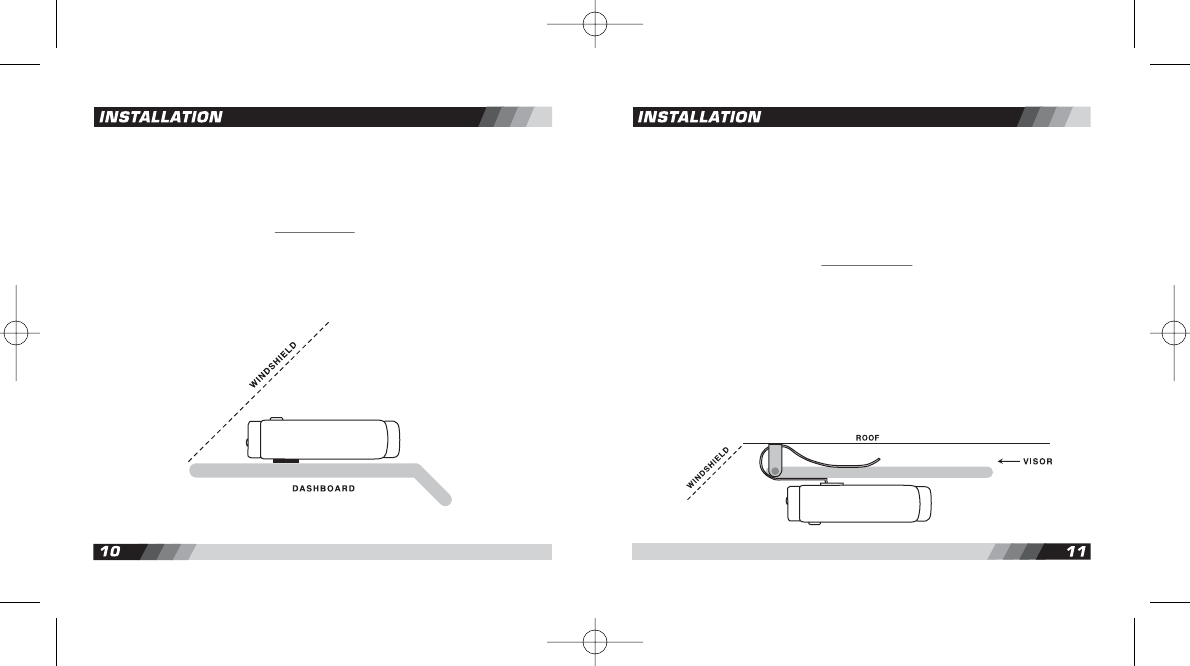
Dashboard Installation - Power Cord Operation only
1. Attach fastener. Peel o backing and adhere one side of the hook & loop fastener directly to your
dashboard, the other side to the bottom of the radar detector.
2. Attach the radar detector to the dashboard by placing the fastener pieces together.
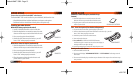
3. Power-up. Plug the small end of the coiled power cord into the power jack on the side of the radar
detector. Plug the large end of the power cord into the power socket of your vehicle.
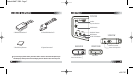
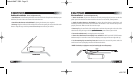
Visor Installation* - Power Cord Operation only
1. Attach visor bracket. Clip the visor bracket to the back pivoting edge of your visor so that the
plastic piece of the bracket faces downward when the visor is in its normal, stowed position.
2. Attach the radar detector to the bracket by turning the radar detector upside-down and
mounting it onto the plastic end of the visor bracket. You will hear a “click” when the two parts are
properly connected. Make sure the LCD screen faces you.
3. Power-up. Plug the small end of the straight power cord into the power jack on the side of the
radar detector. Plug the large end of the power cord into the power socket of your vehicle.
4. Turn on the radar detector by moving the power switch to ON.
5. Reverse the radar detector’s text display. Press and hold the MUTE and ALERT FILTER buttons
simultaneously for 2 seconds to reverse the text display (so messages will be seen right-side-up).
6. Use the retaining clips to attach any loose wire between the visor and the power socket. Be
careful not to leave any dangling wires that will distract the driver.
* NOTE: Visor bracket, straight power cord, and retaining clips are sold separately.