


RadarHAWK™ SBIII - Page 15
Choose where to install the RadarHAWK™ radar detector
The RadarHAWK™ SBIII can be installed on your windshield, dashboard or visor.
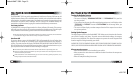
• Windshield installation includes both battery and power cord options.
• Dashboard and visor installations include power cord option only.
Installing your radar detector
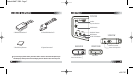
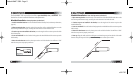
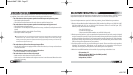
Windshield - Battery option (use Bracket A)
1. Install 2 AA alkaline batteries in the bracket box.
2. Bend the bracket bars as needed to ensure the radar
detector will be easy to read and level with the road.
3. Press securely against the windshield.
4. Attach the radar detector to the bracket - you will
hear a “click” when properly connected.
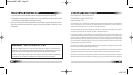
Windshield - Power Cord option (use Bracket B)
1. Bend the bracket bars as needed to ensure the radar
detector will be easy to read and level with the road.
2. Press securely against the windshield.
3. Attach the radar detector to the bracket - you will
hear a “click” when properly connected.
4. Plug the power cord into the radar detector and
power socket of your vehicle.
v.051707
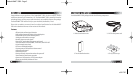
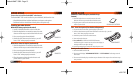
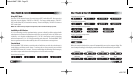
BRACKET A
BRACKET B
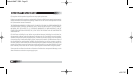
VISOR BRACKET
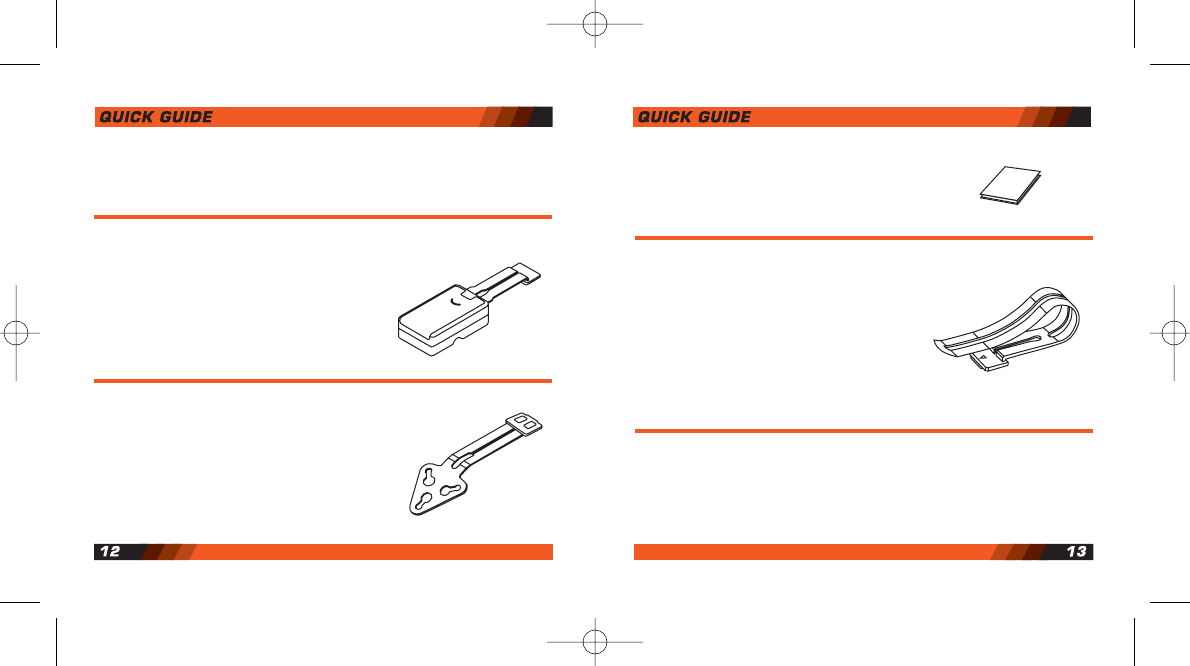
HOOK & LOOP FASTENER
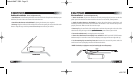
Dashboard - Power Cord option (use Hook & Loop
fastener)
1. Bend the bracket bars as needed to ensure the radar
detector will be easy to read and level with the road.
2. Plug the power cord into the radar detector and power
socket of your vehicle.
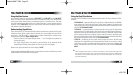
Turning on the radar detector
1. Move the POWER switch to ON.
2. The screen will display “RADARHAWK DETECTOR * * * FILTER-NORMAL” indicating a normal
lter mode.
3. The screen will then display a random compass direction if the compass has not been set-up
since purchase.
Visor - Power Cord option (Visor Bracket sold separately)
1. Clip visor bracket to the back, pivoting edge of your visor.
2. Turn the radar detector upside-down and attach to the visor clip - you will
hear a “click” when properly connected.
3. Attach the power cord to the radar detector.
4. Turn on the radar detector.
5. Press and hold the MUTE and ALERT FILTER buttons
simultaneously for 2 seconds to reverse the text display (so
messages will be seen right-side-up).
6. Use the retaining clips to neatly tuck away the power cord.