CONTOUR GUIDANCE
1. Background: Choose contour guidance whenever
you want to follow previous passes. In this mode, you
are either logging an initial pass or guiding from a pre-
vious pass. After choosing contour guidance, you pro-
ceed by making your initial pass anywhere you like
without using the guide. Later, when you attempt to
follow a previous pass, the guide will turn on. Contour
guidance is generally used for working out borders,
turn areas and contour following.
2. Make The Initial Pass: Press CONTOUR GUID-
ANCE before beginning. The display will read “LOG-
GING PASS”. Proceed with the initial pass using any
path you desire.
3. Guide On Subsequent Passes: Anytime you
approach a previously made pass, the Outback S
TM
will
automatically recognize what you're doing and will
begin to guide. That pass, in turn, will become the pat-
tern for the next pass and so forth. In contour mode,
any previous pass (even those made in straight mode)
can be used to guide from.
7
4. Making A New First Pass: Let's say you've made
several passes and then want to start a new line that
doesn't follow the last one. Simply drive where you
want to go. Once it becomes obvious that you're not
guiding from another pass, the unit will go back into
logging pass mode.
5. Switching Modes: You may switch between
straight and contour at any time. When switching from
straight to contour, the Outback S
TM
guides from any
previously made pass.
STRAIGHT GUIDANCE
Background: Choose straight guidance whenever you
want the unit to generate straight, parallel paths for you
to follow. You can establish the first pass along a
straight side of the field or you can divide the field
with a straight swath and work out each side. All pass-
es will be perfectly and uniformly spaced across the
field.
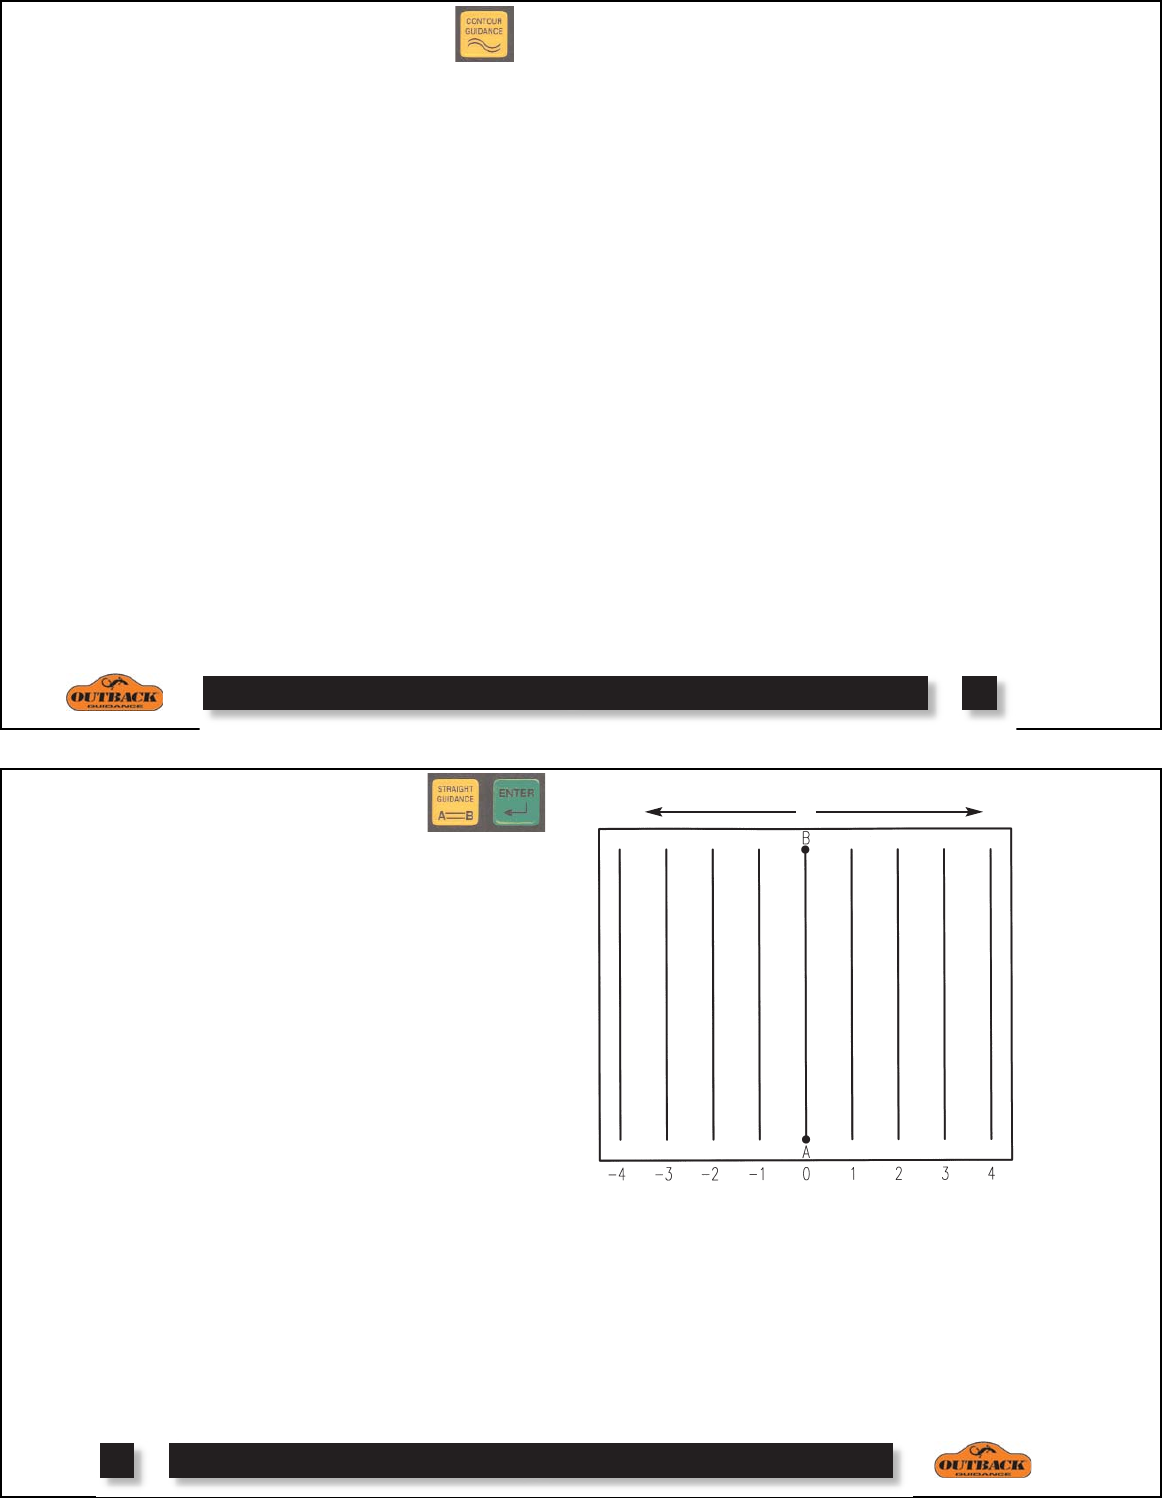
An A=B line is defined by marking an A point and a B
point. The imaginary line that passes through those
two points defines the first pass. All other passes are
perfectly spaced on both sides of the first pass.
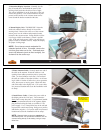
1. Mark Point A: With the tractor positioned at the
beginning of the first pass, press STRAIGHT GUID-
ANCE. You’ll get the message PRESS ENTER FOR
POINT “A”. Press ENTER to mark the point.
2. Mark Point B: Then drive some or all of the first
pass. If following a straight side of the field, go all the
way to the end before marking Point B. If dividing the
field, it's only necessary to go a short distance. You
will be prompted to press the ENTER button again to
mark Point B.
8
3. Begin Straight Guiding: After Point B is entered,
the unit automatically begins guiding. Keep the
Steering Guide™ lights centered by moving the steer-
ing wheel. When one pass is finished, just turn around
in the approximate area of the pass you wish to follow
and the unit will automatically seek the new pass.
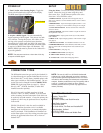
Pass Number
Shift A=B Left
Shift A=B Right


