


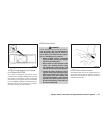
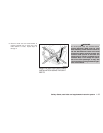
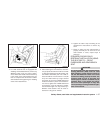
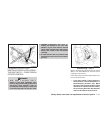
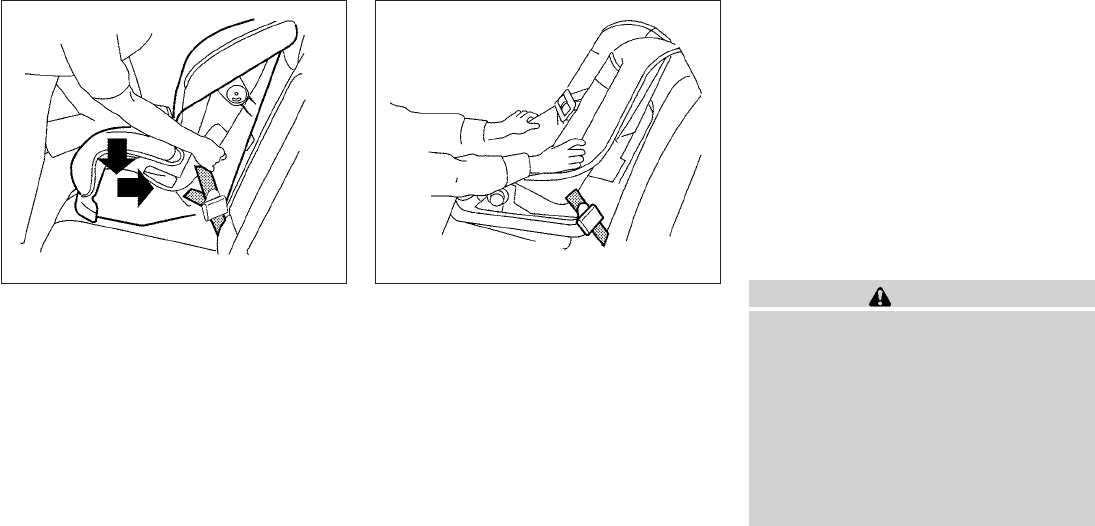
4. For child restraints that are equipped with
webbing-mounted attachments, remove any
additional slack from the anchor attach-
ments. Press downward and rearward firmly
in the center of the child restraint with your
knee to compress the vehicle seat cushion
and seatback while tightening the webbing
of the anchor attachments.
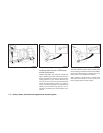
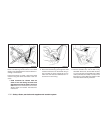
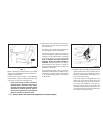
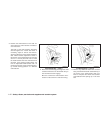
5. After attaching the child restraint, test it be-
fore youplace thechildin it.Push itfrom side
to side while holding the child restraint near
the LATCH attachment path. The child re-
straint shouldnot move morethan 1inch (25
mm), from side to side. Try to tug it forward
and check to see if the LATCH attachment
holds the restraint in place. If the restraint is
not secure, tighten the LATCH attachment
as necessary, or put the restraint in another
seat and test it again. You may need to try a
different child restraint. Not all child re-
straints fit in all types of vehicles.
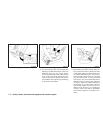
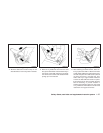
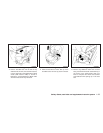
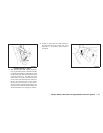
6. Tighten the tether strap according to the
manufacturer’s instructions to remove any
slack.
7. Check to make sure the child restraint is
properly secured prior to each use. If the
child restraint is loose, repeat steps 3
through 5.
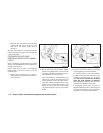
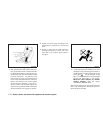
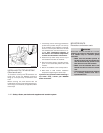
FORWARD-FACING CHILD
RESTRAINT INSTALLATION USING
THE SEAT BELTS — FRONT
PASSENGER AND REAR BENCH
SEAT
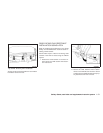
WARNING
The three-point seat belt with Automatic
Locking Retractor (ALR) must be used
when installing a child restraint. Failureto
use the ALR mode will result in the child
restraint not being properly secured. The
restraint could tip over or be loose and
cause injury to a child in a sudden stop or
collision. Also, it can change the opera-
tion of the front passenger air bag. See
“Front passenger air bag and status light”
later in this section.
Forward-facing – step 4
LRS0671
Forward-facing – step 5
WRS0697
Safety—Seats, seat belts and supplemental restraint system 1-37