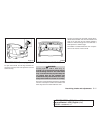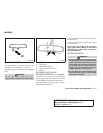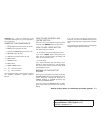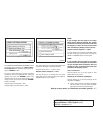
“Display” key — This is a select key on the
screen. By selecting this key you can proceed to
the next function.
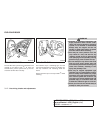
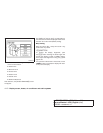
NAMES OF THE COMPONENTS
1. brightness control button (P. 4-10)
2. PREV (previous) button (P. 4-3)
3. Joystick and ENTER push button (P. 4-3)
4. SETTING button (P. 4-6)
5. TRIP drive computer button (P. 4-4)
6. DEST button*
7. ROUTE button*
8. MAP button*
9. GUIDE VOICE button*
10.
zoom out button*
11.
zoom in button*
*For Navigation system control buttons, refer to
the separate Navigation System Owner’s
Manual.
HOW TO USE JOYSTICK AND
“ENTER” BUTTON
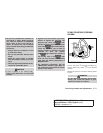
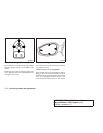
Choose an item on the display using the joystick
and push the “ENTER” button for operation.
HOW TO USE “PREV” BUTTON
This button has two functions.
● Go back to the previous display (cancel).
If you touch “PREV” button during setup, the
setup will be canceled and/or the display will
return to the previous screen.
● Finish setup.
If you touch this button after the setup is com-
pleted, the setup will start over, and the display
will return to the climate control or audio mode
and Navigation screen.
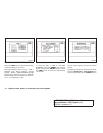
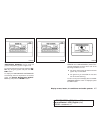
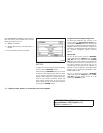
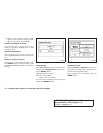
SETTING UP THE START-UP
SCREEN
When you turn the ignition key to ACC or ON, the
SYSTEM START-UP warning is displayed on the
screen. Read the warning and select the “I
AGREE” (English) or “ENTER” (Français) key
then press the ENTER button.
If you do not press the ENTER button, the Navi-
gation system will not proceed to the next step
display.
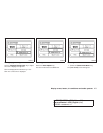
If you do not touch a button or screen key for
more than 1 minute on the START-UP screen, the
screen will change to the audio screen automati-
cally.
To proceed to the next step, refer to the separate
Navigation System Owner’s Manual.
Display screen, heater, air conditioner and audio systems 4-3
੬ REVIEW COPY—
2006 Altima (l30)
Owners Manual—USA_English (nna)
02/23/06—arosenma
੭


