8.16
Section 8
Electrical System and Components
Inspection
Drive Pinion
Check and inspect the following areas:
a. The pinion teeth for abnormal wear or
damage.
b. The O.D. surface between the pinion and the
clutch mechanism for nicks, or irregularities
which could cause seal damage.
c. Check the drive clutch by holding the clutch
housing and rotating the pinion. Pinion should
rotate in one direction only.
Brushes and Springs
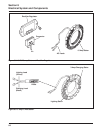
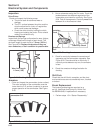
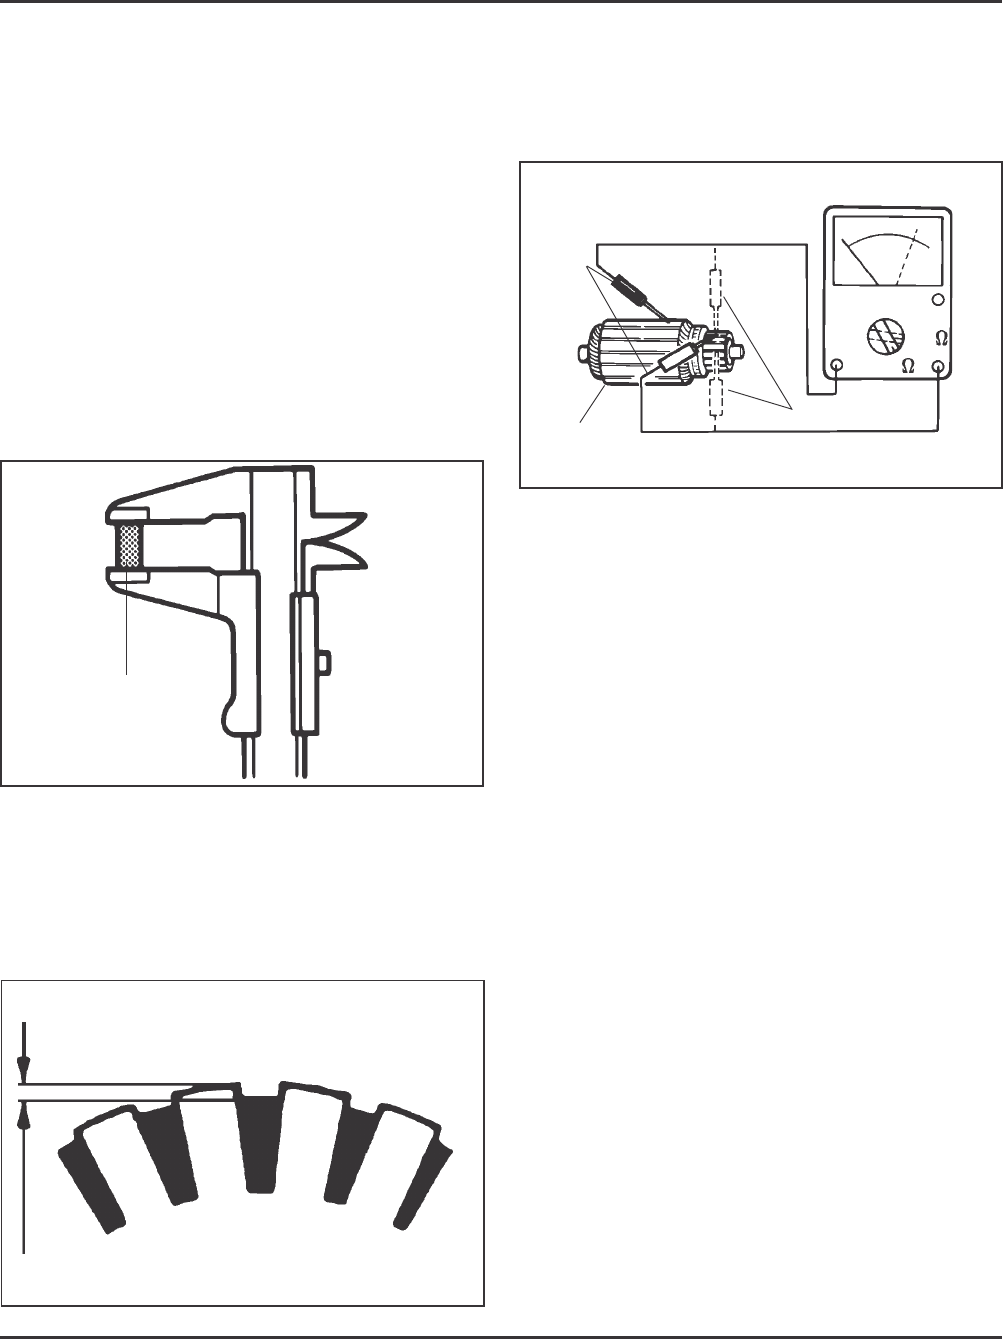
Inspect both the springs and brushes for wear, fatigue,
or damage. Measure the length of each brush. The
minimum length for each brush is 7.6 mm (.300 in.).
See Figure 8-24. Replace the brushes if they are
worn undersize, or their condition is questionable.
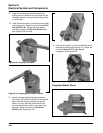
Figure 8-24. Checking Brushes.
Armature
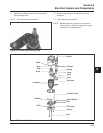
1. Clean and inspect the commutator (outer surface).
The mica insulation of the commutator must be
lower than the O.D. surface (undercut) to ensure
proper operation of the commutator. See Figure
8-25.
Figure 8-25. Commutator Mica Inspection.
2. Use an ohmmeter set to the Rx1 scale. Touch the
probes between two different segments of the
commutator, and check for continuity. See Figure
8-26. Test all the segments. Continuity must exist
between all or the armature is bad.
Figure 8-26. Checking Armature.
3. Check for continuity between the armature coil
segments and the commutator segments. See
Figure 8-26. There should be no continuity. If
continuity exists between any two, the armature
is bad.
4. Check the armature windings/insulation for
shorting.
Shift Fork
Check that the shift fork is complete, and the pivot
and contact areas are not excessively worn, cracked
or broken.
Brush Replacement
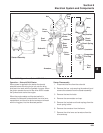
The brushes and springs are serviced as a
set (4). Use Brush and Spring Kit, Kohler Part
No. 25 221 01-S, if replacement is necessary.
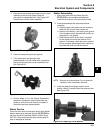
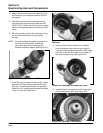
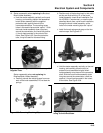
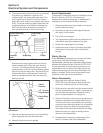
1. Perform steps 1-5 in “Starter Disassembly.”
Wear limit length:
1.6 mm (.300)
Commutator O.D.
Mica Insulation
Continuity Check
Armature
Coil
Insulation
Check


