


11
ENGLISH
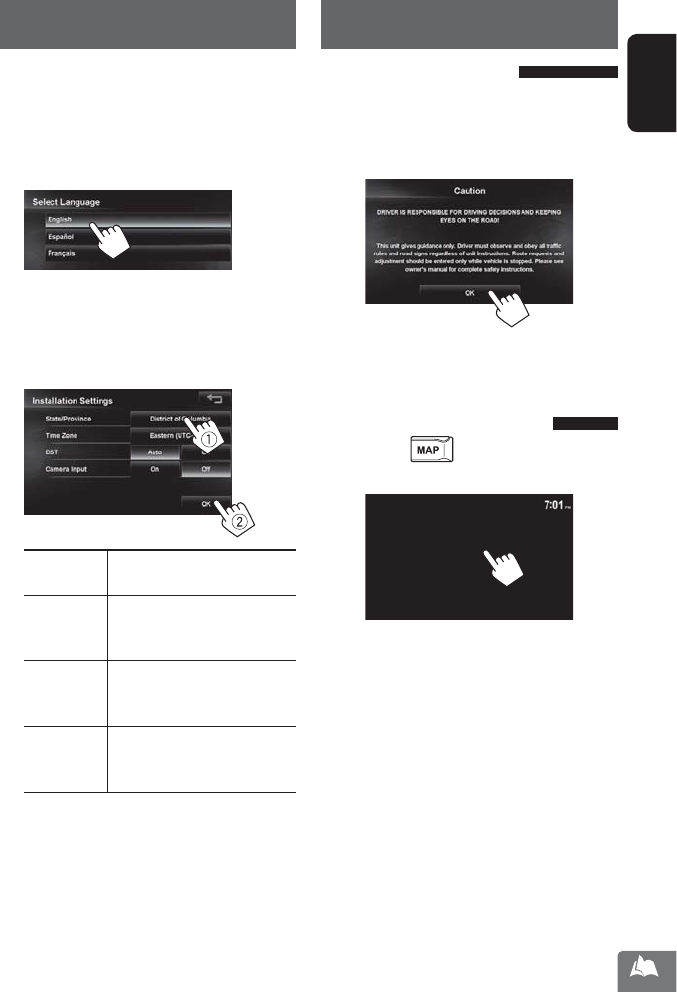
Basic operationsInstallation settings
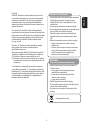
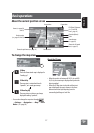
When you turn on the unit for the first time, the initial
setup screen appears.
1 Turn on the ignition switch.
The power of the unit is turned on.
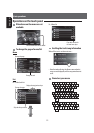
2 Select the language you want for the display
and the voice guidance.
• You can also select the system language through
<Settings> - <System> - <Region> -
<Language>. (☞ page 82)
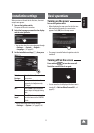
3 Set the installation settings (1), then press
[OK] (2).
State/
Province
Select the State or Province where
you are now.
Time Zone * Select your residential area for
automatic clock adjustment by
GPS signal.
DST * Select [Auto] if your residential
area is subject to Daylight Saving
Time.
Camera
Input *
Select [On] when connecting the
rear view camera to the CAMERA
IN jack.
* You can also change these settings through
<Settings> - <System>. (☞ page 83, 84)
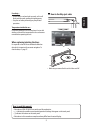
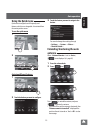
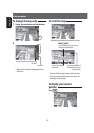
Turning on the power
Turn on the ignition switch.
• When displaying the map screen for the first time
after turning on the power, the screen below
appears. Press [OK] to use the map screen.
• The power is turned off when the ignition switch is
turned off.
Turning off/on the screen
Press and hold to turn the screen off.
Touch the screen to turn it on again.
• You can erase the clock display while the screen is
turned off. (<Clock on Video/Screen-Off>, ☞
page 83)