


1/07999-200
8
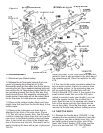
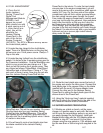
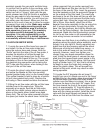
sunk bolt removed earlier through the L-bracket,
through the main S/C bracket, and through the
hole in the exhaust manifold to S/C bracket. The
jam nut that goes on this bolt fits tightly between
the rear support bracket and the engine’s cam
cover. Use an open-end wrench and some
masking tape to hold the nut to the wrench while
you feed it into place. Start the countersunk-
head bolt with your other hand and run the pair
down tight. Tighten down the front pinch bolt
using an open-end wrench. If you find that the
bracket/supercharger assembly collides with
your cam cover vent tube during initial installa-
tion, it means you did not leave enough threads
exposed on the main mounting bolt installed in
step #6.1. Retry it with the bolt further out.
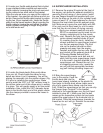
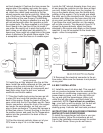
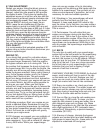
6.3 Swing the flat lower bracket up into place in
front of the supercharger boss. Locate the small
stamped throttle cable bracket from your kit and
thread the new bolt through the throttle cable
bracket hole, through the spacer, through the
supercharger boss and through the flat steel
lower bracket. Secure with the locking nut and
bolt supplied. Make sure that the head of the
bolt is on the throttle bracket side of the assem-
bly.
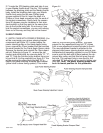
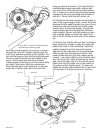
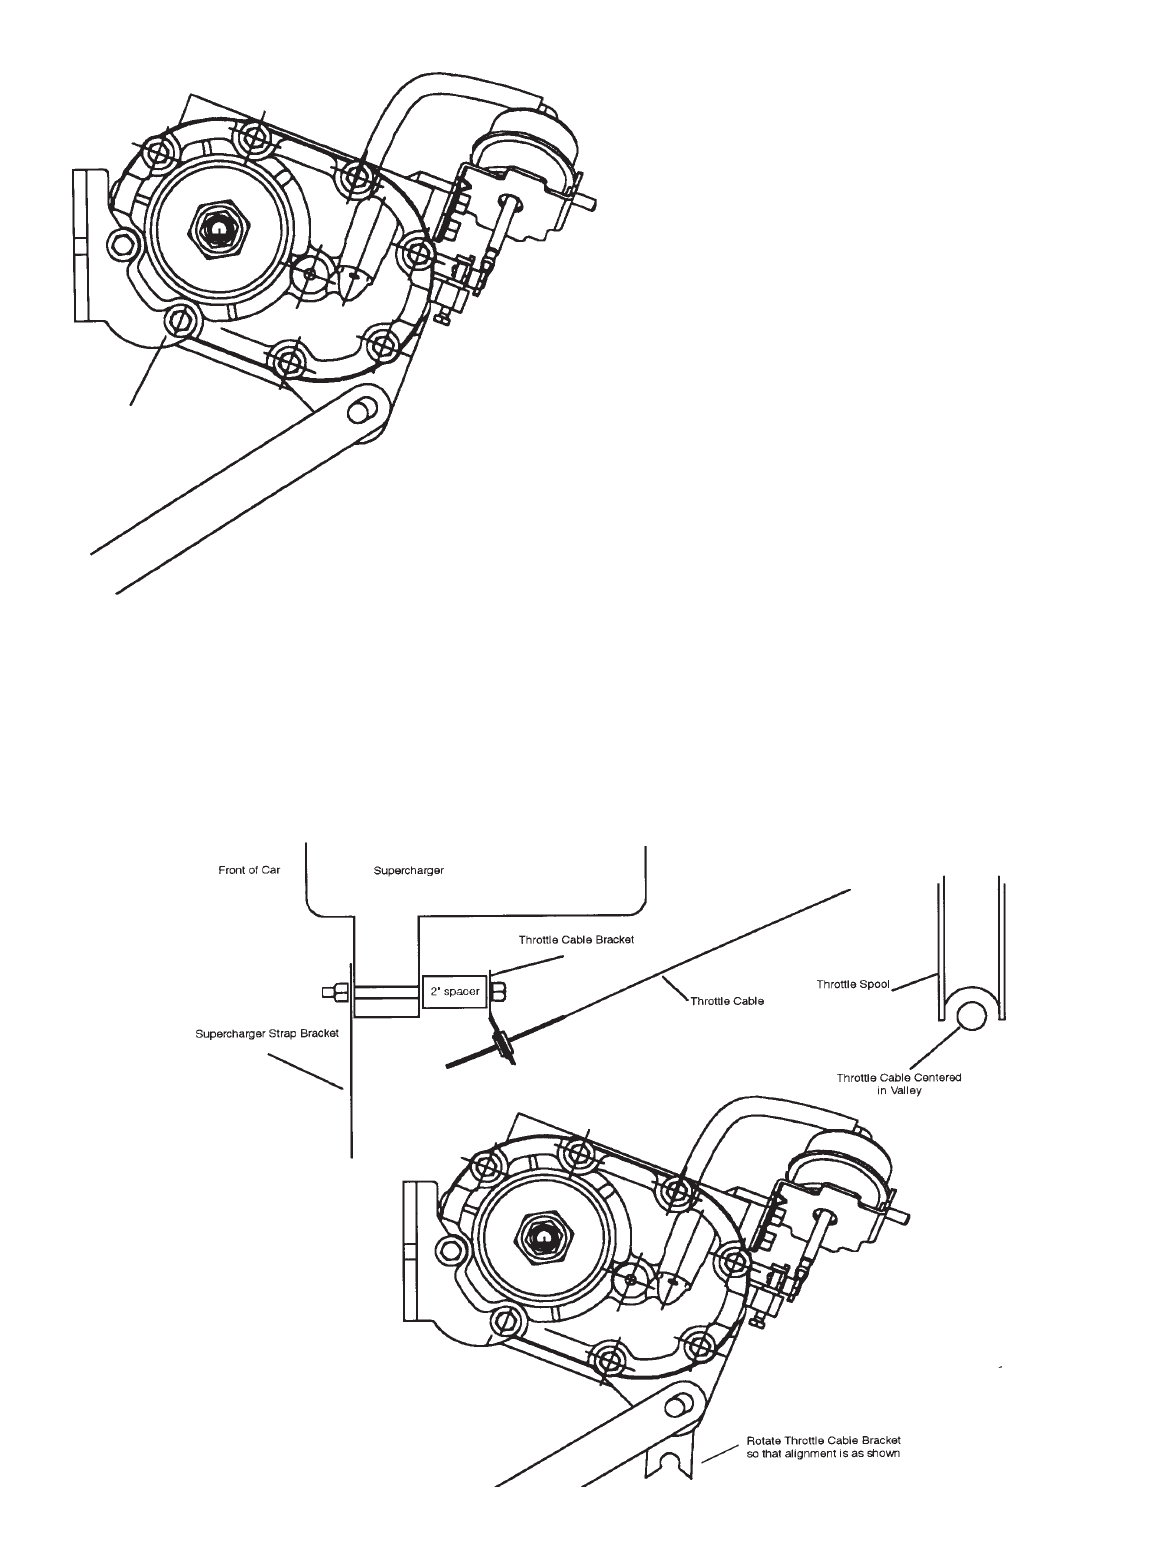
6.4 Route your throttle cable so that it is looped
back toward the firewall, routing the cable just
behind the driver’s side headlamp. Install the
cable’s threaded end into the small bracket
attached to the underside of the supercharger.
Make certain that the cable/grommet is fully
nested within the slot (this may require some
muscle – we made it tight so your throttle cable
won’t ever fall out). Open the throttle by hand
and insert the cable end into the throttle spool.
Make sure that the cable runs in the center of
the groove of the throttle spool. If it does not,
adjust the throttle cable bracket left or right until
it is centered in the spool’s groove. Have an
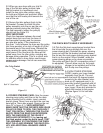
Lower Hole is slotted for adjustment of
supercharger mounting angle