


5.2 Locate your throttle cable bracket that is bolted
to your standard intake manifold and remove the
throttle cable by loosening the pinch nuts surround-
ing the cable end on either side of the bracket.
Once the nuts are loose, you can pull the cable out
of the bracket - the grommet will deform and let you
do this. Remove the throttle cable bracket by remov-
ing the two 10mm headed bolts. Unclip the throttle
cable from the firewall anchors. Begin rerouting the
throttle cable by looping the end behind the brake
master cylinder and laying its length along the dri-
ver’s side fender well.
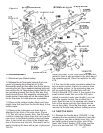
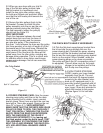
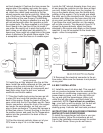
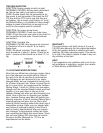
5.3 Locate the black plastic Roto-mold elbow
from your kit. Check inside the elbow for any
debris and clean it out if necessary. You will be
placing the assembly into the position shown (Fig.
5.3) prior to installing the supercharger. Make
sure to install the 2.50” to 2.750” reducer hose to
the airflow meter end of this elbow prior to setting
it in place. This will greatly assist in air flow meter
installation. Also, install the 2.50” diameter hump
hose to the throttle body end of this plastic elbow.
Use the clamps provided to secure the hoses to
the elbow.
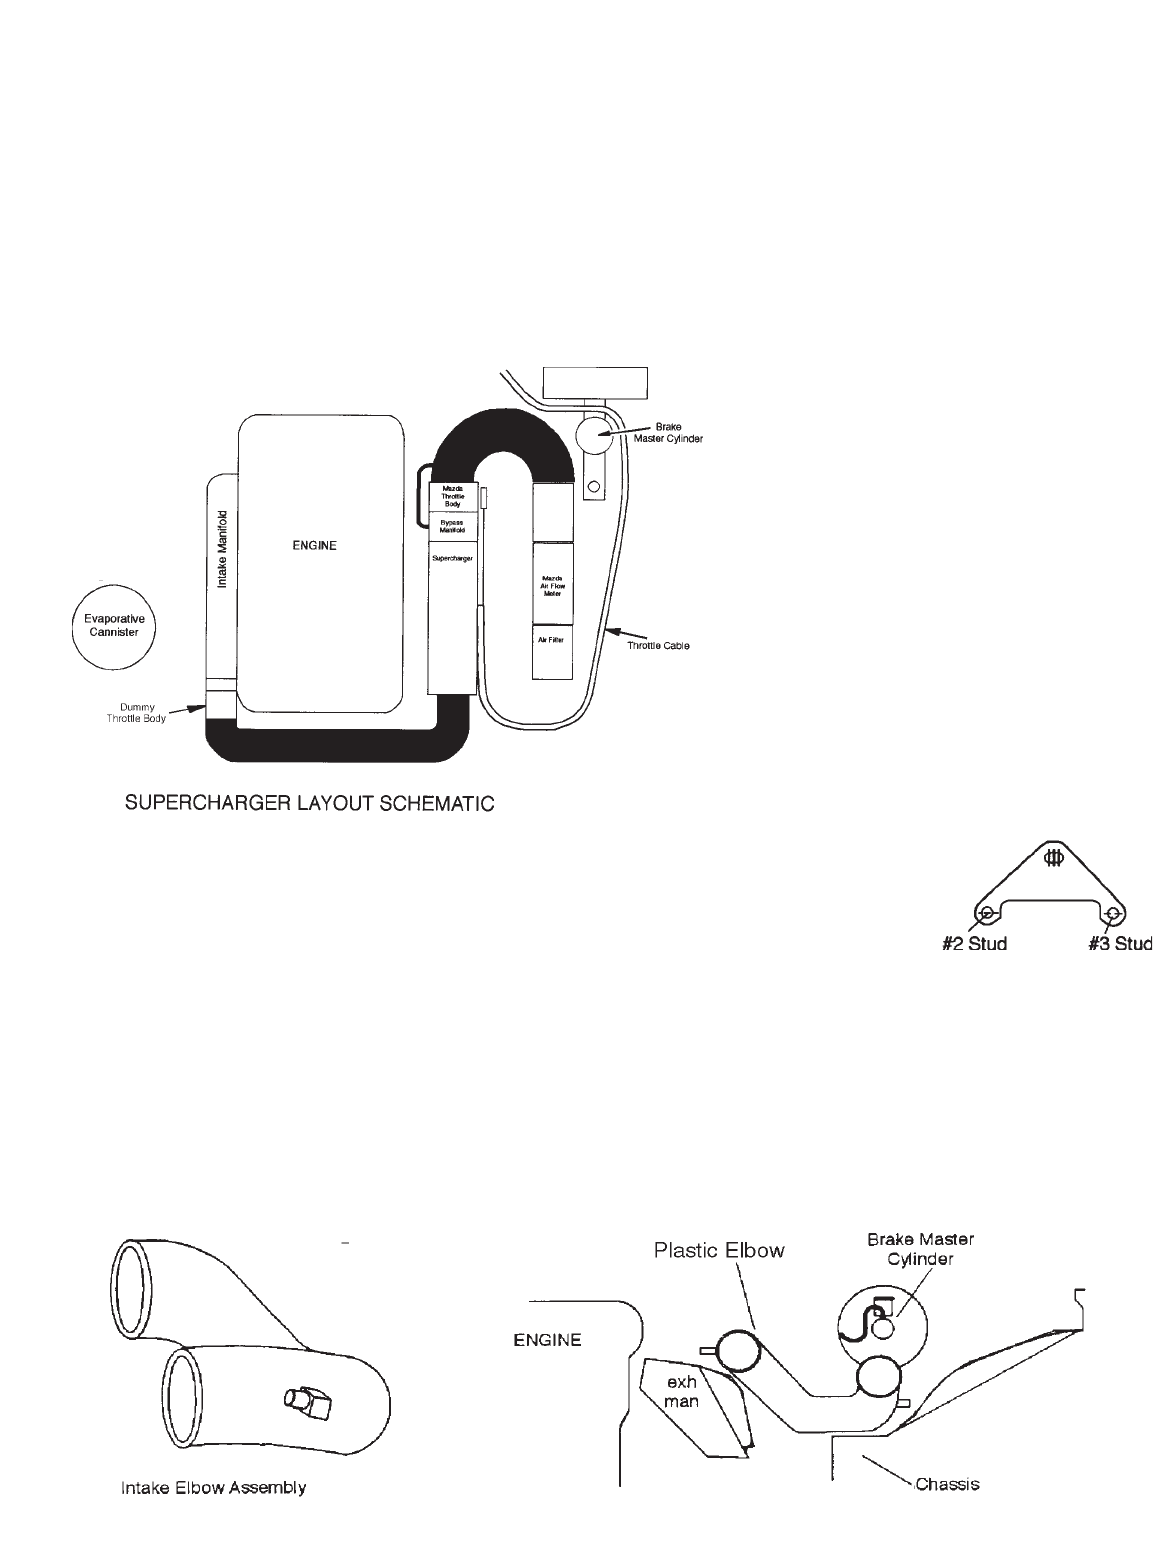
6.0 SUPERCHARGER INSTALLATION
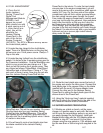
6.1 Remove the engine lift eyelet at the front of
the engine, just above the exhaust manifold by
removing the bolt using a 14mm socket. Install
the new flanged headed bolt supplied with your
kit into the boss on the side of your cylinder head.
Leave at least 1/2” of thread exposed on the bolt.
Remove the heat shield from the exhaust mani-
fold. Make sure to spray the small bolts with WD
40 or such and let them soak for a bit to make
sure that they do not shear off during removal.
Spray your exhaust manifold nuts with
WD 40 or equivalent and let soak for ten
minutes, reapplying at the five minute
point. Remove the nuts from the two top
center exhaust manifold studs (#2 and
#3, counting from the front). Install the
exhaust manifold to supercharger bracket
over the two exposed studs. The third
hole on the bracket should be offset
upwards and away from the engine.
Reinstall and tighten the two nuts. Mount
rear bracket on the exhaust studs #2 &
#3 Reusing Mazda Exhaust Nuts.
Remove the counter sunk bolt and nut
which hold the main supercharger brack-
et to the small L-bracket attached to the
supercharger unit. Discard the nut, it is
for shipping purposes only. Locate the
jam nut from the appropriate hardware
bag (self locking prevailing torque nut:
M10).
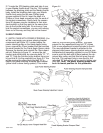
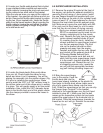
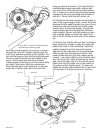
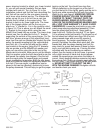
6.2 Bring the supercharger
over to the engine. Feed the
throttle body end into the
hump hose already installed on the plastic Air
flow meter to throttle body elbow (make sure to
slip a fully opened hose clamp over the hose
first). Orient the supercharger so that you can slip
the forward large “keyhole” in the bracket
attached to the supercharger over the bolt head
installed in step #6.1. Make sure that the bolt
moves up the respective vertical slot and seats
against the upper edge of the horizontal slot in
the bracket. Slide the supercharger towards the
firewall as far as it will go. Reinsert the counter-
7
1/07999-200