


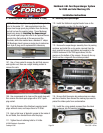
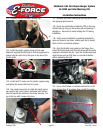

99. Once the coolant pipes have been separated, reinstall
the smaller diameter of the two by gently sliding it onto
the nipple in the engine valley and securing it onto the
back of the head with the stock bolt. The lower hose and
larger diameter hard line can be discarded.
100. Reattach the upper heater hose to the hard line with
the stock hose clamp.
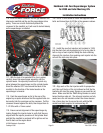
IX. Installing New Components.
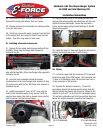
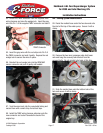
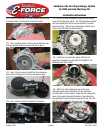
101. Use a 13mm socket to remove the two idler pulleys
on the driver’s side of the engine, but save one of the
mounting bolts for later.
92. Reinstall the foam bumper insulator and secure it in
place with the stock body pins.
93. Reconnect the fog lights and indicators, then replace
the fascia onto the front of the car. Reach through the
fender wells to reattach the nuts that secure it.
94. Reinstall the screws and push in rivets that secure
the inner fender wells, then reinstall the upper front fascia
bolts.
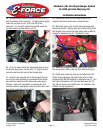
95. Replace the lower splash shield and the radiator
shroud and secure them with the stock fasteners. The
vehicle can now be lowered.
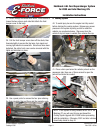
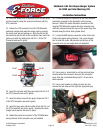
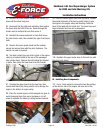
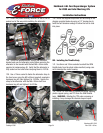
96. Two hard coolant lines are held in place in the engine
valley by a bracket bolted to the rear of the passenger
side cylinder head. Remove the bolt holding this bracket
in place, then unclip the lower hose from the firewall.
97. Unclamp the upper hose from the hard line, then
remove both hard lines, being careful not to damage the
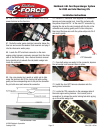
nipple in the bottom of engine valley.
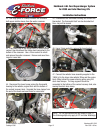
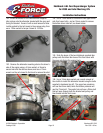
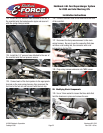
98. Place the coolant pipes in cloth wrapped vice jaws to
avoid damaging them, then use a hacksaw or cut-off
wheel to seperate the tubes by cutting the two brackets,
as shown below.
©2009 Edelbrock Corporation
Catalog #1580
Brochure #63-1580
Rev. 2/09 - AJ/mc
Edelbrock 4.6L Ford Supercharger System
for 2005 and later Mustang GTs
Installation Instructions
Page 18