


10
INSTALLATION
ENGLISH
■
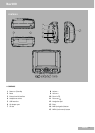
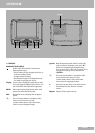
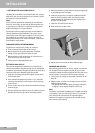
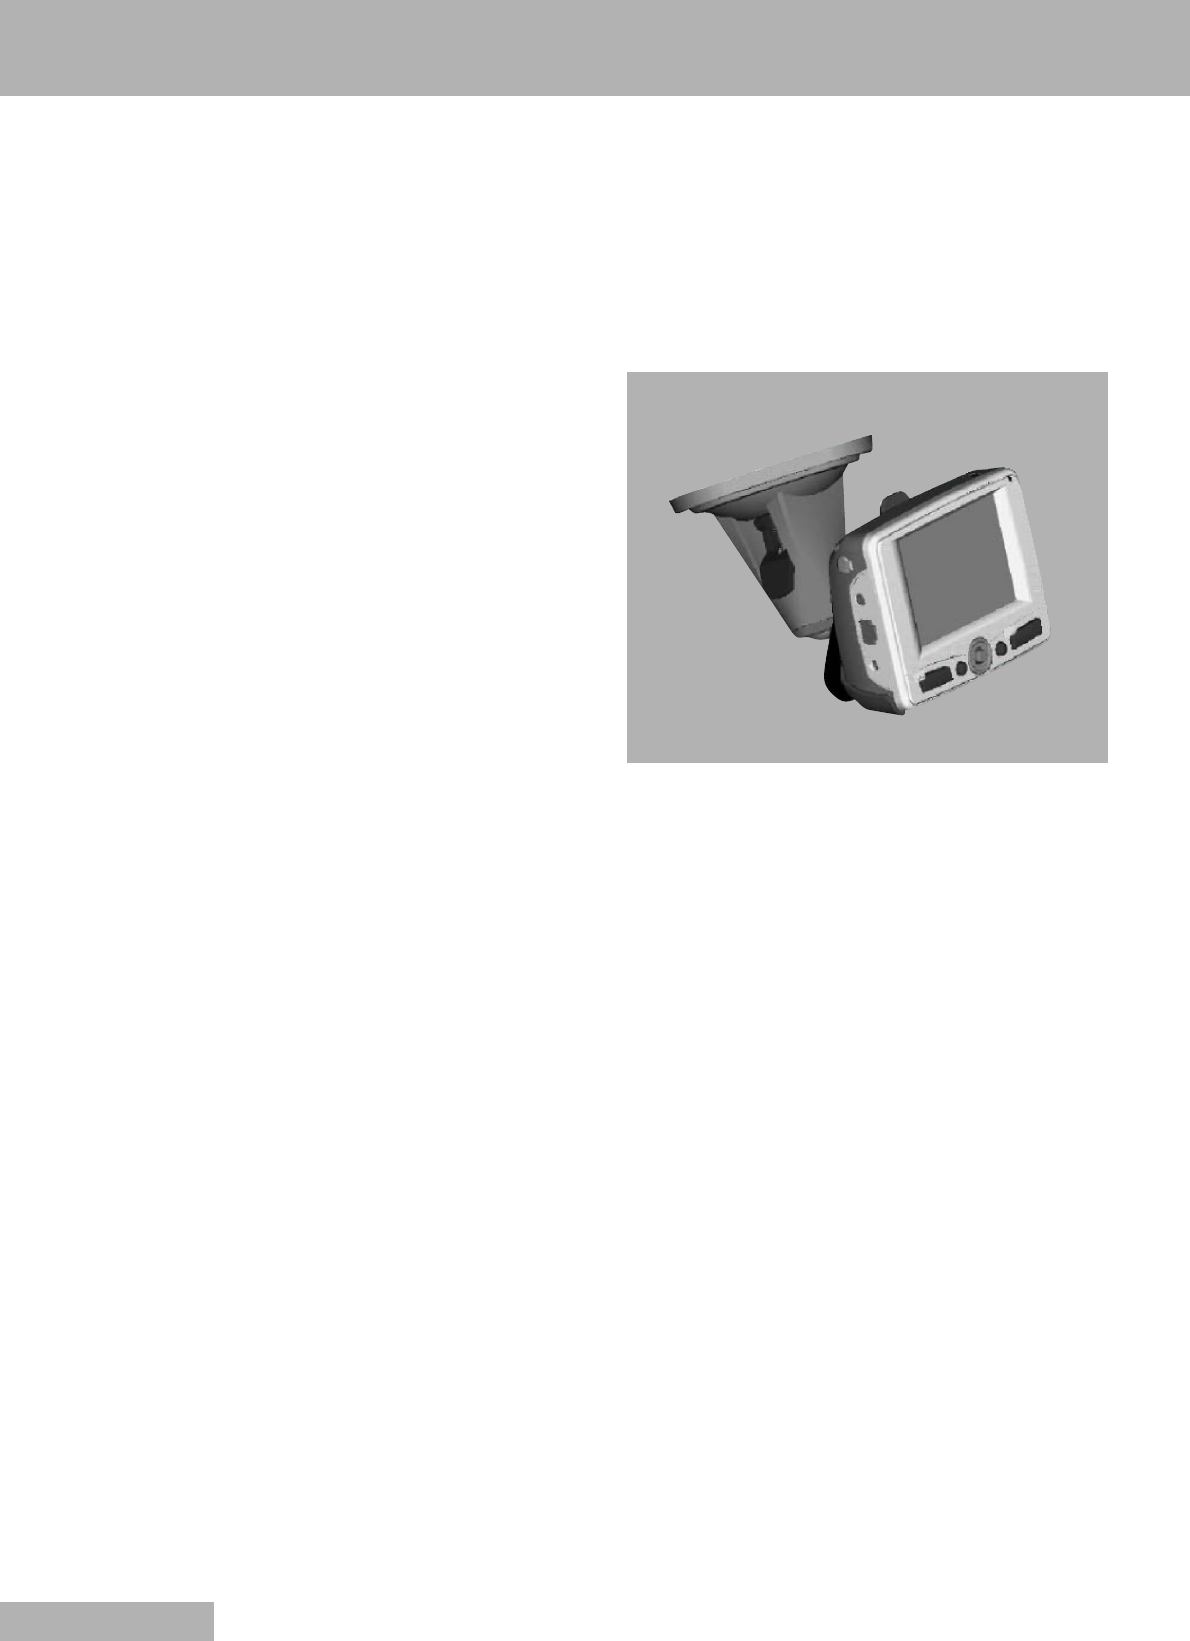
SETTING UP THE Nav100 ON A VEHICLE
The Nav100 comes with a car mount kit and a car charger
with which you can set up the device on a vehicle. Fasten
the bracket in a secure location.
Notes
Some countries prohibit the mounting of any electronic
device in any location on the vehicle dashboard. Be sure
to check your local laws for acceptable mounting areas
before installing the car mount bracket.
Some newer vehicle models may have a heat reflective
shield embedded in the windshield. This may in some
cases obstruct the GPS signal reception. If you encounter
this problem in your vehicle, you need to purchase an
external GPS antenna. For more information, contact your
local Delphi Grundig dealer.
CAR MOUNT INSTALLATION REMINDERS
Install the car mount on the surface of a vehicle:
7
That is smooth, flat and free of dirt and oil
7
Where the driver can easily view/reach it without
taking his/her eyes off too far from the road
7
Where the device will not obscure car controls nor re-
strict the driver’s view of the road
7
Far from the air bag deployment area
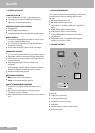
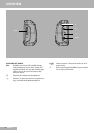
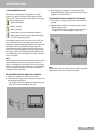
SETTING UP ON A VEHICLE
This section shows how to install the car mount kit in a
vehicle’s windshield using the suction cup. For dashboard
installation procedures using the self-adhesive power disc
connector refer to the Nav100 Quick Start Guide.
1 Clean the mounting surface with a glass cleaner and a
clean cotton cloth.
2 If the ambient temperature is below + 15° C warm the
mounting area and the suction cup to ensure a strong
suction bond.
3 Fix the suction cup to the selected area with the locking
lever facing up.
4 Flip the locking lever away from you to create a vacuum
between the suction cup and the mounting surface.
5 Make sure that the suction bond is strong enough befo-
re proceeding to the next step.
6 Insert the pegs on the car mount’s cradle plate to the
holes on the back of the cradle, and then move the
cradle downwards until both parts are engaged (you
will hear a click sound).
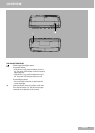
7 Insert the SD card into the device.
8 Dock the device on the cradle.
9 Adjust the car mount for the best viewing angle.
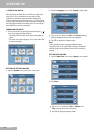
CHARGING ON A VEHICLE
After setting up the device on the car mount, connect the
car charger. If the car engine is turned off, you may be
required to switch the vehicle ignition back into the acces-
sories position. Consult your vehicle owner’s manual.
1 Connect the car charger to the power connector of the
Nav100.
2 Plug the other end of the car charger to your vehicle’s
cigarette lighter socket.
– The power LED indicator lights up orange during the
charging. The hot keys backlight is also lit up.
Note
The device comes with the battery pre-charged to at least
30% capacity. You can start using it once it is mounted in
your vehicle and connected to the cigarette lighter.
However, for maximum usage time you need to charge
your device to full capacity.