18 Chapter 3, Authoring the Tutorial Content
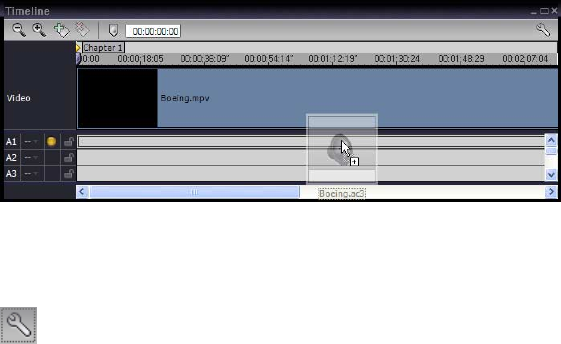
6 Drag Boeing.ac3 from the Palette window onto the A1 audio track in the
Timeline window, just below the video track.
7 Choose Timeline > Timeline Options or click the Timeline Options button in
the upper right of the Timeline window.
8 In the Timeline Options dialog box, make sure that Display Timecode is set to
Non-drop Frame. Click OK to close the Timeline Options dialog box.
Note: It’s important that the Display Timecode format matches the format of
the video source material, so the frames align properly with the Timecode
ruler in the Timeline window.
9 Choose File > Save or press Ctrl+S to save the changes to the tutorial project.
Note: You can import a movie to a project and automatically create a movie
from it. This is done with the Add Movie command in the File menu. For more
information, refer to the DVDit Pro User Guide.


