About the 2000i 5
Projector Settings
We’ve configured your projector settings for optimal performance with the 2000i. However, if these
settings are accidentally altered, follow the procedure below to restore them.
1. Press the Menu button on the projector remote control or on the projector.
NOTE: The Menu button is on what is effectively the underside of the projector, which is
suspended upside down from the projector mount).
2. Select Setup > Orientation > Ceiling Rear Projection to orient the projected image for rear
projection.
3. Select Image > Auto Keystone > Off to ensure optimal image quality.
4. Select Advanced > Fan Mode > Auto.
NOTE: Although this is a default setting, it’s important enough to warrant special mention.
5. Select Advanced > Page2 > Auto Adjust > Normal to automatically determine the best
resolution for the current RGB input signal, compensating for resolution differences among
various input devices (such as guest laptops).
6. Click OK.
NOTE: All other settings are the NEC factory default settings. See pages 40–50 of the NEC
VT470/570/670 User’s Manual for a full description of all default settings.
For information on projector maintenance and instructions on replacing the projector lamp and
filter, turn to page 44.
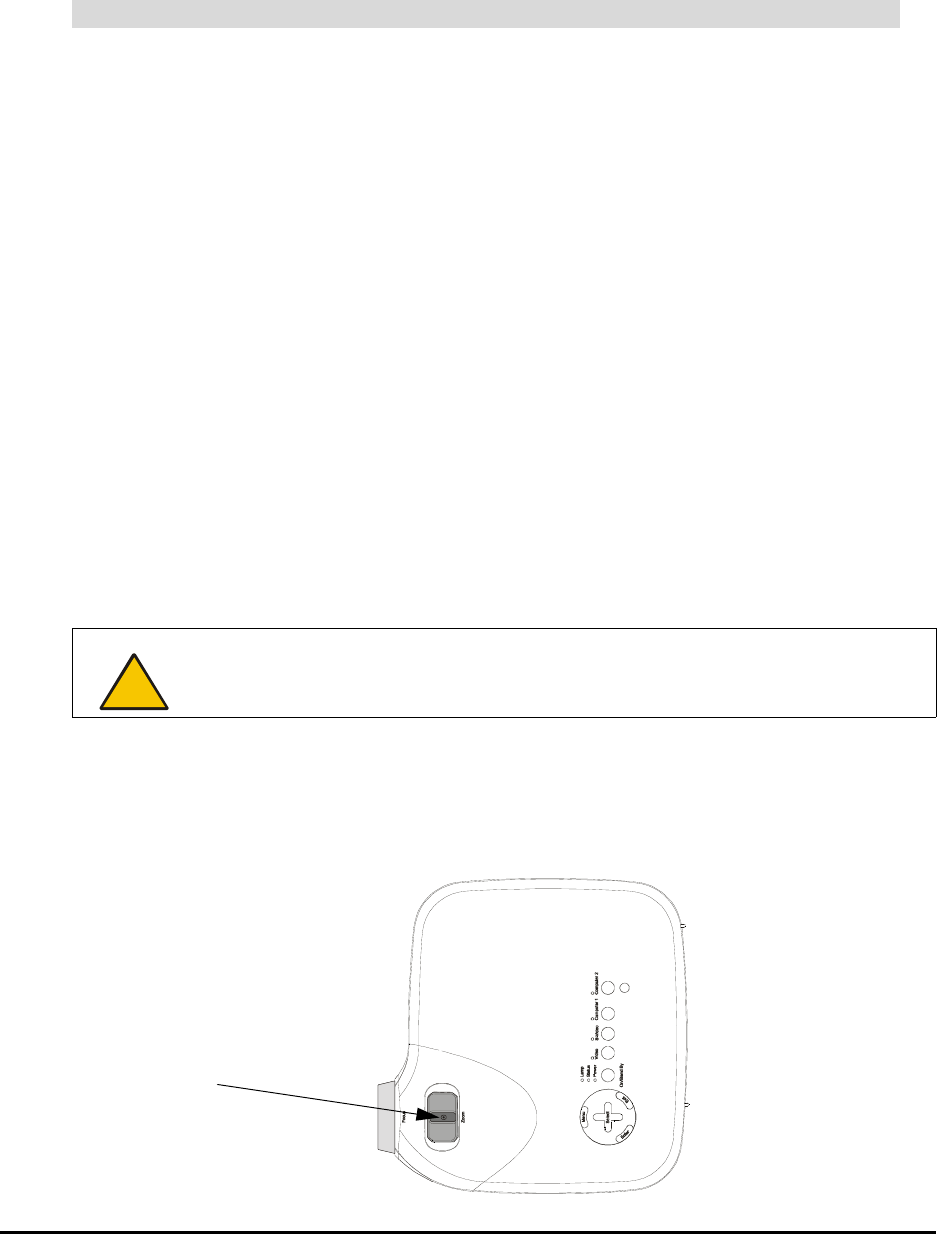
Adjusting Projector Focus
1. Locate the focus lever, at the bottom of the upside-down projector.
NOTE: Use this lever rather than the focus ring to adjust focus.
2. Using a 5/32" or 3/16" flat screwdriver, loosen the slot-head screw in the center of the focus
lever.
To set or restore the optimal settings for the NEC VT470/670 projector
CAUTION
Do not move the ring that surrounds the short-throw, customized projector lens. If
you move the ring, you may cause the lenses to separate.
Loosen this screw,
adjust focus and then
tighten


