5-69
CONNECTING RODS AND PISTONS
ENG
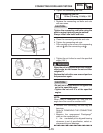
NOTE:
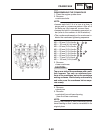
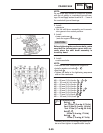
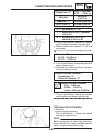
Cylinder bore “C”
65.50 X 65.51 mm
(2.5787 X 2.5791 in)
Wear limit
65.56 mm
(2.5811 in)
Taper limit “T” 0.05 mm (0.002 in)
Out of round “R” 0.05 mm (0.002 in)
“C” = maximum of D
1
X D
6
“T” = maximum of D
1
or D
2
– maximum
of D
5
or D
6
“R” = maximum of D
1
D
3
or D
5
–
minimum of D
2
D
4
or D
6
b. If out of specification, replace the cylinder,
and the pistons and piston rings as a set.
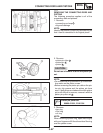
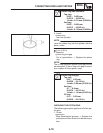
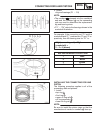
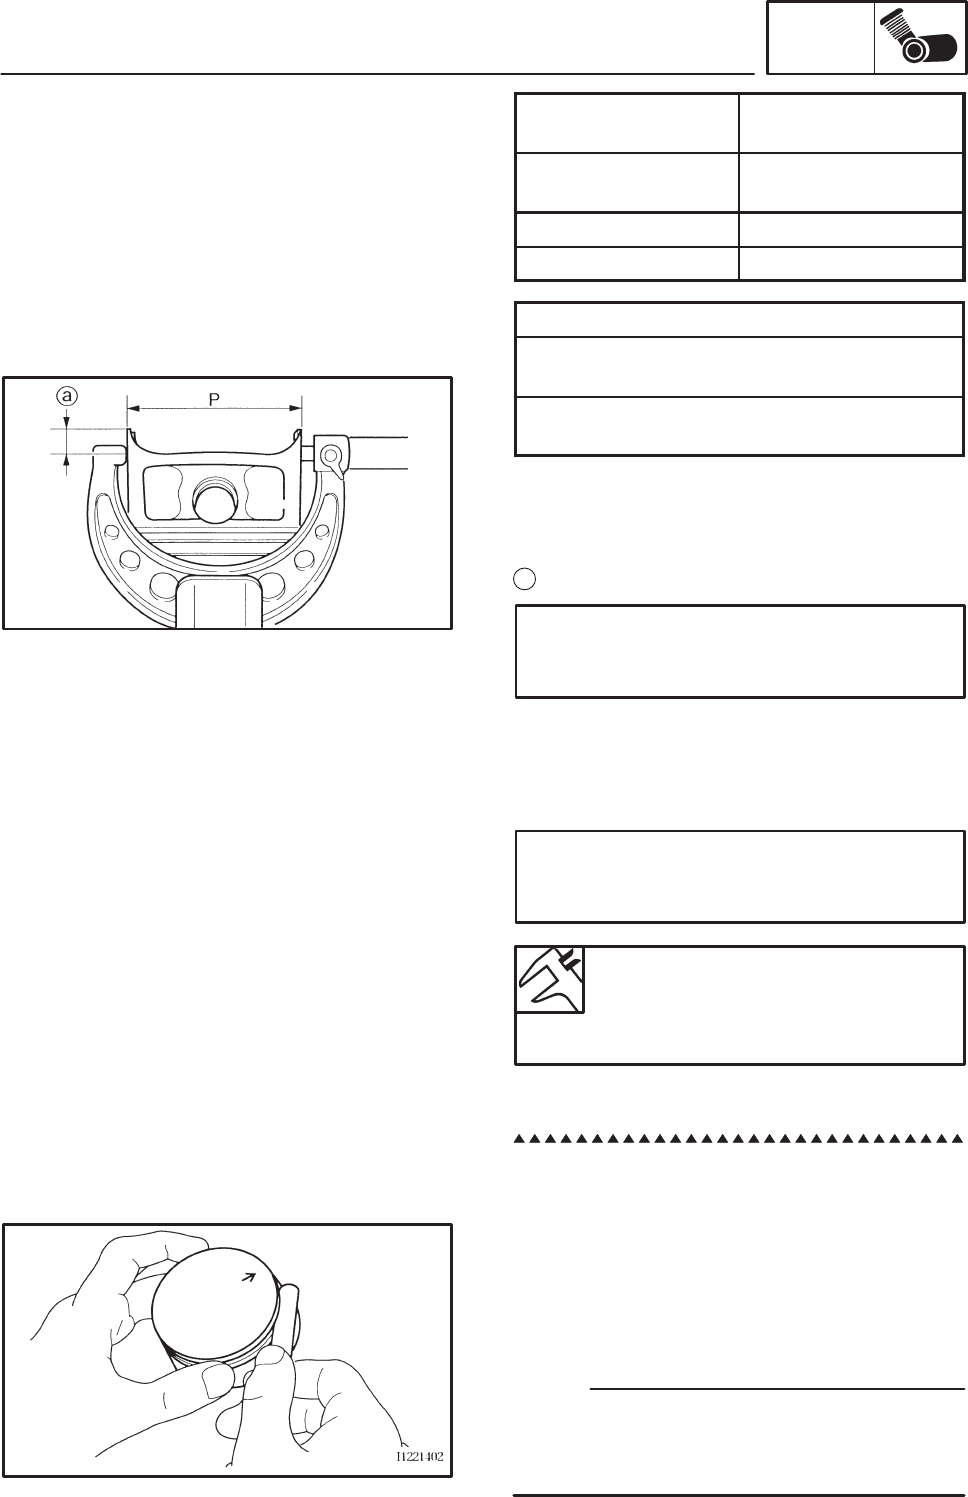
c. Measure piston skirt diameter “P” with the
micrometer.
a
4 mm (0.16 in) from the bottom edge of the piston
Piston size “P”
65.475 X 65.490 mm
(2.5778 X 2.5783 in)
d. If out of specification, replace the piston and
piston rings as a set.
e. Calculate the piston-to-cylinder clearance
with the following formula.
Piston-to-cylinder clearance =
Cylinder bore “C” –
Piston skirt diameter “P”
Piston-to-cylinder clearance
0.010 X 0.035 mm
(0.0004 X 0.0014 in)
<Limit>: 0.055 mm (0.0022 in)
f. If out of specification, replace the cylinder,
and the piston and piston rings as a set.
EAS00263
CHECKING THE PISTON RINGS
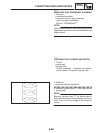
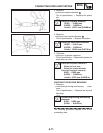
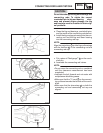
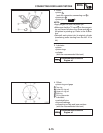
1. Measure:
Spiston ring side clearance
Out of specification ! Replace the piston
and piston rings as a set.
Before measuring the piston ring side clear-
ance, eliminate any carbon deposits from the
piston ring grooves and piston rings.


