


PERIODIC MAINTENANCE AND MINOR REPAIR
6-10
6
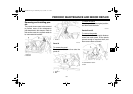
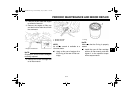
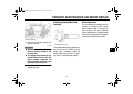
3. Remove the spark plug as shown,
with the spark plug wrench includ-
ed in the additional tool kit, which
was handed out separately at the
purchase of the vehicle.
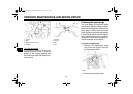
To check the spark plugs
1. Check that the porcelain insulator
around the center electrode on
each spark plug is a medium-to-
light tan (the ideal color when the
vehicle is ridden normally).
2. Check that all spark plugs installed
in the engine have the same color.
NOTE:
If any spark plug shows a distinctly dif-
ferent color, the engine could be oper-
ating improperly. Do not attempt to
diagnose such problems yourself. In-
stead, have a Yamaha dealer check
the vehicle.
3. Check each spark plug for elec-
trode erosion and excessive car-
bon or other deposits, and replace
it if necessary.
To install a spark plug
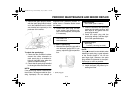
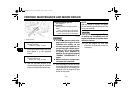
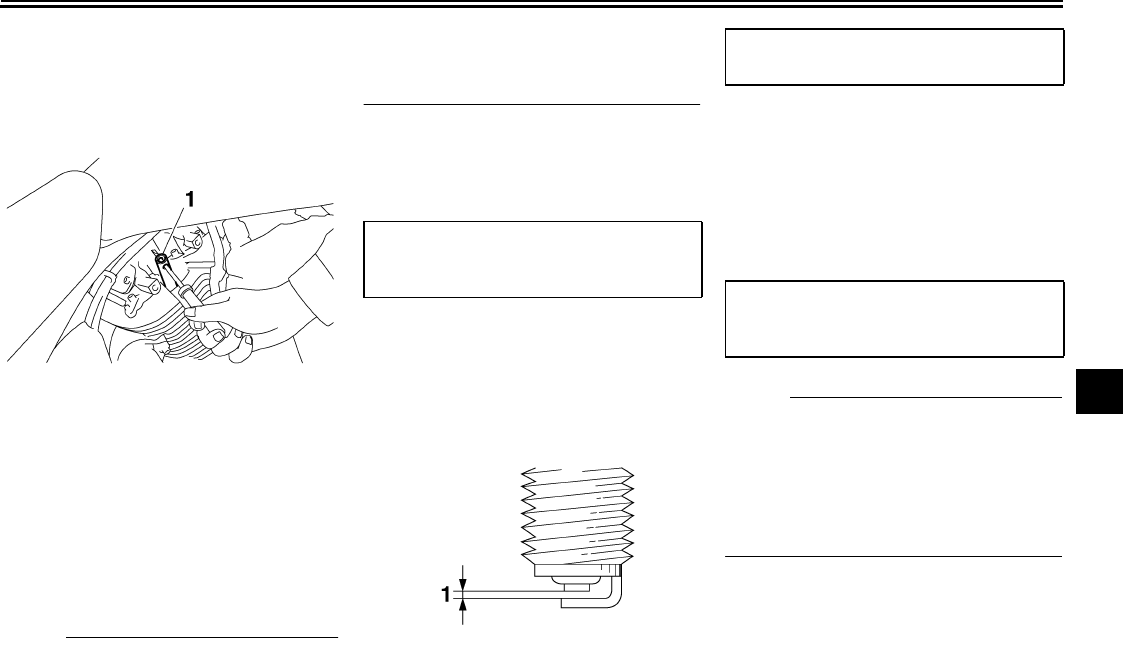
1. Measure the spark plug gap with a
wire thickness gauge and, if nec-
essary, adjust the gap to specifica-
tion.
2. Clean the surface of the spark plug
gasket and its mating surface, and
then wipe off any grime from the
spark plug threads.
3. Install the spark plug with the
spark plug wrench, and then tight-
en it to the specified torque.
N
O
TE:
If a torque wrench is not available when
installing a spark plug, a good estimate
of the correct torque is 1/4–1/2 turn
past finger tight. However, the spark
plug should be tightened to the speci-
fied torque as soon as possible.
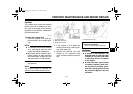
4. Install the spark plug cap.
5. Install the spark plug cover by in-
stalling the bolts.
1. Spark plug wrench
Specified spark plug:
NGK/LMAR7A-9
NGK/LMAR6A-9
1. Spark plug gap
Spark plug gap:
0.8–0.9 mm (0.031–0.035 in)
Tightening torque:
Spark plug:
12.5 Nm (1.25 m·kgf, 9.0 ft·lbf)
U3D810E0.book Page 10 Wednesday, July 19, 2006 11:14 AM