


13
Initial Setup & Assembly
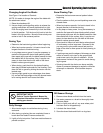
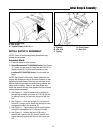
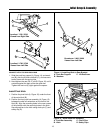
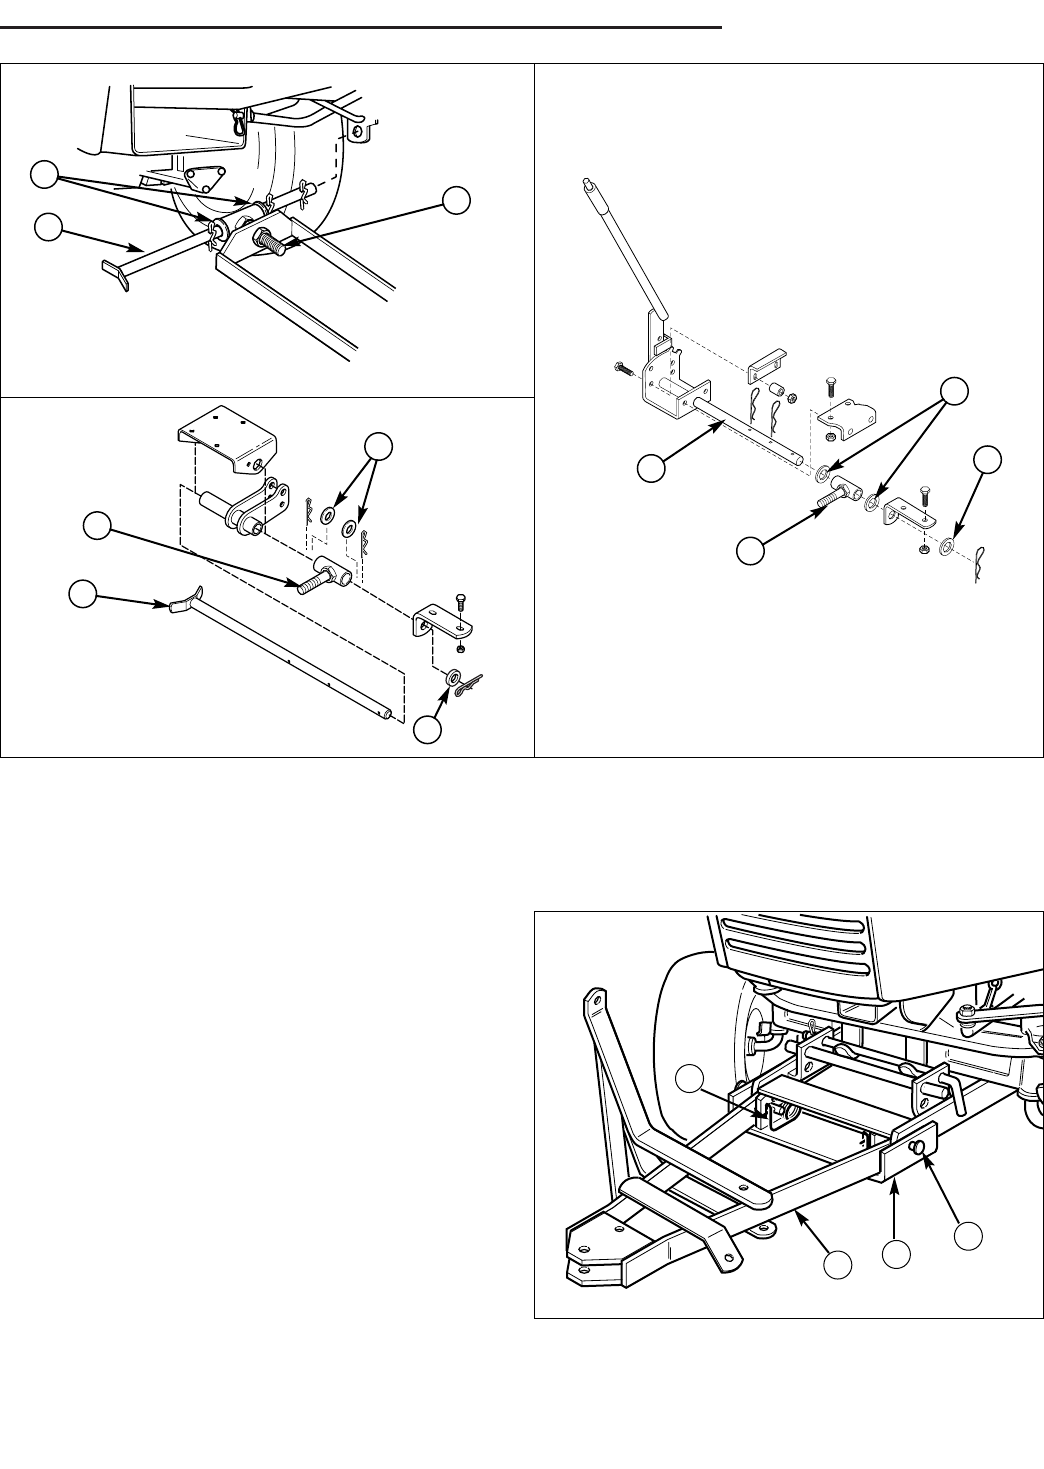
Figure 15. Install Push Bar Assembly
A. Push Bar Assembly C. Clevis Pins
B. Hitch D. Safety Clips
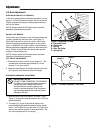
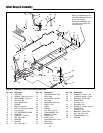
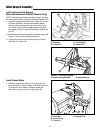
Figure 14. Installing Hitch to Rear Bracket
A. Push Bar Support C. Lift Rod/Lever
B. Washers
CONNECT HITCH TO REAR PUSH BAR
1. Slide the push bar support (A, Figure 14), and wash-
ers (B), onto the lift lever rod/lever (C), and secure to
tractor frame with the spring clips.
2. Hand tighten the rear 5/8-11 nut (B, Figure 12) until it
contacts against the back of the rear push bar.
Tighten the front nut (E) tight against the spacer.
Install Pivot Hitch
1. Position the pivot hitch (A, Figure 15) under the front
of the main hitch (B).
2. Position the front push bar assembly (A, Figure 15)
between the side rail extensions on the front of the
hitch (B). Align the mounting holes in the rear corners
of the push bar with the mounting holes in the hitch.
Secure push bar to the hitch using clevis pin (C) and
safety clip (D).
B
A
C
D
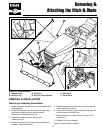
Landlord / 1700 / 2700
Viewed from Right Side
Broadmoor / 1600 / 2600
Viewed from Left Side
Landlord / 1700 / 2700
Viewed from Left Side
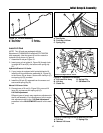
A
B
C
A
B
B
C
A
B
B
C