


3
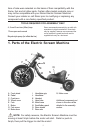
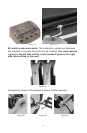
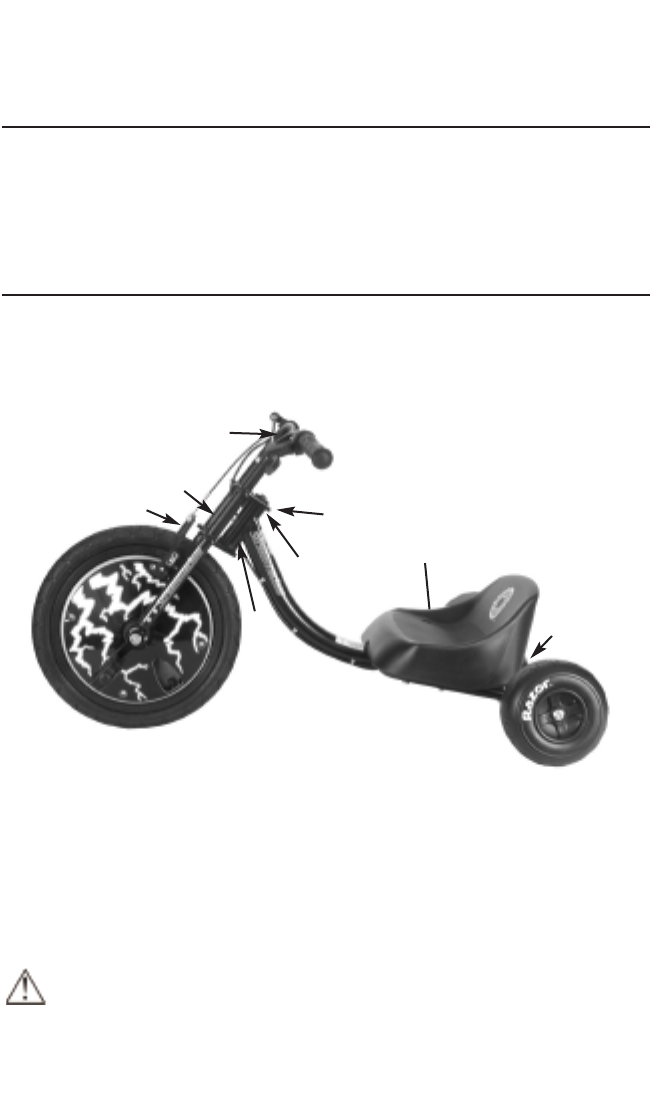
1. Parts of the Electric Scream Machine
4, 5 and 6 mm hex (Allen) keys
17mm open end wrench
Bicycle-style pump (to inflate the tire)
Razor recommends assembly by an adult with
experience in bicycle mechanics. Some tools
may be supplied, however we recommend the
use of mechanic’s grade tools and use the
supplied tools only as a last resort.
A. Front wheel
B. Pedal
C. Crank arm
D. Wheel cover
E. Fork
F. Brake
G. Fork crown
H. Brake lever
I. Handlebar grip
J. Handlebar
K. Headset
L. Head tube
M. Main frame
N. Seat/battery pack
O. Rear wheels
P. Rear axle
Q. Motor cover
Additional components not
shown in this view will be
detailed in the assembly
section.
TOOLS REQUIRED FOR ASSEMBLY ONLY
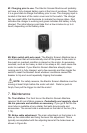
time of sale were selected on the basis of their compatibility with the
frame, fork and all other parts. Certain after-market products may or
may not be compatible with your Razor Electric Scream Machine.
Consult your retailer or call Razor prior to modifying or replacing any
component with a non-factory specified product.
A
E
F
B
C
D
G
H
I
J
K
M
N
O
P
Q
L
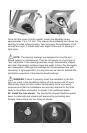
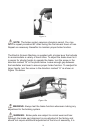
NOTE: For safety reasons, the Electric Scream Machine must be
moving at least 3mph before the motor will start. Pedal or push to
3mph, then pull the trigger to start the motor!