Rev. K, p. 8 of 11
9 GAS SHOCKS AND WIRING
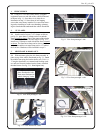
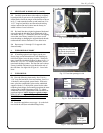
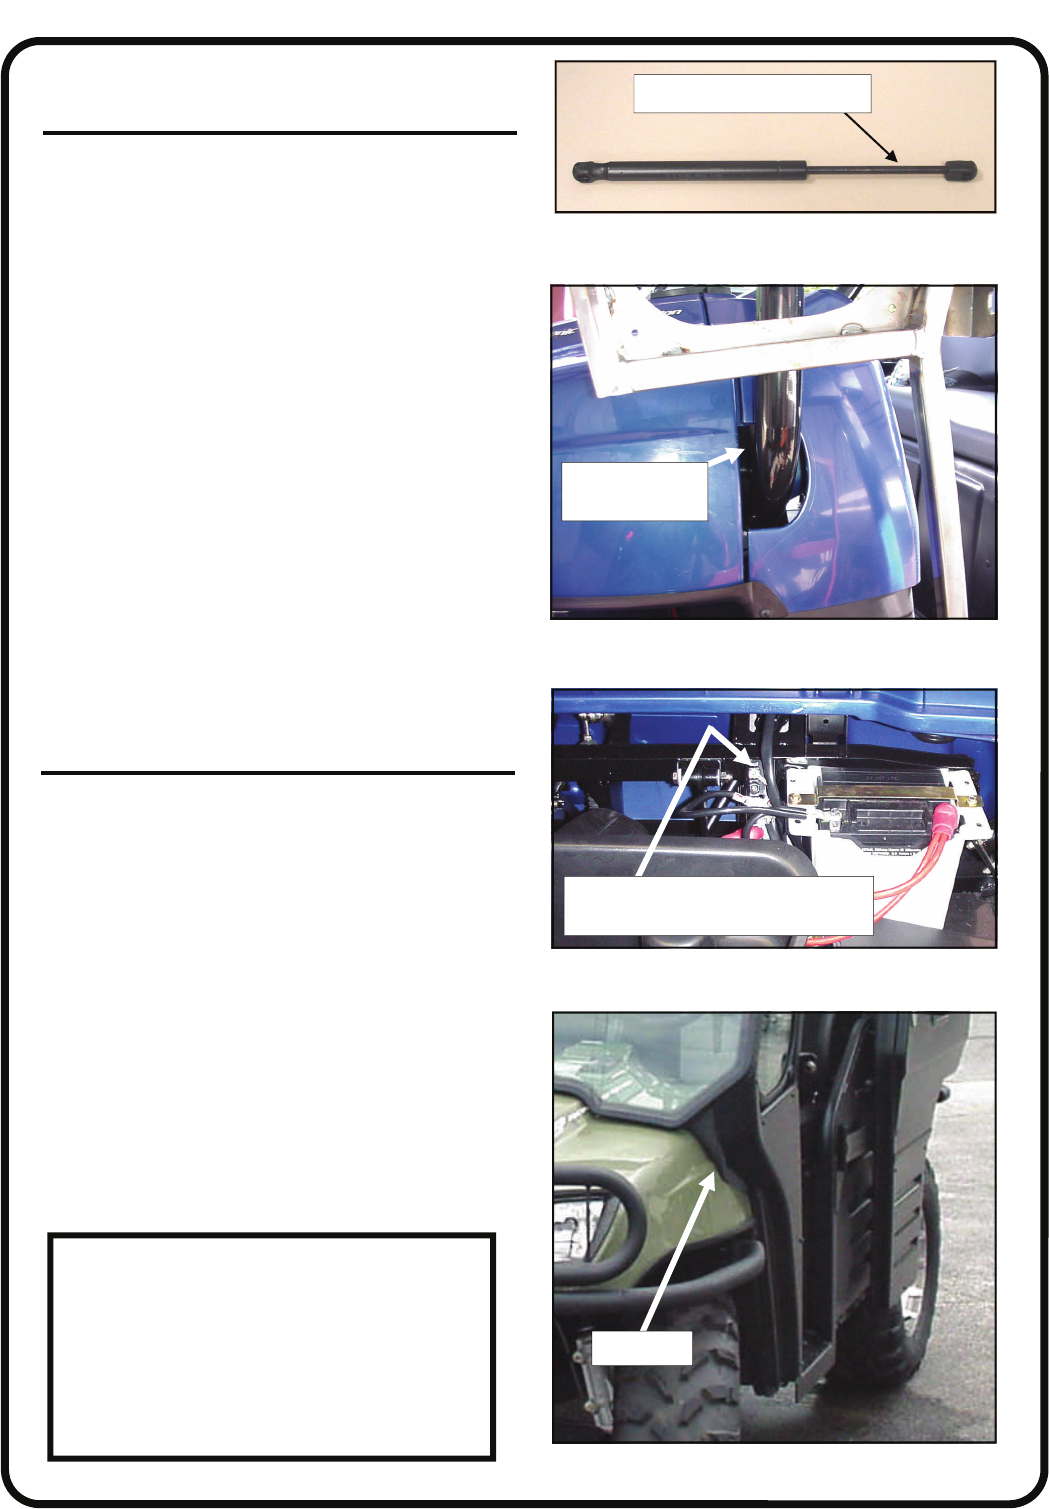
9.1 Open the windshield and attach the two gas shocks
as shown in fig. 9.1 with the rod end of the gas shock
pointing down. Snap the gas shock onto the ball studs.
Leave the windshield in the open position.
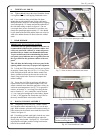
9.2 Run the loomed battery wires over the front tubu-
lar frame, down along the side tubular frame and into the
gap behind the hood as shown in fig. 9.2. Secure the
loomed wire to the tubular frame using three of the sup-
plied cable ties. Snip off excess length of cable tie if de-
sired. Lift the hood of the vehicle. Using a 10mm socket
or Philips screwdriver, connect the long, red, positive
wire and the long, black, negative wire to the battery.
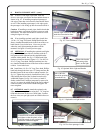
Wires are labeled. Connect the key-controlled wire as
follows: using a 3/8” deep socket, temporarily remove
the nut on the top threaded stud as shown in fig. 9.2.1.
Place the supplied ring terminal onto the stud and re-
install the original nut and tighten. Ref.: the top stud
should already have an orange wire with a white stripe.
This is the vehicle’s key-controlled wire.
9.3 Note: there are two (2) extra wires with female
bullet connectors that are only used if a heater is being
installed. The blue wire is for the low speed and the gray
wire is for the high speed. When finished with the wire
connections, coil up the extra length of loomed wire and
use a cable tie to secure the wires in place as desired.
10. FINISHING TOUCHES
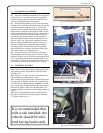
10.1 Make sure the rubber flaps are appropriately seal-
ing against the sides of the plastic hood of the vehicle.
See figure 10.1.
10.2 Using a 5/32” Allen wrench, set the antenna at a
desired angle and re-tighten the set screw.
10.3 Install wiper per instructions included in the wiper
kit. One wiper is included with the cab. A second wiper
is available as an additional option. Caution: If install-
ing a second wiper, double check that both wipers have a
maximum 85 degree sweep to avoid interference. The
motor should have a sticker on it indicating the degree of
sweep.
10.4 Note: extra hardware has been provided in case
they get lost. Discard extras such as washers, locknuts,
“P” clamps, cable ties, etc.
It is recommended that
with a cab installed, the
vehicle should be trail-
ered facing backwards.
Fig. 10.1 View from driver’s side
rubber flap
Fig. 9.1 Gas shock for windshield
this end towards the ground
Fig. 9.2 View from driver’s side
run loomed wire
into this gap
Fig. 9.2.1 View from driver’s side
attach to the top threaded stud that
has the orange wire with white stripe


