


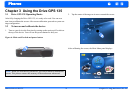

Pharos Drive GPS 135 17 Chapter 4 Synchronization with PC
Pharos
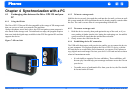
Chapter 4 Synchronization with a PC
4.1 Exchanging data between the Drive GPS 135 and your
PC
4.1.1 Using the SD slot
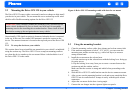
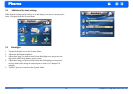
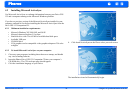
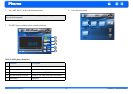
The Drive GPS 135 has an SD slot compatible with a range of SD storage cards
that you can use to back up or transfer files and data.
Along with photos, music and videos, the GPS navigation system program is
also stored on the storage card. To install and use maps, the program requires
that users load the digital maps available in the GPS Navigation SD card that
supports the device.
Figure 7: SD card slot
4.1.2 To insert a storage card:
Hold the device securely, then push the card into the slot until you hear an audi-
ble system sound; this will signal that the card is already properly seated within
the slot. The card is secure when it is not protruding from the slot.
4.1.3 To remove a storage card:
1. Hold the device securely, then push against the top of the card, as if you
were pushing it further into the slot, letting the card spring out. An audible
system sound will signal that the card has been released.
2. Gently remove the card from the slot.
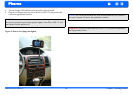
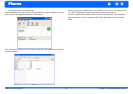
4.1.4 Establishing device-PC connection
The USB cable that comes with your device enables you to connect the device
to your computer. File Explorer displays the Drive GPS 135 device, with the
SD card shown as a sub-folder. Once connected, you can use File Explorer to
copy digital music and image files into your device’s SD card and access them
when in Entertainment mode.
• It is advisable to organize files into subfolders. These subfolders will
become play lists and help you to manage and better access the files on
your device.
• To enable access of multimedia files from your device, the files should
be located on the SD card.