Installation
The Fishfinder 250/250C must be properly installed according to
the following instructions to get the best possible performance. To
complete the installation, you need the appropriate fasteners and
tools. Verify that all cables can reach the unit mounting location, and
take time to read through these instructions prior to installation. Be
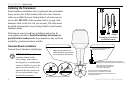
sure to always wear safety goggles and a dust mask when drilling,
cutting, or sanding. If you experience difficulty installing the unit,
contact Garmin Product Support or seek the assistance of a
professional installer.
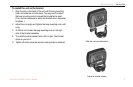
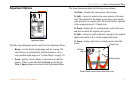
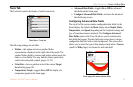
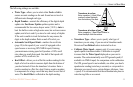
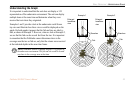
Selecting a Proper Location
Choose a location that provides optimal viewing as you operate
the vessel and allows easy access to the unit’s keypad. Select a
mounting surface capable of supporting the weight of the unit and
protecting it from excessive vibration and shock. DO NOT mount
the unit in an area exposed to extreme temperature conditions. When
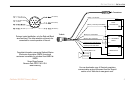
installing the mounting bracket, allow room for the routing and
connection of the power and transducer cables.
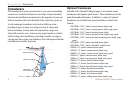
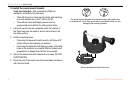
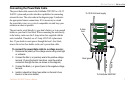
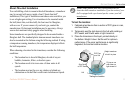
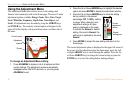
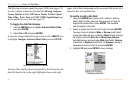
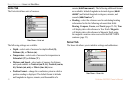
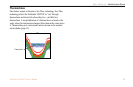
Installing the Swivel Mount
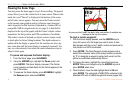
The Fishfinder 250/250C’s compact, waterproof case is suitable
for mounting in exposed locations or at the nav station. The unit
comes with a swivel-mount bracket that can be used for console or
overhead mounting.
When choosing a location for the unit, consider the following
conditions:
• There should be at least a 3” (8 cm) clearance behind the case
to allow connection of the transducer and power/data cables.
• The mounting surface should be sturdy enough to support the
unit and protect it from excessive vibration and shock.
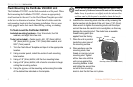
NOTE: The temperature range for the Fishfinder 250/250C
is 5°F to 130°F (-15°C to 55°C). Extended exposure to
temperatures outside this range (in storage or operating
conditions) may cause failure of the LCD screen. This type
of failure and related consequences are NOT covered by the
manufacturer’s limited warranty.
GETTING STARTED > INSTALLATION
Fishfinder 250/250C Owner’s Manual 3