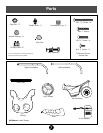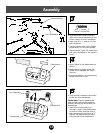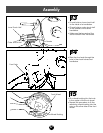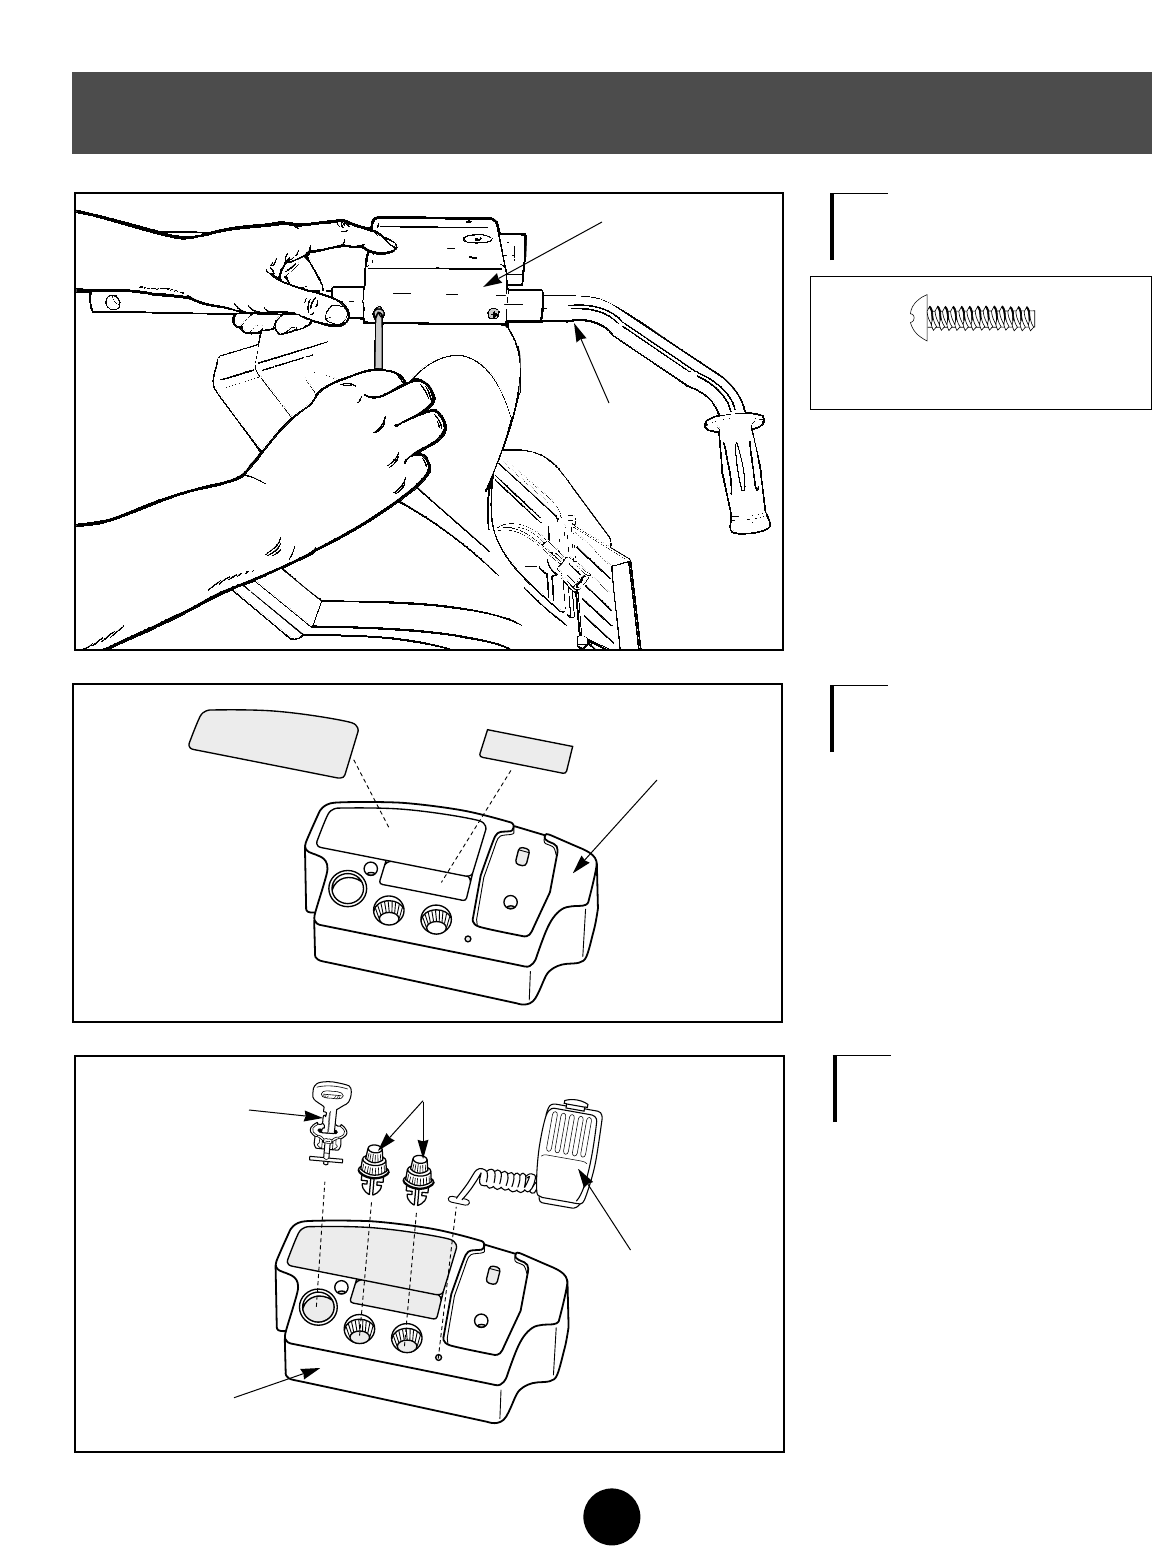
• Apply labels to the dashboard as
shown.
• Make sure the areas where the
labels will be applied are clean
and dry.
• For best adhesion, avoid applying
labels more than once.
4
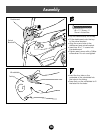
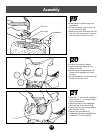
• Snap the key assembly and radio
knobs into the dashboard.
Please Note: Gently squeeze the
tabs on the radio knobs together
before inserting the knobs into the
dashboard.
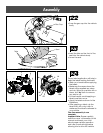
• Insert the microphone cord
through a hole in the dashboard,
as shown. Make sure the end of
the microphone cord forms a “T”
behind the dashboard so that it
stays secure in the dashboard.
13
Assembly
3
5
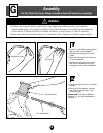
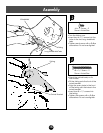
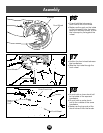
• Align the screw holes in the left
side of the swivel bracket with the
screw holes in the left handlebar.
• Insert two #8 x
3
/
4
" screws into the
left handlebar.
• Tighten each screw with a Phillips
screwdriver. Do not over-tighten.
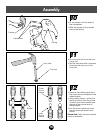
• Repeat steps 2 and 3 to assemble
the right handlebar to the vehicle
body.
#8 x
3
/
4
" Screw – 2
Shown Actual Size
9
10
Swivel Bracket
Left Handlebar
Dashboard
Microphone
Radio Knobs
Key Assembly
Dashboard


