23
Sound adjustments
Adjusting speaker output level
• SUBWFR LVL (subwoofer output level),
• FRONT L LVL (left front speaker output level),
• FRONT R LVL (right front speaker output level),
• CENTER LVL (center speaker output level),
• SURR L LVL (left surround speaker output level),
• SURR R LVL (right surround speaker output level),
• S BACK LVL (surround back speaker output level)
You can adjust the speaker output levels.
Adjust all the speakers’ output levels so that you can listen sounds
from all the speakers at the same level.
• Once you have made an adjustment, it is memorized for each
source.
Adjustable range: –10 (dB) to +10 (dB) (in 1 step intervals)
Initial setting: 0 (dB) for all speakers
NOTES
• If you have selected “NO” for a speaker (see page 18), the
output level for the corresponding speaker is not adjustable.
• While using the headphones, you can adjust only the left and
right front speakers’ output level.
• If you change one of these settings (except the subwoofer
output level) manually, the distance and output level set
manually will be applied instead of those set by using Smart
Surround Setup.
From the remote control:
Set the mode selector to “AUDIO/TV/VCR/STB.”
1
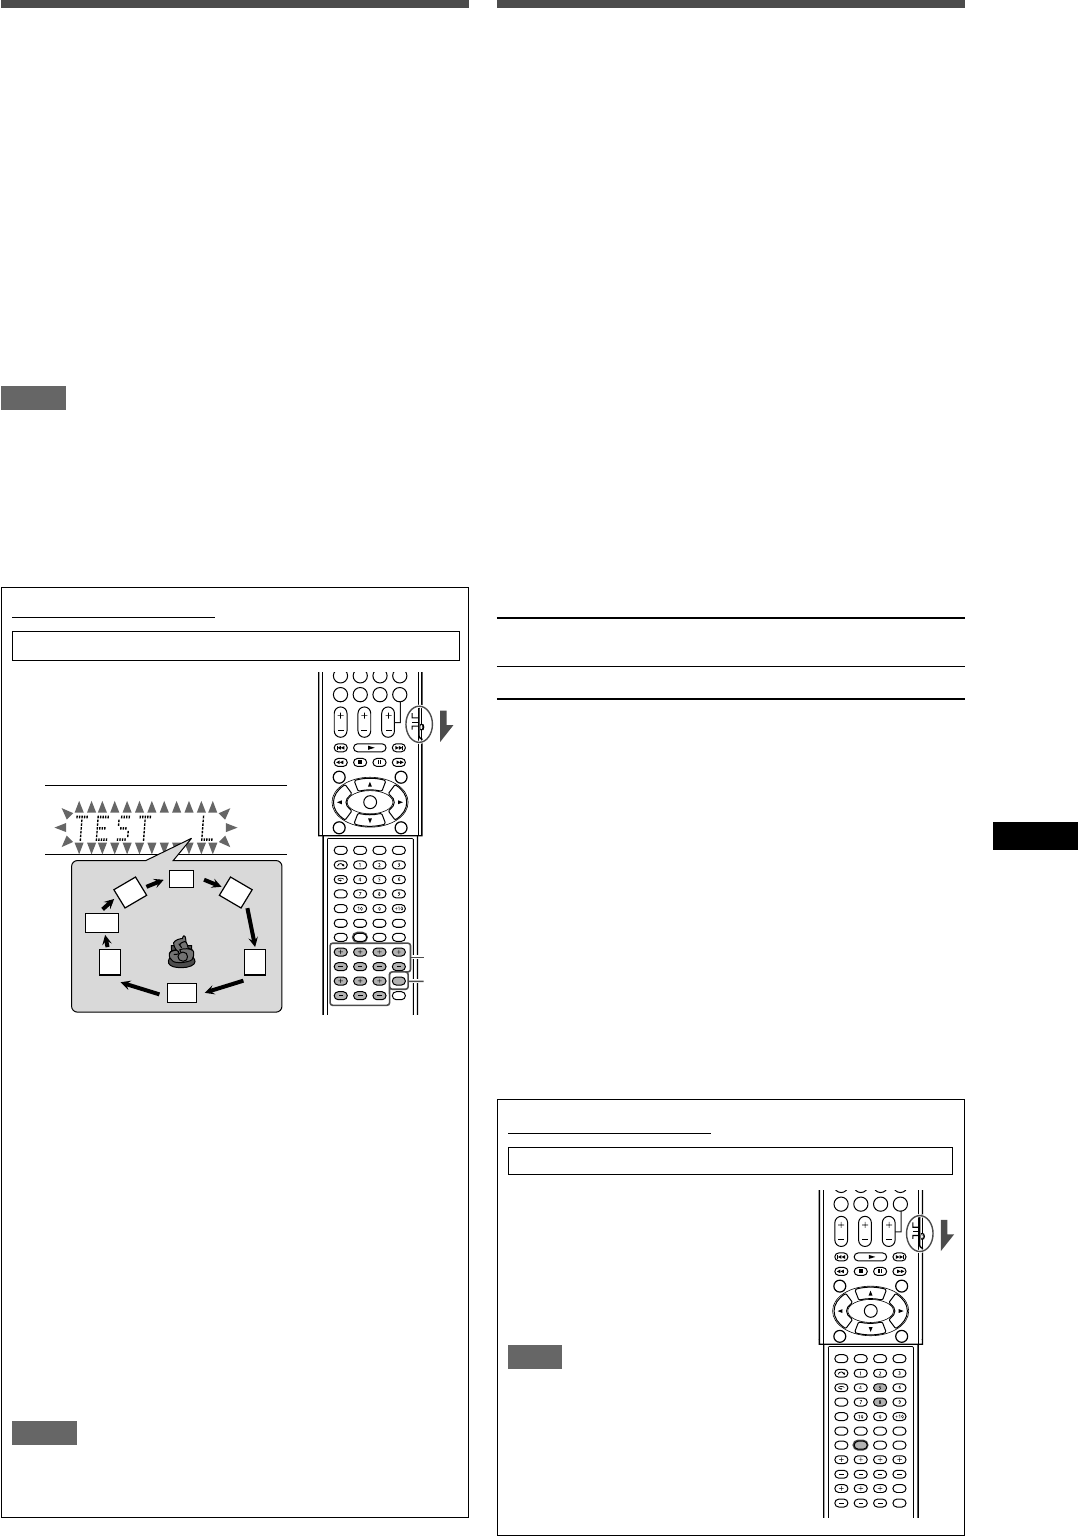
Press TEST TONE to check the
speakers’ output balance.
“TEST L” starts flashing on the
display, and a test tone comes out of
the speakers in the following order:
2
Adjust the speaker output levels.
• If no adjustment is made for about one minute, the test
tone will stop.
To adjust the left front speaker level (L), press
FRONT L +/–.
To adjust the right front speaker level (R), press
FRONT R +/–.
To adjust the center speaker level (C), press
CENTER +/–.
To adjust the left surround speaker level (LS), press
SURR L +/–.
To adjust the right surround speaker level (RS), press
SURR R +/–.
To adjust the surround back speaker level (SB), press
S.BACK +/–.
To adjust the subwoofer level (SW), press SUBWFR +/–.
3
Press TEST TONE again to stop the test tone.
NOTES
• You can adjust the speaker output levels without the test tone.
• No test tone is available when the headphone is in use or
“DVD MULTI” is selected.
Adjusting the sound parameters for
the Surround/DSP modes
You can adjust the Surround/DSP sound parameters to your
preference.
• For details about the Surround/DSP modes, see pages 31 to
35.
Adjusting the effect level for DSP modes—EFFECT
This setting is available only when one of the DSP modes (except
ALL CH ST.) is in use. To activate DSP mode, see page 35.
• Once you have made an adjustment, it is memorized for each
DSP mode.
Adjustable range: 1 to 5 (in 1 step intervals)
Initial setting: EFFECT 3
As the number increases, the effect becomes stronger.
Normally, select “3.”
Adjusting the panorama control for Pro Logic II
Music—PANORAMA
This setting is available only when Pro Logic II Music is in use. To
activate Pro Logic II Music, see page 35.
• Once you have made an adjustment, it is memorized until you
change the setting.
• You cannot use the remote control for this setting.
PANORAMA ON Select to add “wraparound” sound effect with
side-wall image.
PANORAMAOFF Select to listen to originally recorded sound.
Initial setting: PANORAMAOFF
Adjusting the center tone—CENTER TONE
This setting is available when one of the Surround/DSP modes is
in use.
• If you have set “CENTER SPK” to “NO” (see page 18), the
center tone is not adjustable.
• This setting is common to all Surround modes, and is
memorized separately for DSP modes.
Adjustable range: 1 to 5 (in 1 step intervals)
Initial setting: CNT TONE 3
As the number increases, the dialogue becomes stronger.
Normally, select “3.”
• When the center tone is set to other than “CNT TONE 3,” the
C.TONE indicator lights up on the display.
From the remote control:
Set the mode selector to “AUDIO/TV/VCR/STB.”
To adjust the effect level:
Press SOUND, then press EFFECT
repeatedly.
To adjust the center tone:
Press SOUND, then press C.TONE
repeatedly.
NOTE
After pressing SOUND, the numeric
buttons work for sound adjustments. To
use the numeric buttons to operate your
target source, press the corresponding
source selecting button before operation;
otherwise, the remote control may not
work as you intend.
22-24RX-F10[B]_f.p65 04.2.13, 16:4023


