


Troubleshooting • Solución de problemas • Guide de dépannage Î service. sher-price.com
9
X9218pr-0720
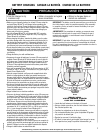
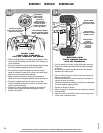
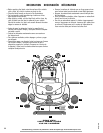
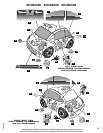
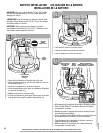
ASSEMBLY MONTAJE ASSEMBLAGE
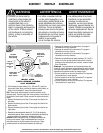
BACK VIEW
VISTA DESDE ATRÁS
VUE ARRIÈRE
• Children can be harmed by
small parts, sharp edges and
sharp points in the vehicle’s
unassembled state, or by
electrical items. Care should be
taken in unpacking and assembly
of the vehicle. Children should
not handle parts, including the
battery, or help in assembly of
the vehicle.
• Les petites pièces et les bords
tranchants ou les extrémités
pointues du véhicule non
assemblé, ou encore les pièces
électriques, peuvent blesser les
enfants. Déballer et assembler le
véhicule soigneusement. Ne pas
laisser les enfants manipuler les
pièces ou la batterie ni aider
à l’assemblage du véhicule.
• Los niños se pueden lastimar
con las piezas pequeñas y con
los bordes y puntas fi losas de las
piezas individuales del vehículo
desmontado, así como con piezas
eléctricas. Tomar las debidas
precauciones al sacar las piezas
del vehículo y al montar el mismo.
No permitir que los niños toquen
ninguna pieza, incluyendo la
batería, ni que ayuden
con el montaje del vehículo.
WARNING ADVERTENCIA AVERTISSEMENT
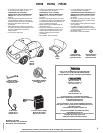
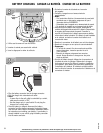
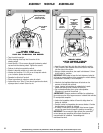
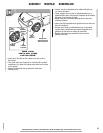
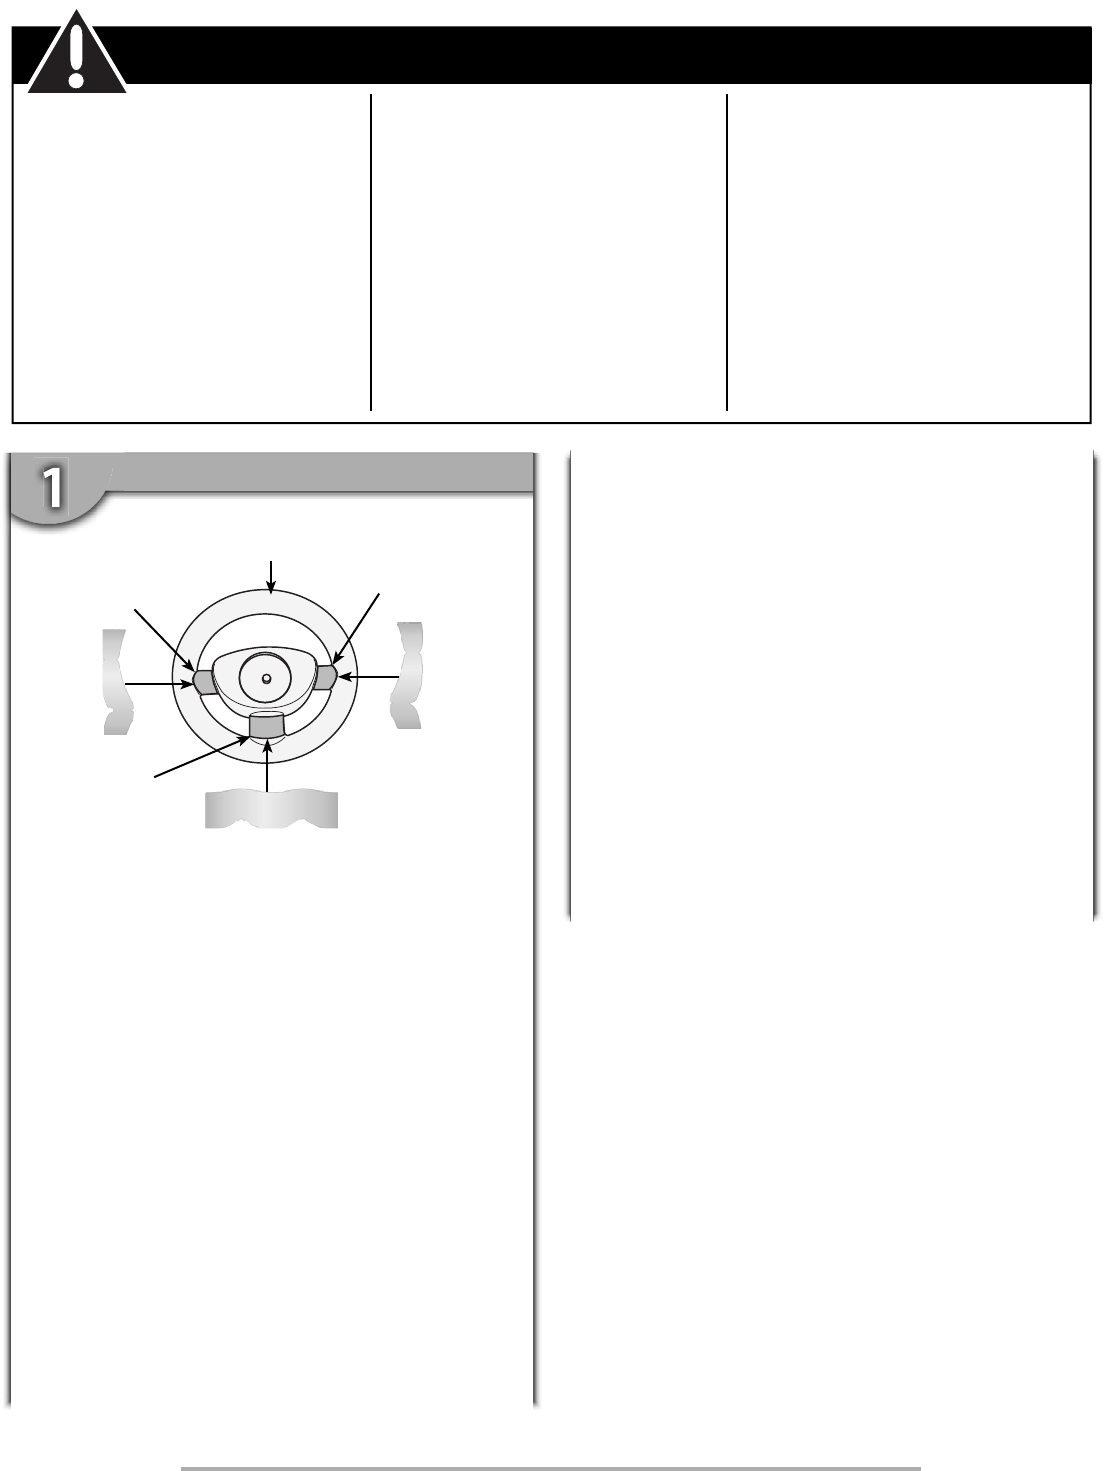
Steering Wheel
Volante
Volant
Left Spoke
Rayo izquierdo
Rayon gauche
Bottom Spoke
Rayo inferior
Rayon inférieur
Right Spoke
Rayo derecho
Rayon droit
Label 14
Calcomanía 14
Autocollant 14
Label 21
Calcomanía 21
Autocollant 21
• Cut the steering wheel labels (#14 , #13 and #21) from the
larger label sheet. Now, position the steering wheel labels, as
shown in the illustration, around the steering wheel.
Hint: These labels will be applied around the spokes on the
steering wheel. Carefully apply the centre portion of each label to
the topside of each spoke. Gently smooth the label around each
spoke.
• Remove the backing from label 13 and apply the label to the
left spoke.
• Remove the backing from label 21 and apply the label to the
bottom spoke.
• Remove the backing from label 14 and apply the label to the
right spoke.
• Recortar las calcomanías del volante (14, 13 y 21) de la hoja de
calcomanías grande. Ahora, colocar las calcomanías del volante, tal
como se muestra en la ilustración, alrededor del volante.
Atención: Estas calcomanías van a ir pegadas alrededor de
los rayos del volante. Pegar cuidadosamente el centro de
cada calcomanía en la parte superior de cada rayo. Pegar
cuidadosamente la calcomanía alrededor de cada rayo.
• Despegar el respaldo de la calcomanía 14 y pegar la
calcomanía en el rayo izquierdo.
• Despegar el respaldo de la calcomanía 21 y pegar la
calcomanía en el rayo inferior.
• Despegar el respaldo de la calcomanía 13 y pegar la
calcomanía en el rayo derecho.
• Détacher les autocollants du volant (numéros 14, 13 et 21)
situés sur la plus grande feuille d’autocollants. Ensuite,
positionner les autocollants sur le volant, comme indiqué
dans l’illustration.
Remarque : Ces autocollants seront apposés autour des
rayons du volant. Appliquer soigneusement la partie centrale
de chaque autocollant sur le dessus de chaque rayon. Lisser
doucement l’autocollant autour de chaque rayon.
• Enlever la pellicule au dos de l’autocollant 14 et apposer
l’autocollant sur le rayon gauche.
• Enlever la pellicule au dos de l’autocollant 21 et apposer
l’autocollant sur le rayon inférieur.
• Enlever la pellicule au dos de l’autocollant 13 et apposer
l’autocollant sur le rayon droit.
Label 13
Calcomanía
13
Autocollant
13