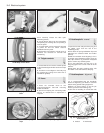
27 Tailgate wiper motor -
removal and refitting
1
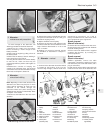
1 Remove the blade and arm as previously
described. Unscrew the drive spindle bezel
nut.
2 Open the tailgate fully.
3 Unclip and remove the wiper motor cover.
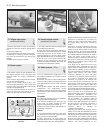
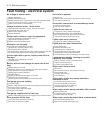
4 Unscrew the mounting screws, withdraw
the motor and disconnect the wiring plug
(photo).
5 Refitting is a reversal of removal.
28 Washer system
1
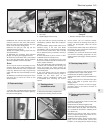
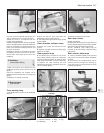
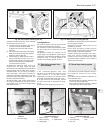
1 The washer system for the windscreen and
the tailgate operates from a bag type fluid
reservoir within the engine compartment
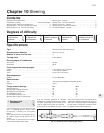
(photo).
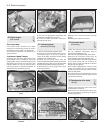
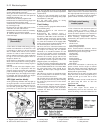
2 The reservoir bag is fitted with two pumps,
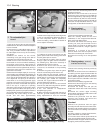
one for each system (photo).
3 Use screen cleaning fluid mixed in the
recommended proportion in the washer fluid
reservoir and in very cold weather add a small
quantity of methylated spirit.
4 To clear a blocked washer jet nozzle or to
adjust the wash jet glass-striking pattern,
insert a pin part way into the jet nozzle.
29 Heated tailgate window -
precautions and repair
2
1 The heater element inside the tailgate glass
should be treated with care.
2 Clean only with a damp cloth and wipe in
the direction in which the filaments run. Avoid
scratching with rings on the fingers, or by
allowing luggage to rub on the glass. Never
stick adhesive labels over the heater element.
3 Should one of the heater filaments be
broken it can be repaired using one of the
special silver paints available, but follow the
manufacturer’s instructions carefully.
30 Radio/cassette - fitting
2
1 In-car entertainment equipment is not
provided as standard on the models covered
by this Manual.
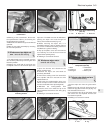
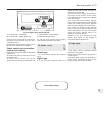
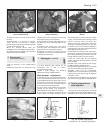
2 However, the centre console is designed to
receive a radio set after removing the blanking
plate behind which a power lead is already
provided.
3 The ignition system and other electrical
components are suppressed during
production of the car and further suppression
should not be required other than earthing the
wiper motor.
Receiver
4 Fit the radio/cassette using the installation
kit supplied with the equipment.
5 On Comfort models, fit an in-line fuse in the
power feed. On Super models the radio
supply is protected by fuse number 12.
6 Make sure that the radio is well earthed to a
metal body component.
Aerial
7 The recommended locations for the aerial
are towards the rear of the right-hand front
wing or on the windscreen pillar.
8 Fitting instructions for Fiat aerials are
supplied with them, but the following general
advice will help if using non-Fiat equipment.
9 Motorised automatic aerials rise when the
equipment is switched on and retract at
switch-off. They require more fitting space
and supply leads, and can be a source of
trouble.
10 There is no merit in choosing a very long
aerial as, for example, the type about three
metres in length which hooks or clips on to
the rear of the car, since part of this aerial will
inevitably be located in an interference field.
For VHF/FM radios the best length of aerial is
about one metre. Active aerials have a
transistor amplifier mounted at the base and
this serves to boost the received signal. The
aerial rod is sometimes rather shorter than
normal passive types.
11 A large loss of signal can occur in the
aerial feeder cable, especially over the Very
High Frequency (VHF) bands. The design of
feeder cable is invariably in the co-axial form,
ie a centre conductor surrounded by a flexible
copper braid forming the outer (earth)
conductor. Between the inner and outer
conductors is an insulator material which can
be in solid or stranded form. Apart from
insulation, its purpose is to maintain the
correct spacing and concentricity. Loss of
signal occurs in this insulator, the loss usually
being greater in a poor quality cable. The
quality of cable used is reflected in the price
of the aerial with the attached feeder cable.
12 The capacitance of the feeder should be
within the range 65 to 75 picofarads (pF)
approximately (95 to 100 pF for Japanese and
American equipment), otherwise the
adjustment of the car radio aerial trimmer may
not be possible. An extension cable is
necessary for a long run between aerial and
receiver. If this adds capacitance in excess of
the above limits, a connector containing a
series capacitor will be required, or an
extension which is labelled as
“capacity-compensated”.
13 Fitting the aerial will normally involve
making a 7/8 in (22 mm) diameter hole in the
bodywork, but read the instructions that come
with the aerial kit. Once the hole position has
been selected, use a centre punch to guide
the drill. Use sticky masking tape around the
area for this helps with marking out and drill
location, and gives protection to the
9•10 Electrical system
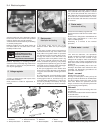
Fig. 9.8 Radio housing and power lead (A)
(Sec 30)
28.2 Washer pumps28.1 Washer fluid reservoir27.4 Tailgate wiper motor


