the trim cover, undo the retaining screw at the
rear of the console. Prise free and release the
gear lever gaiter and lift clear the central
console.
7 Undo the retaining screws and remove the
steering column upper and lower shroud.
8 Detach and remove the lower facia trim on
the side of the central facia.
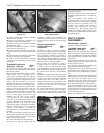
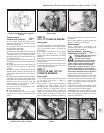
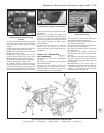
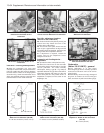
9 Referring to Fig. 13.32, unscrew and
remove the four heater facia to main facia
retaining screws from the points indicated.
10 Undo the two retaining nuts securing the
heater to the body on the driver’s side.
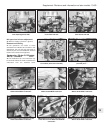
11 Undo the retaining screws and remove
the pipe shield from the side of the heater
unit, then disconnect the coolant supply and
return hoses from the heater. As the hoses are
detached, be prepared to catch any remaining
coolant as it flows from the hoses and heater
connections.
12 Undo the remaining two heater unit
securing nuts and withdraw the heater unit
from the car. As the unit is removed, detach
the wiring and position the hoses with their
ends pointing upwards to avoid further
coolant spillage.
13 Refit in the reverse order of removal.
Ensure that the hoses are securely
reconnected. Top up the cooling system on
completion.
Heater unit - dismantling
and reassembly ¡
14 Remove the heater unit as described
previously.
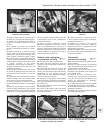
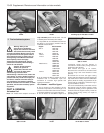
15 Pull free the heater/fresh air and blower
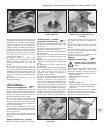
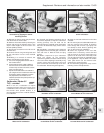
control knobs (photo).
16 Undo the two retaining screws and
withdraw the control panel from the facia.
Detach the wiring connectors from the panel
illumination lights and remove the panel.
17 Unscrew the retaining bolts and remove
the centre panel from the heater unit.
18 Undo the retaining screws and remove
the control lever mounting.
19 Loosen off the grub screws and detach
the cables from the control levers.
20 Undo the retaining screws and remove
the control valve.
21 Undo the two retaining screws and
withdraw the heater matrix from the heater
housing.
22 To separate the casing halves, drill out the
pop rivet securing the mounting bracket,
release the retaining clips and unscrew the
securing bolts.
23 Reassemble in the reverse order of
dismantling. Check that the control cables are
correctly adjusted and that the controls
operate in a satisfactory manner before
refitting the heater unit to the car.
Supplement: Revisions and information on later models 13•59
8D.15 Pull free the heater/fresh air and
blower control knobs
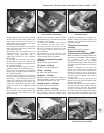
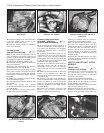
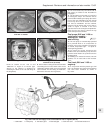
Fig. 13.33 Heater pipe shield securing
screw positions on later models (Sec 8D)
Fig. 13.32 Heater unit facia to main facia
retaining screw locations (arrowed)
(Sec 8D)
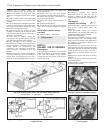
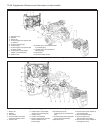
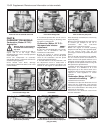
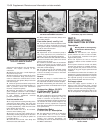
Fig. 13.34 Heater unit components on later models (Sec 8D)
1 Coolant inlet tap 2 Centre panel 3 Side casings 4 Heater matrix 5 Blower fan
13


