Oil seals and gaskets
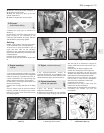
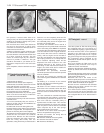
49 It is recommended that all gaskets and oil
seals are renewed at major engine overhaul.
Sockets are useful for removing or refitting oil
seals. An arrow is moulded onto some seals
to indicate the rotational direction of the
component which it serves. Make sure that
the seal is fitted the correct way round to
comply with the arrow.
19 Engine - reassembly (general)
1 To ensure maximum life with minimum
trouble from a rebuilt engine, not only must
every part be correctly assembled, but
everything must be spotlessly clean, all the
oilways must be clear, locking washers and
spring washers must always be fitted where
indicated and all bearing and other working
surfaces must be thoroughly lubricated during
assembly. Before assembly begins renew any
bolts or studs whose threads are in any way
damaged; whenever possible use new spring
washers.
2 Apart from your normal tools, a supply of
non-fluffy rag, an oil can filled with engine oil,
a supply of new spring washers, a set of new
gaskets and a torque wrench should be
gathered together.
20 Engine -
complete reassembly
4
Crankshaft and main bearings
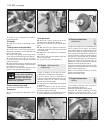
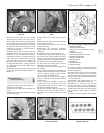
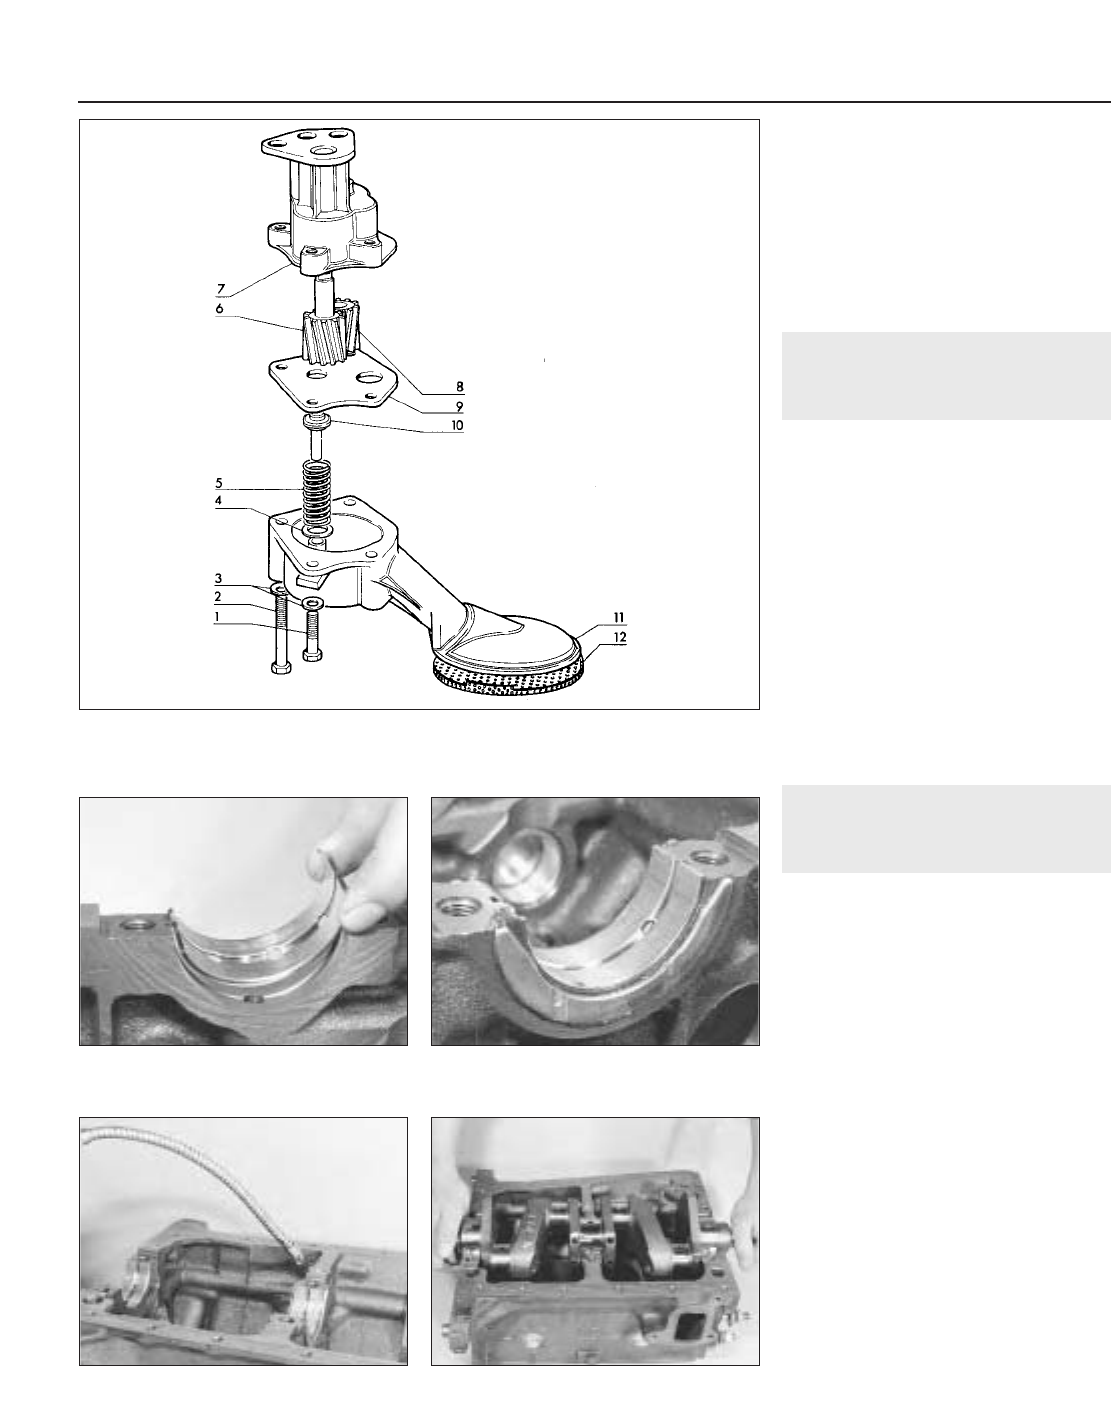
1 With the cylinder block inverted on the
bench, wipe out the crankcase shell bearing
seats and fit the half shells so that their tabs
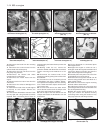
engage in the notches (photo).
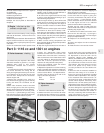
2 Stick the semi-circular thrust washers either
side of the centre bearing in the crankcase
using thick grease. Make sure that the oil
grooves are visible when the washers are
fitted (photo).
3 If the original bearing shells are being
refitted, make sure that they are returned to
their original positions.
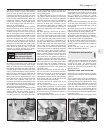
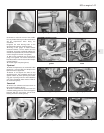
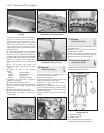
4 Liberally oil the bearing shells and lower the
crankshaft into position. Make sure that it is
the correct way round (photos).
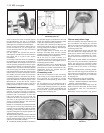
5 Wipe out the main bearing caps and fit the
bearing shells into them.
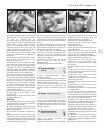
6 Oil the crankshaft journals and fit the main
bearing caps, the correct way round and in
proper sequence (photo).
7 Replace the main bearing cap bolts and
screw them up finger-tight.
8 Test the crankshaft for freedom of rotation.
Should it be very stiff to turn, or possess high
spots, a most careful inspection must be
made, preferably by a skilled mechanic with a
1•20 903 cc engine
20.4B Lowering crankshaft into
position
20.4A Oiling main bearing shells
20.2 Crankshaft thrust washer20.1 Fitting a main bearing shell
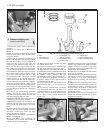
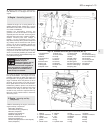
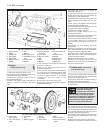
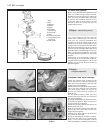
Fig. 1.27 Exploded view of oil pump (Sec 18)
1 Bolt
2 Bolt
3 Washers
4 Washer
5 Spring
6 Drive gear
7 Top housing
8 Driven gear
9 Plate
10 Pressure relief valve
11 Lower housing and
oil pick-up
12 Filter screen


