the tyres correctly inflated and square to a
wall, at a distance of 10.0 m (32.8 ft) from it.
4 Mark the wall to correspond with the
centres of the headlamps.
5 Switch to dipped beams when the brightest
parts of the light pattern should be below the
marks on the wall by an amount equal to one
tenth of the distance between the floor and
the mark on the wall.
6 Adjust the beams as necessary by turning
the adjuster screws (A) vertical or (B) hori-
zontal, which are located at the rear of the
headlamp.
18 Headlamp -
removal and refitting
1
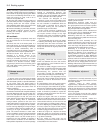
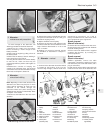
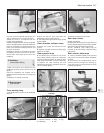
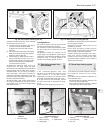
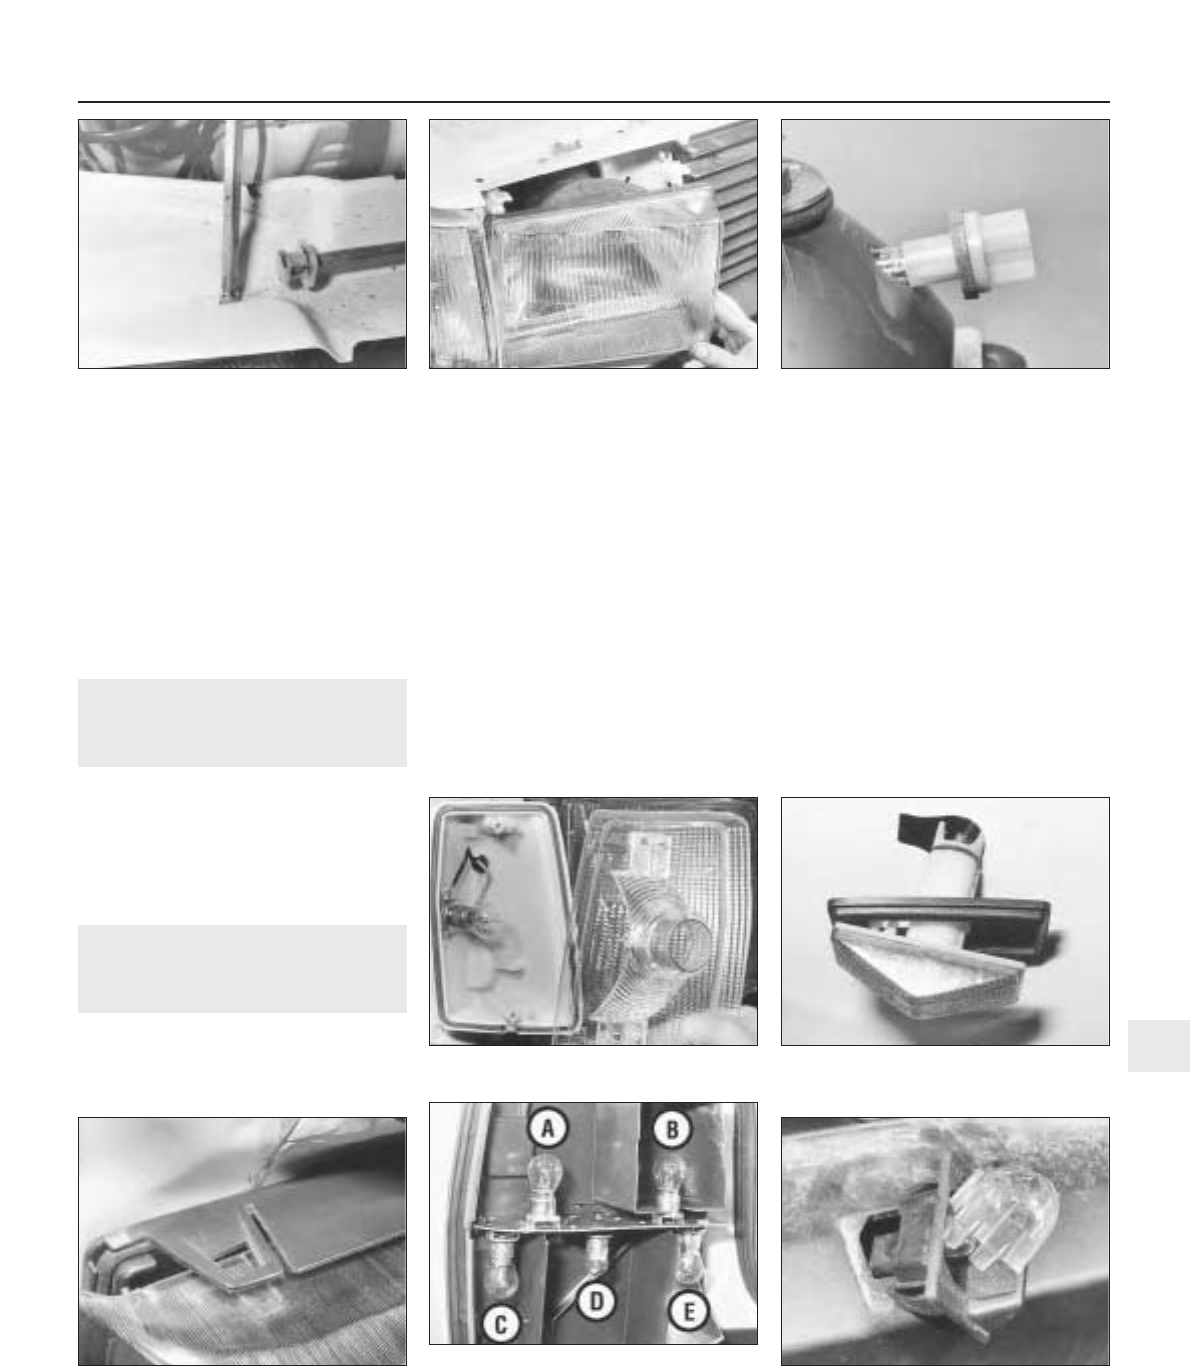
1 Open the bonnet and extract the two
headlamp mounting screws from the top rail
(photo).
2 Pull the headlamp unit forward off its
ballstud and then disconnect the wiring plug
(photo).
3 Refitting is a reversal of removal.
19 Exterior lamps -
bulb renewal
1
Front parking lamp
1 The bulbholder is located in the headlamp
reflector.
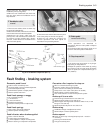
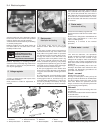
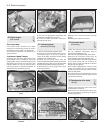
2 Open the bonnet, push and twist the
bulbholder from its location (photo).
3 The wedge base type bulb is simply pulled
from its holder.
Front direction indicator lamp
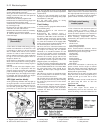
4 Extract the screws and remove the lens
(photo).
5 Depress and twist the bayonet fitting type
bulb from its holder.
Side repeater lamp
6 This bulb may be renewed in one of two
ways. Either partially remove the underwing
protective shield and reach up under the front
wing and pull the holder out of the lamp body
or depress the lamp retaining tab and
withdraw the lamp from outside the wing. The
tab is very brittle (photo).
7 Remove the bulb from the holder.
Rear lamp cluster
8 Open the tailgate.
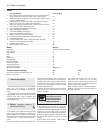
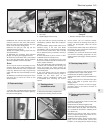
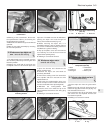
9 Gently prise up the clips on the top surface of
the lens. Pull the upper part of the lens outwards
and release it from the lower fixings (photo).
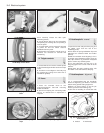
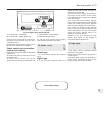
10 The individual lamp bulbs may be
renewed, all of them being of bayonet fitting
type (photo).
Rear number plate lamp
11 Insert a screwdriver blade in the lens slot
and prise it from the bulb holder. Withdraw
the bulb.
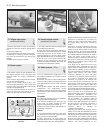
12 If preferred, the complete lamp may be
removed from the bumper by reaching up
under the bumper and squeezing the lamp
retaining tabs (photo).
Electrical system 9•7
19.2 Front parking lamp bulb18.2 Withdrawing headlamp18.1 Headlamp upper fixing screw
19.12 Rear number plate lamp withdrawn
19.10 Rear lamp bulbs
19.6 Side repeater lamp19.4 Front direction indicator lamp lens
and bulb
19.9 Rear lamp lens upper clip
9
A Direction indicator
B Reversing
C Stop E Fog
D Tail


