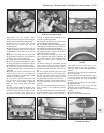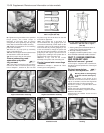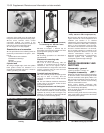
99 Tighten the big-end bolts to the specified
torque (photo). The correct torque is
important as the bolts have no locking
arrangement. After tightening each big-end,
check that the crankshaft rotates smoothly.
100 Repeat the operations on the remaining
piston/rod assemblies.
101 Refit the oil pump pick-up assembly
using a new sealing ring.
102 Refit the sump pan and the cylinder head
as described in earlier sub-Sections.
103 Fill the engine with oil and coolant.
Pistons/connecting rods -
separation and piston
ring renewal ™
104 If the piston/connecting rods have been
removed in order to renew the piston rings,
refer to Chapter 1, Section 18, but note that
the piston rings should be fitted so that the
word TOP is uppermost.
105 If new pistons are to be fitted, it is
recommended that the gudgeon pins are
removed and refitted by a FIAT dealer as the
connecting rods must be carefully heated in
order to be able to push the gudgeon pin out
of the rod small-end, change the piston and
push the pin back into position. Locating the
gudgeon pin will require a special tool. The
gudgeon pin is a sliding fit in the piston but an
interference fit in the connecting rod.
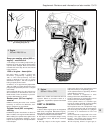
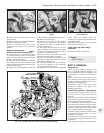
106 Refer to Fig. 13.6 for the correct
assembly of the piston and connecting rod.
Engine/transmission mountings
- renewal
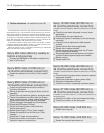
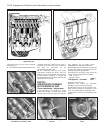
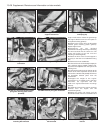
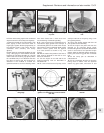
107 Refer to Chapter 1, Section 33. Three
mountings are used (photos).
PART C: ENGINE REMOVAL
AND DISMANTLING
Method of removal - general
1 The engine, complete with transmission,
should be removed upwards out of the engine
compartment.
Engine/transmission -
removal and separation #
Warning: Refer to the beginning
of Section 9 before starting any
work.
2 Mark the position of the hinges on the
underside of the bonnet and then, with the
help of an assistant, unscrew the hinge bolts
and lift the bonnet to a safe storage area.
3 Drain the coolant; a cylinder block drain
plug is not fitted.
4 Drain the engine and transmission oils.
5 Disconnect the battery, negative lead first.
6 Remove the air filter.
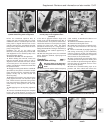
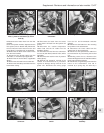
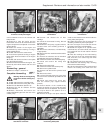
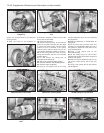
7 Disconnect the radiator hoses from the
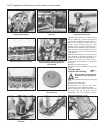
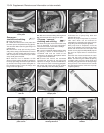
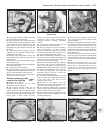
engine (photos).
13•26 Supplement: Revisions and information on later models
5C.7B Radiator hose at thermostat
housing
5C.7A Radiator hose connection to coolant
distribution tube
5B.107C Right-hand engine mounting
5B.107B Left-hand rear
engine/transmission mounting
5B.107A Left-hand front
engine/transmission mounting
Fig. 13.6 Piston/connecting rod correctly
assembled - 999 and 1108 cc engine
(Sec 5B)
1 Piston grade (A) and directional arrow on
piston crown (towards timing belt)
2 Rod/cap matching numbers
3 Gudgeon pin offset in piston (0.9 to 1.1 mm)
Arrow indicates crankshaft rotation direction
Fig. 13.5 Piston ring arrangement on the
999 cc engine (Sec 5B)
5B.99 Tightening a big-end cap bolt


