


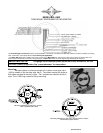
MAN# 650280:D
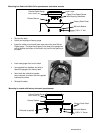
• Remove the dash
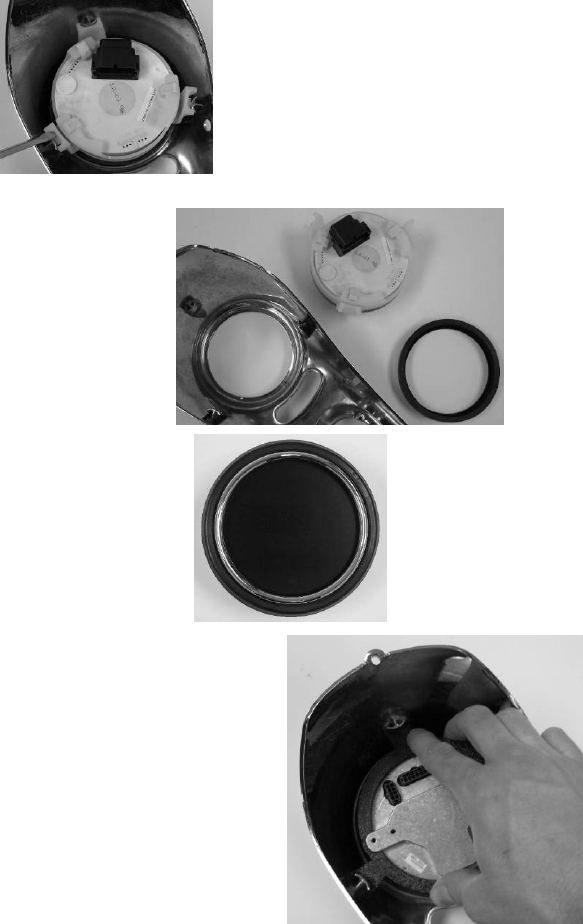
• Unclip and unplug the factory gauge
• Remove the rubber gasket from the factory gauge bezel.
• Install gasket over the bezel of the Dakota Digital gauge.
The gasket doesn’t cover the entire bezel; there should
be some chrome showing when the gasket is installed.
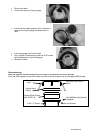
• Use the supplied ABS mounting ring to secure the gauge to the dash.
The ring has notches that align the gauge so it cannot be installed
upside down. The textured side of the ABS should be facing you
during install.
• Snap the gauge into the dash starting with one tab in and then
working in a clockwise direction snapping the other two tabs in one at
a time. The tabs are tight so it takes a fair amount of pressure to
snap them in. Make sure they are seated under the tabs in the dash
once locked in.
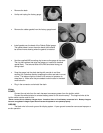
• Plug in the connector and reinstall the dash.
Wiring
POWER
Connect the red wire from the main harness to accessory power from the ignition switch.
Connect the white/red wire to constant battery power for the clock memory. The large red wire at the
ignition switch can be used for this.
*Never connect this to a battery charger alone. It needs to have a 12 volt battery connected to it. Battery chargers
have an unregulated voltage output that will cause the system to not operate properly.
GROUND
The black wire is the main ground for display system. A poor ground connection can cause improper or
erratic operation.