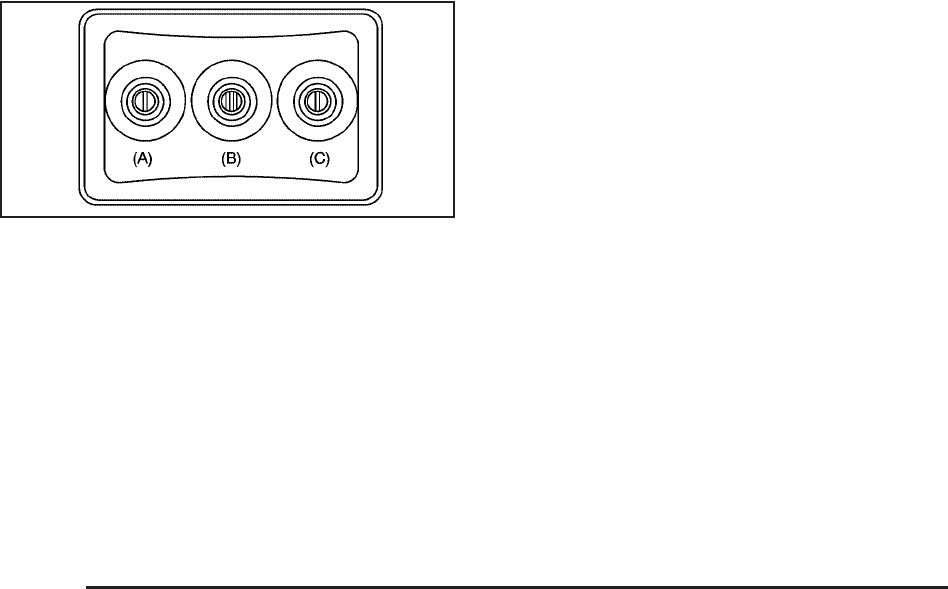
Audio/Video (A/V) Jacks
The A/V jacks are located on the rear of the floor
console. The A/V jacks allow audio or video signals
to be connected from an auxiliary device such as a
camcorder or a video game unit to the RSE system.
Adapter connectors or cables (not included) may be
required to connect the auxiliary device to the A/V jacks.
Refer to the manufacturer’s instructions for proper usage.
The A/V jacks are color coded to match typical home
entertainment system equipment. The yellow jack (A)
is for the video input. The white jack (B) is for the
left audio input. The red jack (C) is for the right audio
input.
Power for auxiliary devices is not supplied by the radio
system.
To use the auxiliary inputs of the RSE system, connect
an external auxiliary device to the color-coded A/V jacks
and turn both the auxiliary device and the video screen
power on. If the video screen is in the DVD player mode,
pressing the AUX (auxiliary) button on the remote control
switches the video screen from the DVD player mode
to the auxiliary device. The radio plays the audio of the
connected auxiliary device by sourcing to auxiliary.
See Navigation Audio System on page 4-62 for more
information.
For optimal sound quality, increase the portable audio
device’s volume to the loudest level. Higher levels
of volume decreases audio distortion.
It is always best to power a portable audio device
through its own battery while playing.
How to Change the RSE Video Screen
Settings
The screen display mode (normal, full, and zoom),
screen brightness, and setup menu language can be
changed from the on screen setup menu. To change
any feature, perform the following:
1. Press the
z button on the remote control.
2. Use the remote control
Q , R , q , r navigation
arrows and the
r button to use the setup menu.
3. Press the
z button again to remove the setup
menu from the screen.
3-90


