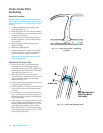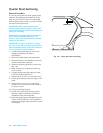
1-12 2000 cadillac deville
Outer Wheelhouse
Sectioning
Removal Procedure
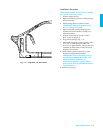
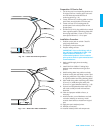
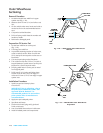
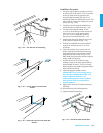
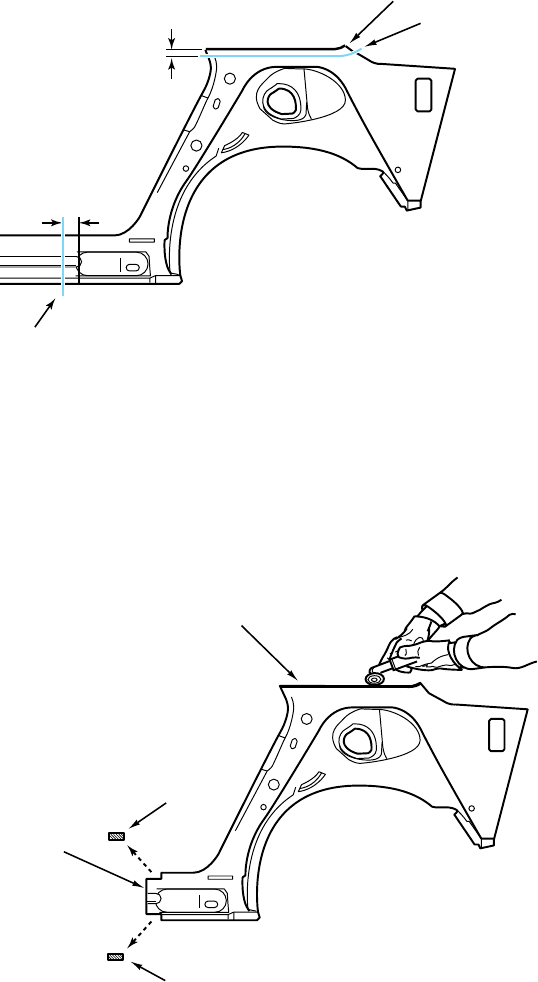
1. Locate horizontal laser-weld line in upper
quarter area (Fig. 1-18).
2. Measure down 25␣ mm (1␣ in) and scribe a cut
line.
3. On the vehicle rocker area, locate and scribe a
vertical cut line in the recommended section
area.
4. Cut panel at scribed locations.
5. Drill out factory welds. Note the number and
location of welds.
6. Remove the damaged panel.
Preparation Of Service Part
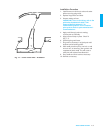
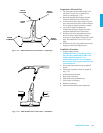
1. Locate laser weld line on service part
(Fig. 1-19).
2. Cut along laser weld line.
3. In specified sectioning location of rocker area,
create a vertical cut line. Allow for a 50␣ mm
(2␣ in) overlap of service part to rocker area on
the vehicle.
4. Cut service part along marked locations.
5. Trim a 20␣ mm x 50␣ mm (7/8 in x 2␣ in) tab at
top and bottom of section area of service part
to allow for a flush fit at pinch welds.
6. Drill plug weld holes in service part as noted
from original panel.
7. Drill 8␣ mm (5/16␣ in) plug weld holes along
section areas 25␣ mm (1␣ in) from edge on
rocker and 13␣ mm (1/2␣ in) from edge in upper
quarter area.
Installation Procedure
1. Install new part and clamp in place.
Check for fit.
IMPORTANT: Prior to refinishing, refer to
the publication GM4901M-D-2000 “GM
Approved Refinish Materials” for
recommended products. Do not combine
paint systems. Refer to manufacturer’s
recommendations.
2. Apply two-part catalyzed primer.
3. Spot blast weld areas.
4. Perform stitch weld, plug weld, grind and
finish as necessary.
5. Use a brushable seam sealer on inside seam.
6. Install all related panels and components.
Fig.␣ 1-19 — 2000 DeVille Outer Wheelhouse
Preparation
Fig.␣ 1-18 — 2000 DeVille Outer Wheelhouse
Removal
25 MM
(1 IN)
MINIMUM
50 MM (2 IN)
CUT
LINE
LASER WELD
CUT LINE
LASER WELD LINE
TRIM
TA B
TRIM
TA B
SECTIONING
AREA


