The following guide you step by step through the initial setup of the navigation system.
Firstly, remove the foil for protecting the device during transportation from the display.
How to access to the navigation system
Press Sleep/Wake up button on the front panel of the unit for about two seconds to wake
up the unit (Note: Sometimes the unit will not be woken up by reason of low battery,
please charge the battery. When in charging the indicator is red). The brand logo will
appear and your device will display the application screen after a few seconds.
You set the date and the time by means of the Setting Button (4) and the date/time
control button. Set the applicable time zone, if available.
Attention: According to the charging status of the accumulator installed.
It is necessary for the device to be charged before the initial setting up can run through.
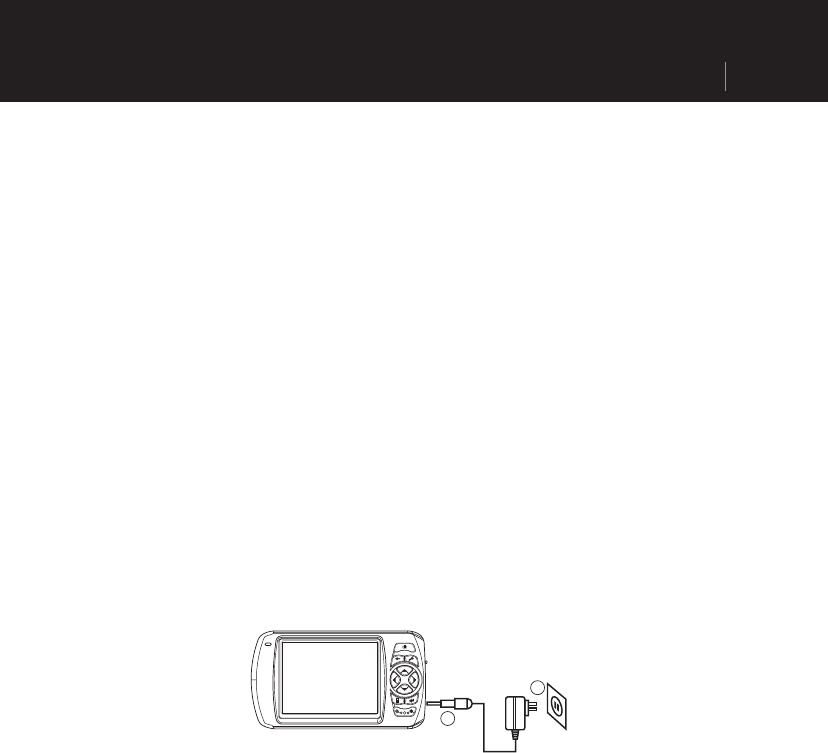
Charging Battery of the Navigation system
In causing of charging, the Battery Charge Indicator is red.
You have different possibilities to charge the battery of your navigation system:
• With the help of the network adapter.
• By means of the car adapter.
• The battery charge indicator lights red until the navigation system is charged. Don not
interrupt the charging process before the battery is fully charged. It will take a few hours
for the navigation system is fully charged. When the battery is fully charged the battery
indicator will turn to green.
• Note: You can use the navigation system during the charging process, but the power
supply must not be interrupted during initial set-up.
• Leave the mains adapter connected to the navigation system for around 24 hours, so
that the backup battery can be fully charged.
• You can leave the main adapter connected, and this is very handy for continuous
operation. However, the mains adapter also requires power even when it is not charging
up the battery of the navigation system.
Push the adapter connector into the guide on the right of the network adapter. Push the
Network Adapter (2) into a power point that is easily accessible.
Push the cable of the Network Adapter (1) into the network adapter connection of the
navigation system.
Working with memory cards
Your navigation system supports MMC and SD memory cards.
Inserting memory cards
1. Carefully take the memory card out of its packing (if included).
Take care not to touch or dirty the contacts.
2. Push the memory card carefully into the card bay. The side of the memory card wearing
the label must point upwards. The memory card should slightly lock in place.
Removing memory cards
• Do not remove the memory card while it is accessed. This could result in loss of data.
1. To remove the card press lightly onto the upper edge until it ejects.
2. Pull the card out without touching the contacts.
3. Store the memory card in the packing or in another safe location.
• Memory cards are very fragile.
Take care not to dirty the contacts and not to force the card.
2
1
INSTALLATION 5
PLND35 Operation manual
