14 9620 Professional OBD II Scan Tool
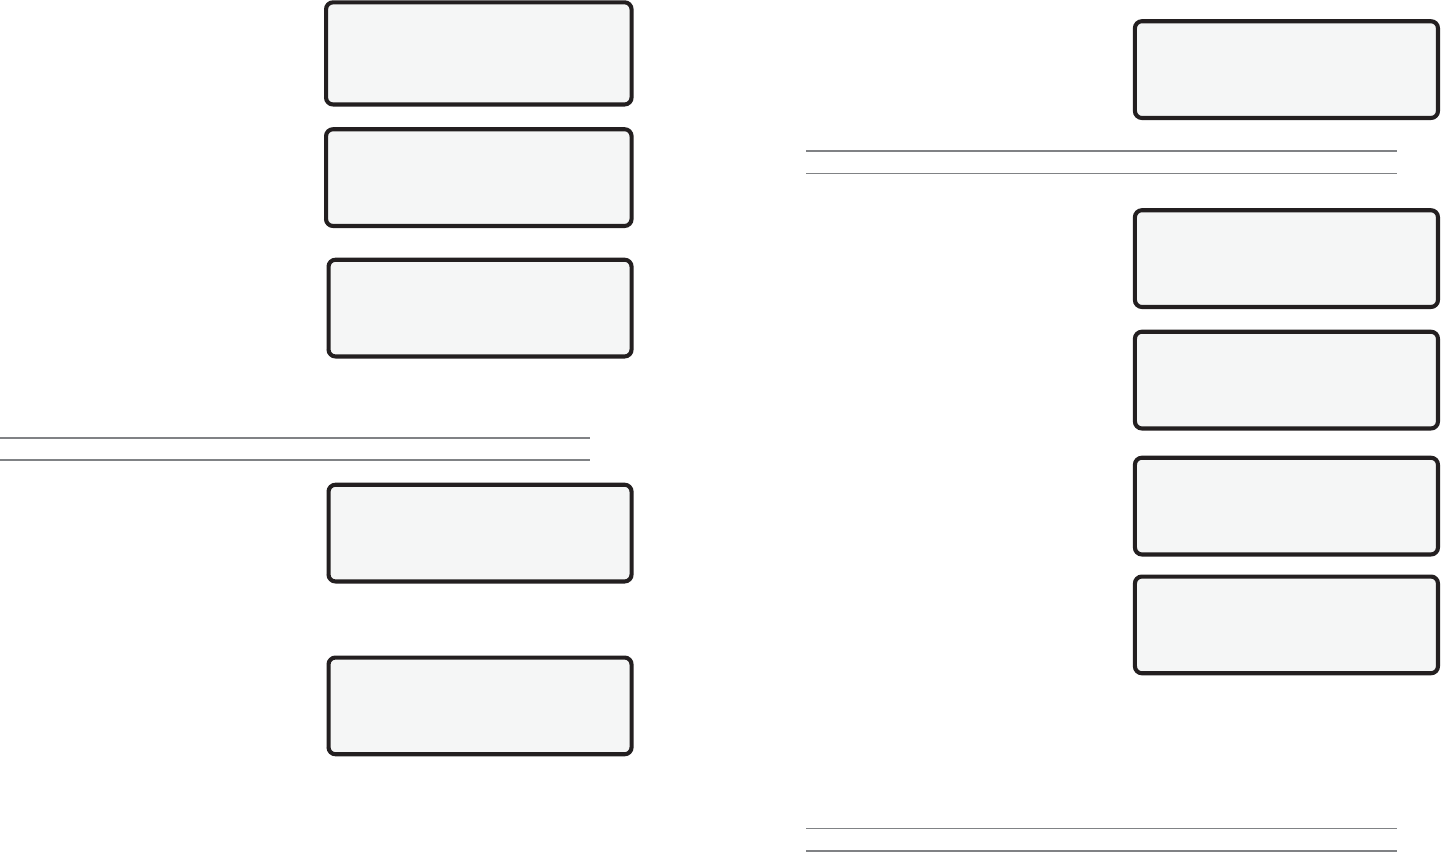
Select Custom List
«ABSLT TPS(%) ]
`«CALC LOAD(%) [
COOLANT(
o
F)
View Instructions
For Creating Custom
Data List?
YES <NO>
ABSLT TPS(%) 0.0
CALC LOAD(%) 5.3
ENGINE(RPM)($10) 180[
ENGINE(RPM)($1A) 865
Select Display Line
2 Lines ]
3 Lines
`4 Lines(Default)
Entire Data List
Select Entire Data List to display all PIDs supported by vehicle under test.
Custom Data List
To display only certain PIDs, select Custom Data
List. The ability to display certain PIDs helps in
diagnosing a specific driveability symptom or
system.
If choosing to view a Custom Data List, the scan
tool asks if help is needed to view the
instructions. Select desired response and press
ENTER.
Use UP/DOWN arrow keys to move
cursor up and down through list.
Use RIGHT arrow key to select or deselect
PIDs. Selected PIDs are marked with «
symbol.
Use LEFT arrow key to deselect all
marked PIDs.
Use the ENTER key to link to the vehicle and retrieve the marked PIDs.
When finished selecting PIDs, press ENTER key to begin viewing them.
NOTE: Refer to Appendix A for a complete list of PIDs.
View Data Setup
View Data Setup allows display of PIDs on one,
two, three or four lines. Selecting fewer lines of
data provides faster update speeds. The scan
tool default is four-line display.
When scan tool links to vehicle, PIDs will display. Navigate through PID list with following
keys:
Press UP/DOWN arrow keys to scroll Up/
Down line-by-line through list.
Press LEFT/RIGHT arrow keys to Page
Up/Page Down.
Press BACK key to return to Select Data
To View menu.
The same parameter may appear twice if vehicle is equipped with more than one computer
module Powertrain Control Module (PCM), Transmission Control Module (TCM), etc. The
scan tool identifies them by identification names (ID) assigned by manufacturer (i.e. $10,
$1A, etc). The computer module ID blinks in parentheses. If one or more modules stops
responding, the scan tool displays a message that the module is not responding and asks to
continue without it. If NO is selected, scan tool attempts to reestablish communication with
that module.
Select Data To View
Entire Data List
`Custom Data List
View Data Setup
9620 Professional OBD II Scan Tool 23
Enter Code: P0100 |
Use Arrow Key ^
To Change Or Press
ENTER To Accept
P0A08
DC/DC Converter ]
Status Circuit [
OBDII Function List |
13)Review Data ]
14)Print Data
`15)Code Lookup
Enter Code: P0A08 |
Use Arrow Key ^
To Change Or Press
ENTER To Accept
P1100
Manufacture Contrl ]
[
Fuel Air Metering
3.2 Code Lookup
Code Lookup is used to look up definitions of Diagnostic Trouble Codes (DTCs) stored
in the scan tool. The scan tool does not require power from the vehicle to perform this
function. Internal battery power can be used.
To look up DTC definitions, select Code Lookup
from the OBDII Function List and press ENTER.
NOTE: When entering codes, only one character can be changed at a time.
To enter a code:
Use the LEFT/RIGHT arrow keys to move
the ^ symbol under the character that
needs to be changed. The cursor moves
to the right and wraps around to the
beginning when the end is reached.
Use the UP/DOWN arrow keys to change
the selected character.
Press the ENTER key to display the
definition.
After entering the code and pressing ENTER,
the code and definition display.
If the DTC is manufacturer specific or does not
exist for the vehicle, some information can be
determined based on the range of the DTC (see
page 24)
In the definition screen, pressing the ([) or (]) arrow key increments/decrements the
code and its definition. Undefined codes are skipped.
Press the BACK key to return to the Enter Code screen. Press the BACK key again to
return to the OBDII Function List.
NOTE: Refer to an appropriate vehicle service manual for manufacturer specific codes.


