CLUTCH
5-32
EAS25070
REMOVING THE CLUTCH
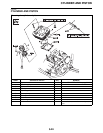
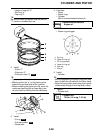
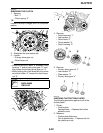
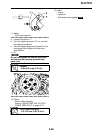
1. Remove:
•Bolt “1”
• Clutch spring “2”
TIP
Loosen the bolts in stages and in a crisscross
pattern.
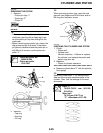
2. Straighten the lock washer tab.
3. Loosen:
• Primary drive gear nut
• Clutch boss nut
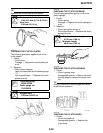
TIP
• Place the aluminum plate “a” between clutch
housing “1” and primary drive gear “2”, and
then loosen the primary drive gear nut “3”.
• While holding the clutch boss with the univer-
sal clutch holder “4”, loosen the clutch boss
nut “5”.
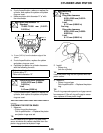
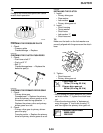
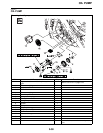
4. Remove:
• Clutch boss nut “1”
• Lock washer “2”
• Clutch boss “3”
• Thrust washer “4”
• Clutch housing “5”
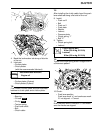
5. Remove:
• Primary drive gear nut “1”
• Lock washer “2”
• Claw washer “3”
• Primary drive gear “4”
EAS25100
CHECKING THE FRICTION PLATES
The following procedure applies to all of the
friction plates.
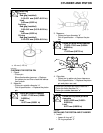
1. Check:
• Friction plate
Damage/wear → Replace the friction
plates as a set.
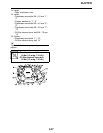
2. Measure:
• Friction plate thickness
Out of specification → Replace the fric-
tion plates as a set.
Universal clutch holder
90890-04086
YM-91042


