VIVOTEK
User's Manual - 47
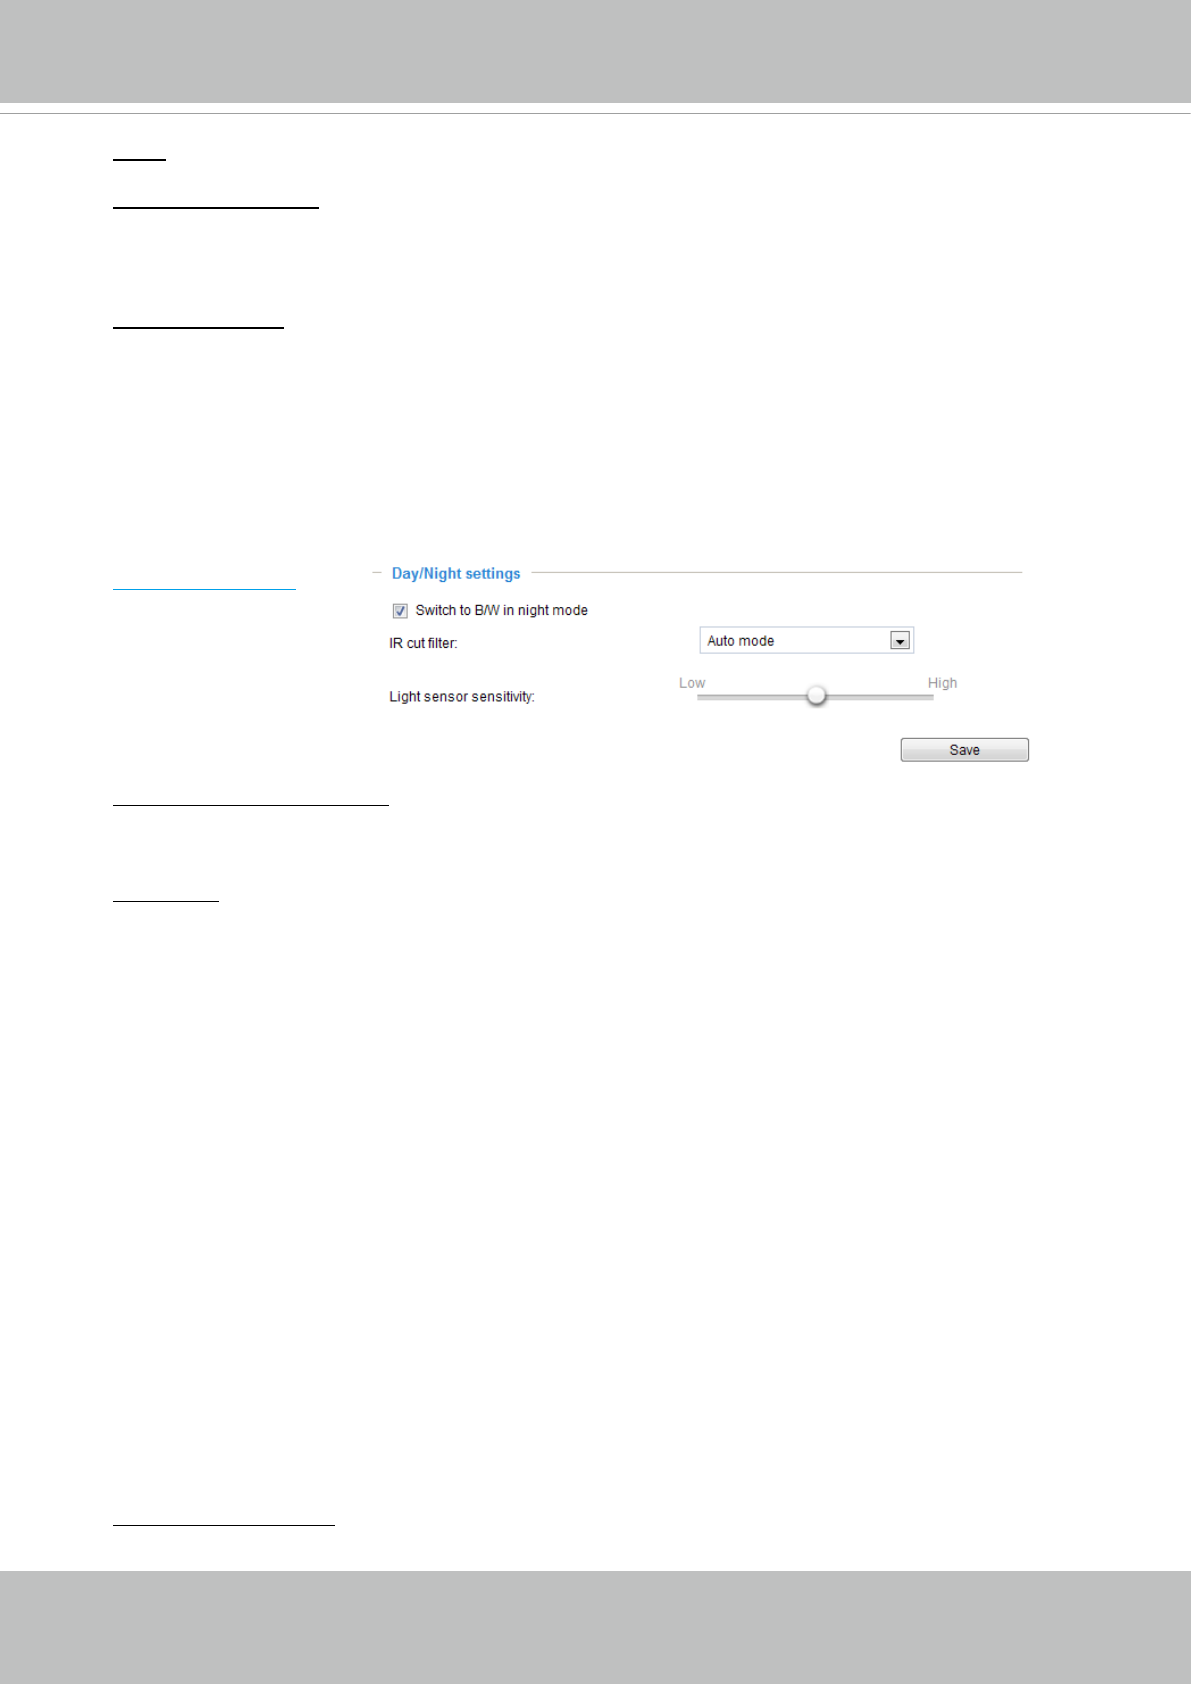
Day/Night Settings
Switch to B/W in night mode
Select this to enable the Network Camera to automatically switch to Black/White display during
night mode�
IR cut lter
With a removable IR-cut lter, this Network Camera can automatically remove the lter to let IR
light into the sensor during low light conditions�
■ Auto mode
The Network Camera automatically removes the lter by judging the level of ambient light.
■ Day mode
In day mode, the Network Camera switches on the IR cut lter at all times to block infrared light
from reaching the sensor so that the colors will not be distorted�
■ Night mode
In night mode, the Network Camera switches off the IR cut lter at all times for the sensor to
accept infrared light, thus helping to improve low light sensitivity�
■ Synchronize with digital input
The Network Camera automatically removes the IR cut lter when DI is triggered. Some external
housing may come with its light sensor and IR lights, and has a pin signal to tell the camera to
switch off its IR cut lter.
■ Schedule mode
The Network Camera switches between day mode and night mode based on a specified
schedule. Enter the start and end time for day mode. Note that the time format is [hh:mm] and is
expressed in 24-hour clock time. By default, the start and end time of day mode are set to 07:00
and 18:00.
Light sensor sensitivity
Select Low, Normal, or High sensitivity for the light sensor�
Color: Select to display color or black/white video streams.
Power line frequency: Set the power line frequency (50 or 60Hz) consistent with local utility settings
to eliminate image flickering associated with fluorescent lights� Note that after the power line
frequency is changed, you must disconnect and reconnect the power cord of the Network Camera
in order for the new setting to take effect�
Video orientation: Flip--vertically reflect the display of the live video; Mirror--horizontally reflect
the display of the live video� Select both options if the Network Camera is installed upside-down
(e.g., on the ceiling) to correct the image orientation. Please note that if you have congured preset
locations, those locations will be cleared after ip/mirror setting.


