


54
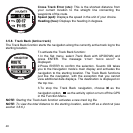
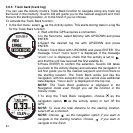
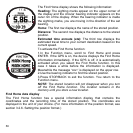
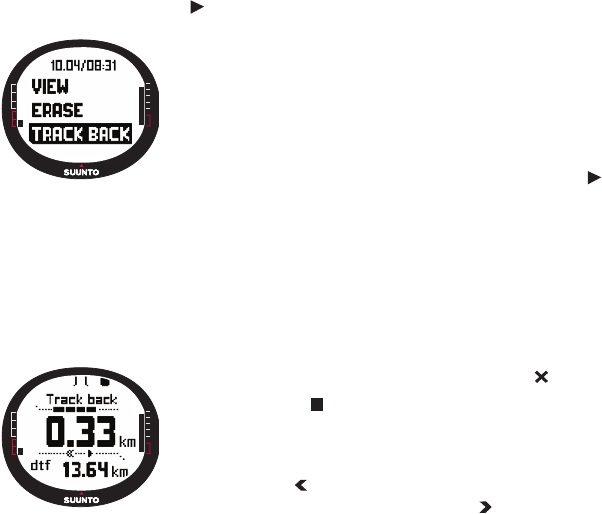
3.6.5. Track back (track log)
You can use the Activity mode’s Track Back function to navigate along any track log
file found in the memory. Suunto X9i will guide you to the nearest waypoint and from
there to the starting location, or to the finish if you so choose.
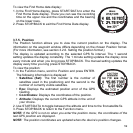
To activate the Track Back function:
1. In the Set menu, select as the Activity option. This starts storing data in a log file
for the Track Back function.
2. Wait until the GPS acquires a connection.
3.In the Set menu, select Memory with UP/DOWN and press
ENTER.
4.Select the desired log file with UP/DOWN and press
ENTER.
5.Select Track Back with UP/DOWN and press ENTER. The
message ‘
START TRACK BACK?’ is displayed. If the message
‘
START LOG’ is displayed, check that the activity is set to
and that the unit has received the first satellite fix.
6.Press ENTER to confirm the selection. Suunto X9i takes
you back to the Activity display and activates the navigation. It
will first guide you to the nearest waypoint and from there to
the starting location. The Track Back works just like the
navigation, with the exception that you cannot view additional
data displays. ‘
TRACK BACK’ is displayed on the top row.
NOTE: The Track Back guidance is displayed in the
Navigation mode even though you set the function in the
Activity mode.
7.To stop the Track Back navigation, choose as the
navigation option, as the activity option or turn off the
GPS.
NOTE: To view the total distance to the starting location,
select dtf as a shortcut.
NOTE: Choose as the navigation option if you want to
navigate to the starting location. choose if you want to
navigate to the finish.